This post provides an overview of one of the online charcuterie courses I’ve created, covering what’s included.
It’s like a ‘high-level’overview for those who prefer to have a brief.
The methodology is distilled into one program with tools, recipes, and cheatsheets for at-home charcuterie (including my “not-so-secret” garlic & juniper bacon).
It blends traditional and modern techniques. I’m excited to launch something this focused and practical.
It’s easy to follow via concise videos plus supporting materials—ideal for a budding norcino beginner or charcutier.
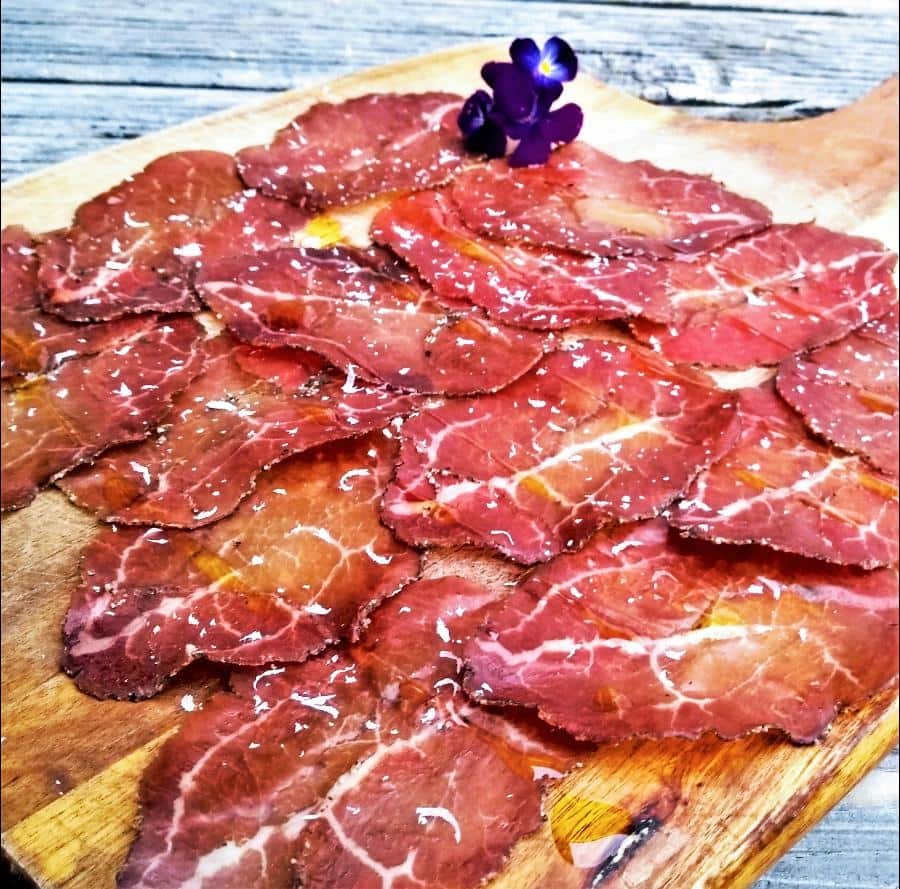
I’ve been dry-curing meat for ~15 years—learning in pro kitchens and butcheries. Once you grasp the theory, the process becomes repeatable, and you can explore your flavours and styles.
Dry curing is a craft. You can control every variable, but you’re still guiding natural processes like diffusion and binding to preserve and concentrate flavour.
My goal is to bring this ancient art to modern home kitchens in a simple, practical, and safe way.
Here’s what the course covers.
Online Charcuterie Course for Dry-Curing Meat
- Preserving with Salt
- Charcuterie, Salami & Salumi – Classic vs Modern
- Nitrates & Nitrites (Pink Curing Salt)
- Salt, Time & the Craft
- Spices & Subtleness
- Methods – Salt Box vs Equilibrium
- Meat Quality & Cuts
- Essential Equipment
- Classic Cuts vs Any Cuts
- Temperature & Humidity
- DIY Chamber, Cellar, or Kitchen Fridge
- Penicillin (White Mold)
- Final Weight & Flavor
- Wafer-Thin Slicing
You’ll see the full lesson list inside the course. This page is to whet your appetite and confirm it’s for you.
\
Here is a link directly if you want to purchase.
1. Preserving with Salt
Why Salt Matters
Salt reduces available moisture and creates conditions where spoilage bacteria struggle. As water leaves, flavour concentrates.
Types of Salt & Measuring
Use pure sea salt (no additives). Measure by weight, not volume—crystal shapes vary and tablespoons are inconsistent.
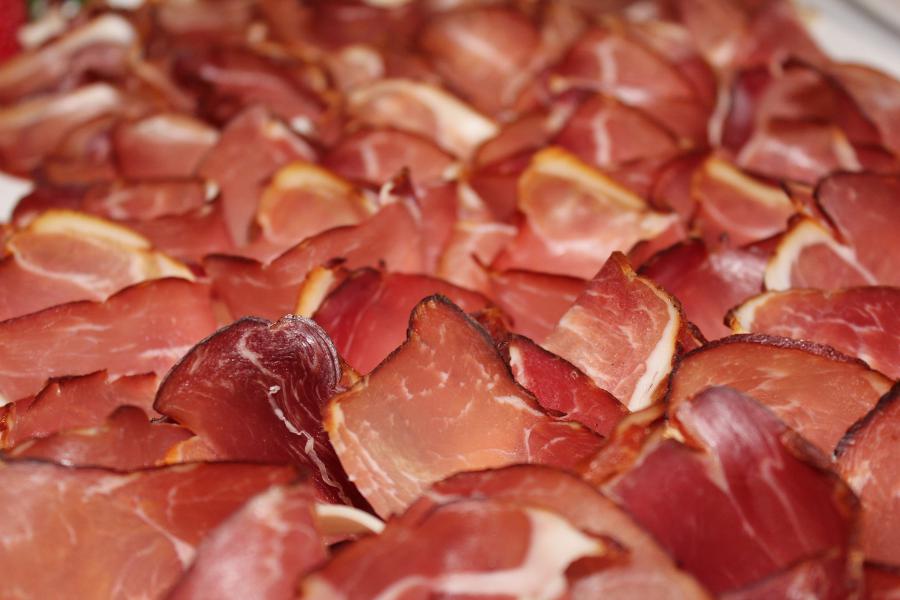
2. Charcuterie, Salami & Salumi – Classic vs Modern
“Charcuterie board” is a broad modern idea; the course focuses on the classic craft behind it.
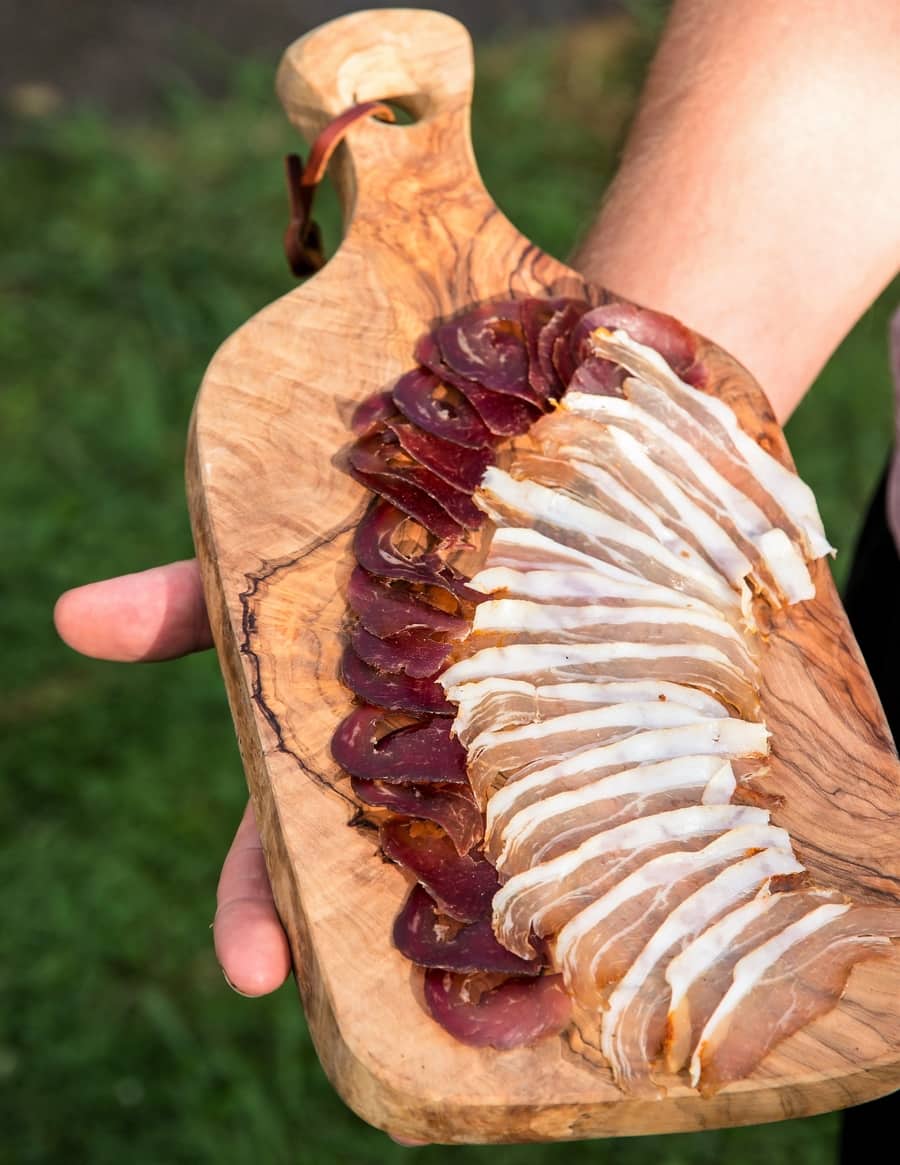
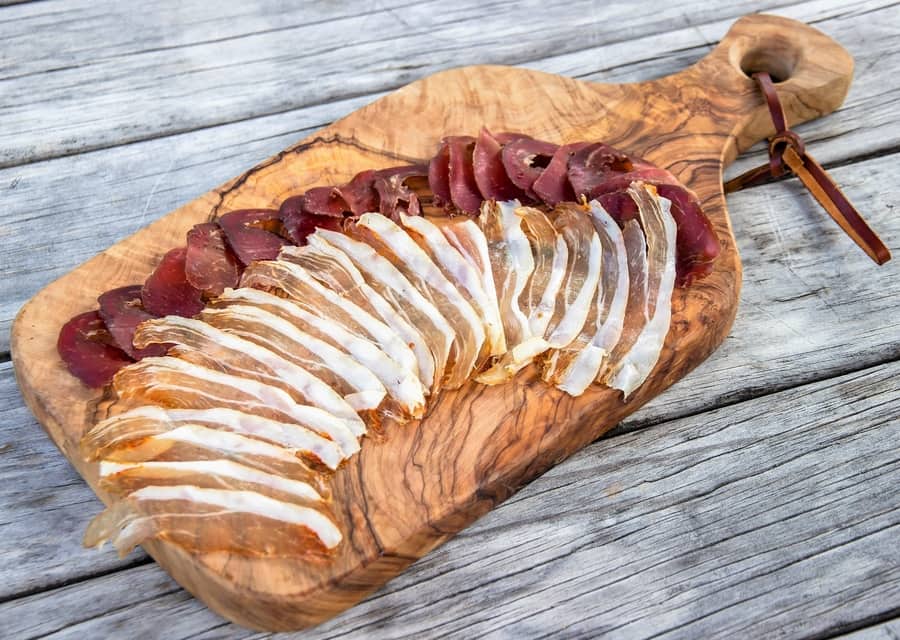
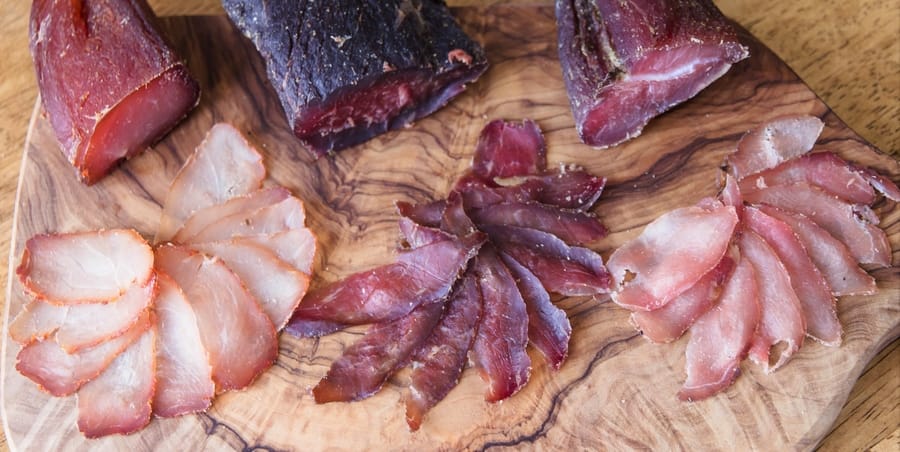
Salumi (Italian Whole-Muscle Cures)
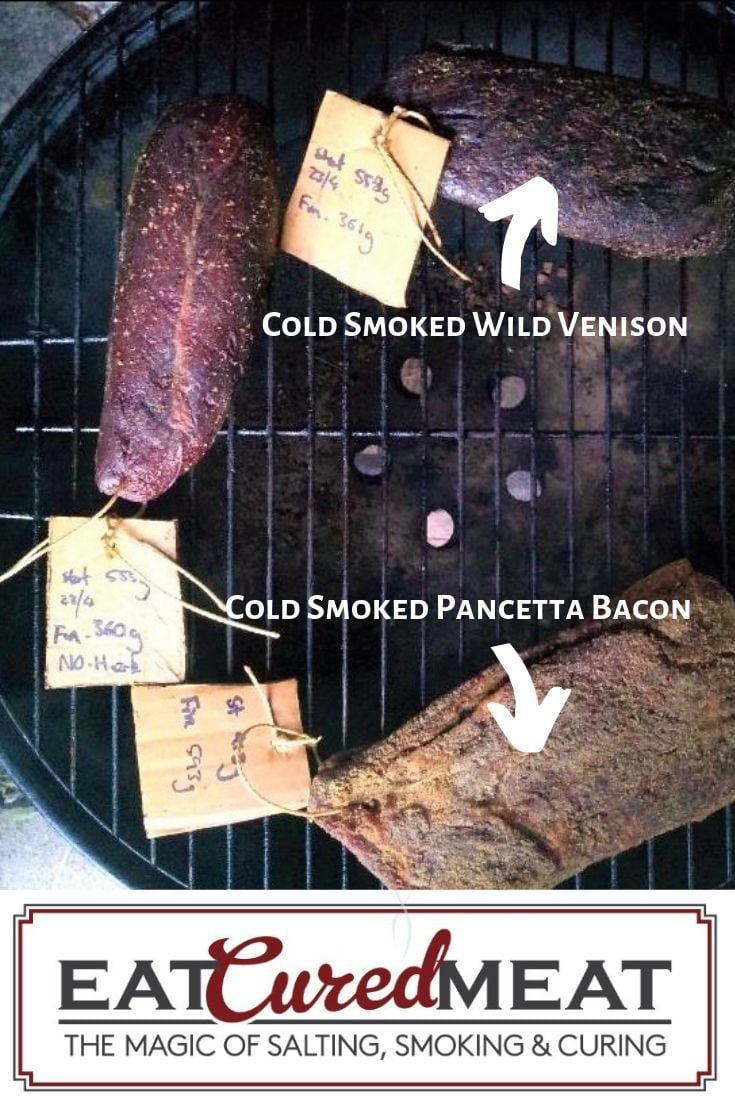
Traditionally: prosciutto (leg), pancetta (belly), coppa (neck/loin), guanciale (jowl), spalla (shoulder), lardo (fat), and lonza (loin). Bresaola (beef) is also common.
Salami
Minced, stuffed, then fermented and dried; more variables, so it’s advanced. Some regional styles are cold-smoked instead of fermented.
Charcuterie (Broad)
Includes dry-cured meats plus terrines, pâtés, rillettes, and smoked items. We focus on safe, repeatable dry curing at home.
3. Nitrates & Nitrites (Pink Curing Salt)
Pink salts use tiny, precise amounts to improve safety, colour, and flavour stability. You’ll learn where each applies.
Under 30 Days – Cure No. 1
Sodium nitrite + salt. Used for short cures you’ll cook (e.g., bacon for cooking, pastrami before smoking).
Over 30 Days – Cure No. 2
Contains nitrate + nitrite. Nitrate converts slowly to nitrite over time, suited to long dry cures (coppa, lonza, pancetta, bresaola, etc.).
4. Salt, Time & the Craft
Drying concentrates flavour like roasting, but slower and deeper. Even after hitting the target weight loss, additional time can mellow the texture and develop savoury complexity.
- sound recipe & ratios
- clean environment
- beneficial microbes
- patience and observation
- wafer-thin slicing
5. Spices & Subtleness
“Spice Bombs”
Most blends aim for harmony, not one loud note. Think juniper with venison; rosemary with pork; sweet or hot paprika for regional profiles.
6. Methods – Salt Box vs Equilibrium
Salt Box (Saturation)
Pack completely in salt for a set time. Traditional but can run salty and inconsistent.
\
Equilibrium Curing (Preferred)
Use a precise % of salt based on meat weight; bag with minimal air; cure cold.
Example: 2% of 2,000 g = 40 g sea salt (plus curing salt per project). Accurate scales are essential (0.1 g resolution is ideal).
Most whole-muscle cures run ~1.7–4.0% total salt, depending on cut and taste.
7. Meat Quality & Cuts
Farmed vs Wild
Traceable, well-raised pork and beef are excellent. Wild venison cures beautifully—lean, clean, and flavourful.
Fresh vs Frozen
Fresh is best; recently frozen (not aged) also works well for whole-muscle cures.
8. Essential Equipment
Salt & Grinder
Fine the crystals for even coverage (spice grinder or mortar & pestle).
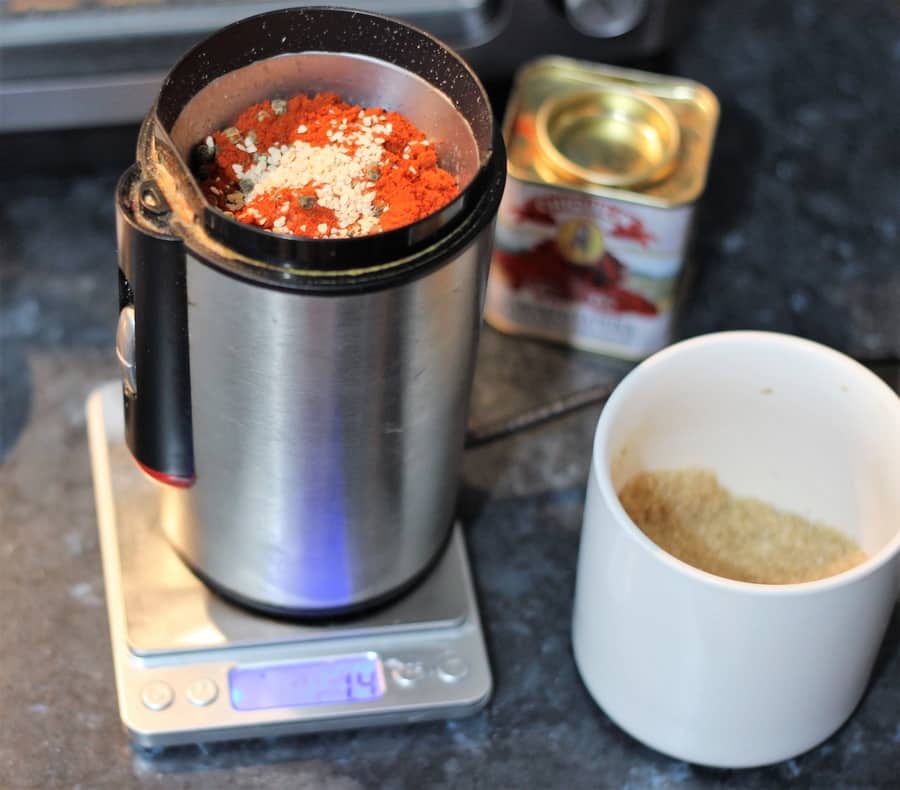
Accurate Digital Scales
Example: 1,000 g meat × 0.25% Cure #2 = 2.5 g curing salt (plus 1.7–4% sea salt).
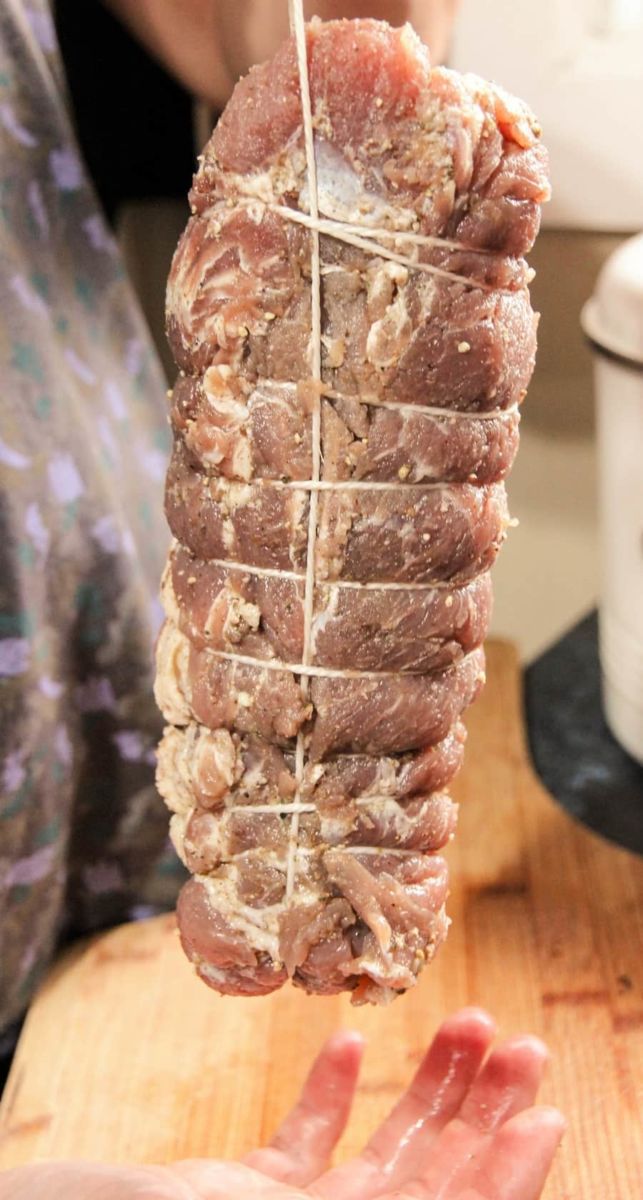
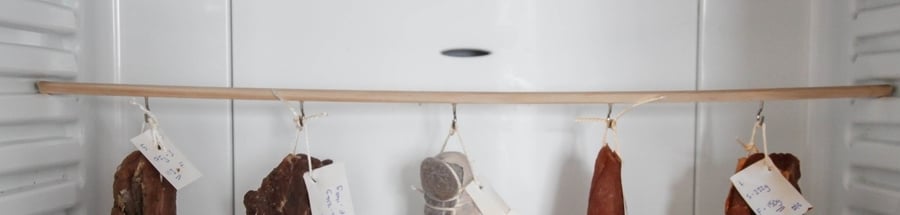
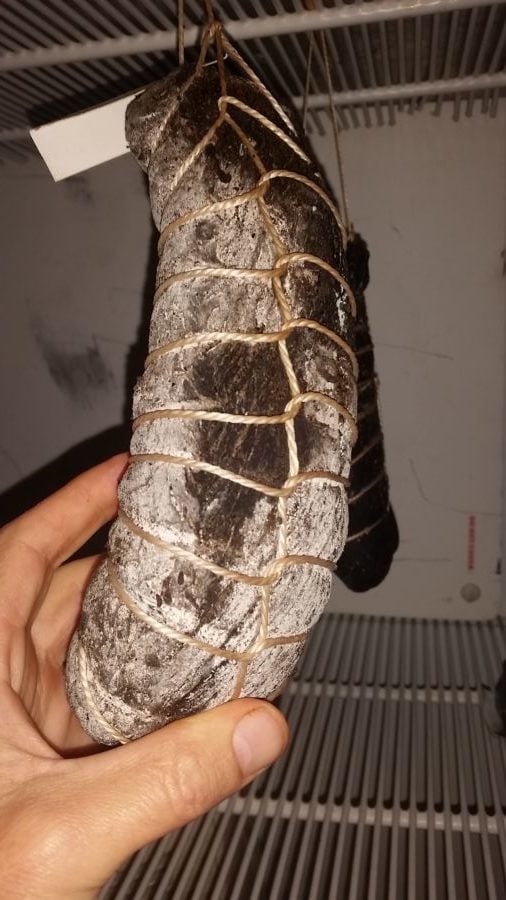
Butcher’s Twine, Muslin & Hooks
Twine removes air pockets and creates hanging loops. Muslin protects surfaces. S-hooks make weighing and rotating easy.
9. Classic Cuts vs Any Cuts
Use the classic seven—or experiment. Ribeye, sirloin, and game muscles all cure nicely when handled properly.
Why Minced (Salami) Is Advanced
More surface area = more risk; oxygen pockets in casings can cause spoilage. Tight stuffing, correct pH, and a controlled environment are critical.
10. Temperature & Humidity
Temperature
Target ~50–60°F / 10–15°C. I often sit near 52°F / 11°C. Warmer needs tighter monitoring.
Humidity
Aim for 60–70% RH. Too low dries the exterior first (case hardening). Start new pieces a bit higher if your unit runs dry.
11. DIY Chamber, Cellar, or Kitchen Fridge
DIY Chamber
Wine fridges are a simple entry (often >50% RH; adjustable temps). Old fridges can be upgraded with a temp controller + humidifier (sometimes a dehumidifier too).
Cellar / Around the Home
Test temp & RH with a cheap digital unit; try a pancetta as an easy first hang.
Kitchen Fridge
Use small pieces (<200 g). You can hit 30–35% loss in ~1–2 weeks with minimal case hardening.
Buying a Chamber
Commercial units are excellent but pricey. If you’re serious and want supplier intros, get in touch.
12. Penicillin (White Mold)
Good white powdery mold (Penicillium) protects the surface and contributes flavour. Wipe off any coloured molds with vinegar and monitor.
Trust your eyes and nose. If it smells wrong, it probably is.
13. Final Weight & Flavor
Ready-to-eat typically means 30–35% weight loss. Label each piece: start date, start weight, and target weight.
Formula: finished weight = start weight × 0.65 (for 35% loss). Example: 1,000 g × 0.65 = 650 g.

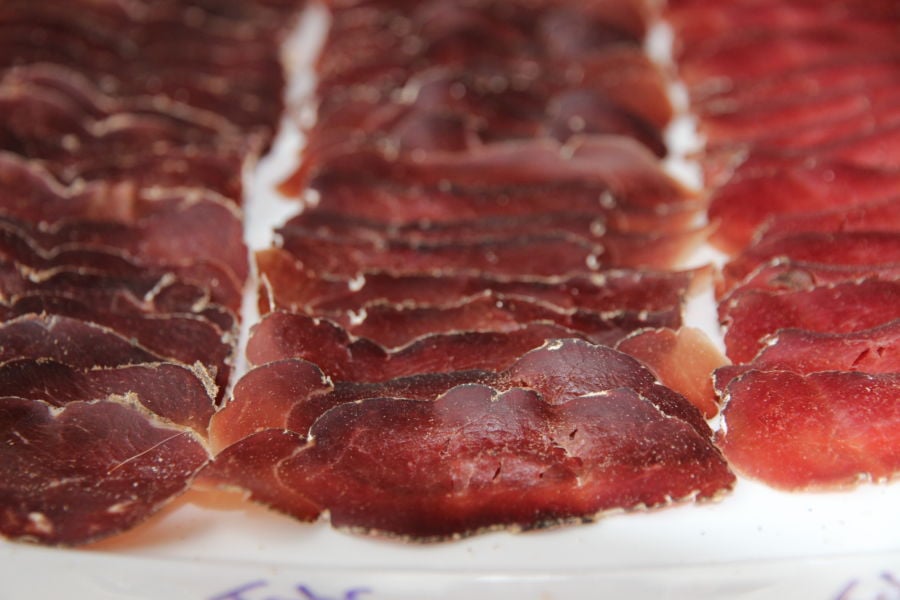
14. Wafer-Thin Slicing
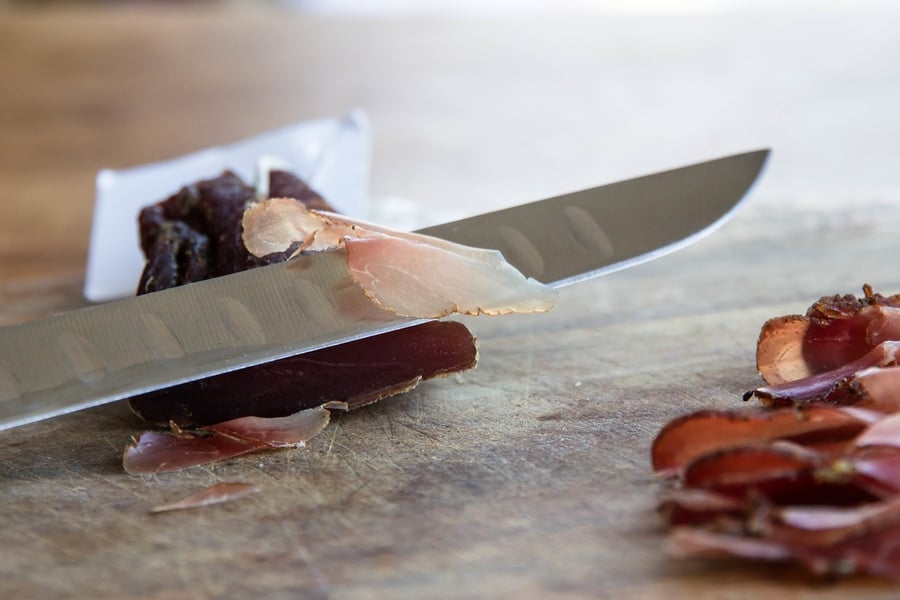
Thin slices soften perceived salt and highlight aroma. A good deli slicer is a game-changer.
Semi-Freeze to Help
Briefly chill fatty pieces until firm for easier, thinner cuts.
Knife vs Slicer
Prosciutto knives work with practice, but a quality slicer delivers consistent wafer-thin results.
Here is a link directly if you want to purchase.
Is this course suitable for beginners?
Yes. We start with fundamentals—salt ratios, safety, target weight loss—then build up to humidity control, inoculation, and chambers. You don’t need previous experience.
Do I need expensive gear to start?
No. Begin with accurate scales, twine, and small projects in a kitchen fridge. We cover wine-fridge and full chamber setups as optional upgrades.
When do I use Cure No.1 vs No.2?
Cure No.1 for short cures you’ll cook (under ~30 days). Cure No.2 for long, dry-cured whole muscles (weeks to months). We teach exact rates and workflows.
What is equilibrium curing?
A precise salt percentage based on meat weight (e.g., 2% of 2,000 g = 40 g salt) for consistent results. Minimal air, cold cure, then dry to target weight loss.
How long until I can eat something?
Small fridge projects can reach 30–35% loss in about 1–2 weeks. Whole muscles often take 1–4 months depending on cut size and environment.
How does the course address safety?
Clear curing salt rates, sanitation, temperature/humidity ranges, mold management, and label/weight tracking to keep projects on target.

Tom Mueller
For decades, immersed in studying, working, learning, and teaching the craft of meat curing, sharing the passion and showcasing the world of charcuterie and smoked meat. Read More
I’m Bulgarian loving cured meats.
And I’m very glad I found this website.
Cheers.
Awesome glad to hear it! thanks for visiting!!! I’m always producing new content . Thanks, Tom
Tried to sign up on the list but it wouldn’t let me
Tells me “subscription can’t be saved “ try again
Hey Bruce, all sorted – it was a security thing needed updating, I have added you to the email list.
Cheers and all the best,
Tom
Thanks looking forward to the course
Dear Tom Mueller ,
Greetings from Ruban Moses ,
Informative and interesting reference .
Thanks a lot for your efforts.
Regards.
Appreciated thanks, course should be out in a few months. Glad to help! Tom
This looks like it will be tons of fun. I can’t wait.
Hey Gerry, thanks did you want me to put you on the email list to send out a notification when it’s live? Cheers Tom
Useful reference for the subject I am going to handle this school year. Keep up the good work, God bless and stay safe.
Thank you for putting me on your mailing list and I look forward to your on-line course coming on line soon. Kind regards, Hugh Laity
Thanks Hugh, appreciated!
Looks great! When do you expect the course to be available?
Cheers!
October 2020.
Please add me to the list, I could not sign up.
Do you know when will the course ve ready?
Will do no probs, October the online course will be available! Here is a link to the course page again also
Please add me to the list, I could not sign up.
Hey Norman,
Have done, strange how that doesn’t work?
Might be the security.
All the best,
Tom
Hey can you also add me to the list?
“Your subscription could not be saved. Please try again.” This is the response that I got. Thank you.
Heya, might be a security thing. Sure thing will add you in. All the best, Tom
I am from India and love cured meats.would like to know more and please add me to your mailing list. Can leaner meats like lamb or goat be cured.
Hey Chaitanya, yes lamb and goat are definitely dry cured! Pig on fat people are keen on, but I use wild meat like deer and tahr which are very lean!