Why Make Lardo
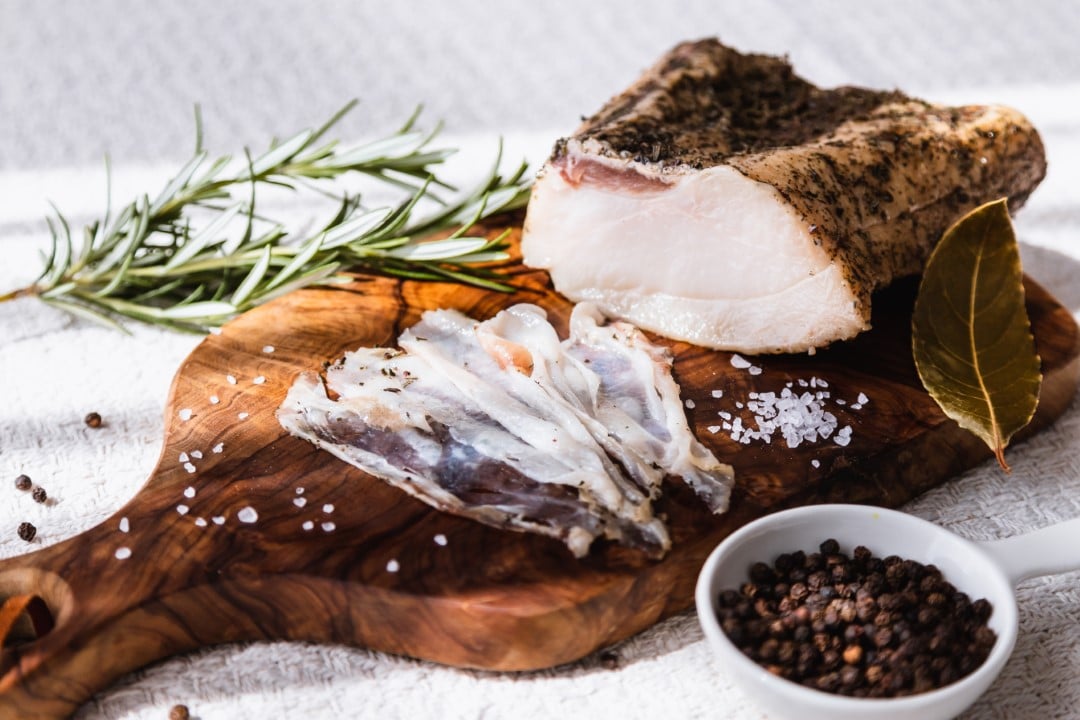
Lardo is slightly different from other Italian salumi. It’s pure salt-cured pork back fat. It has a rich history and an incredible flavor if the pork is of good quality.
Since fat carries a lot of the animal’s flavor, this is highlighted to a great degree in this dry-cured meat classic.
The true origin of Lardo comes from the castle town of Colonnata, home of Lardo. The local marble is used to house the lardo during the six-month curing/drying time. The actual lard does not lose much weight since pork fat has a much lower amount of water/moisture than the main meat muscle.
Key Ingredients
To make this recipe as helpful as possible, I’ve created a custom calculator inside the craft recipe below. This will auto-calculate the salt and spices based on the weight of the meat.
Sea Salt is essential for any curing project. For this style of equilibrium curing, it’s best to make the salt finer (I prefer powdery) and distribute it throughout the meat during curing.
If you use pink-curing salt, 90% salt and nitrates/nitrites comprise the rest. Therefore, if you want a total salt amount of 2.25%, 0.25% of this total can be the pink-curing salt.
Quality of Meat
It all starts with quality pork. Certain breeds have been made famous for dry-cured traditional meats like Duroc, White Berkshire, and Mangalica (also known as Mangalitsa or Mangalitza). The type of pig, how it is fed, and its age are important factors.
This often means the pig must be 12-14 months old. I’ve usually found 16-24 months ideal for the meat-to-fat ratio (talk to the butcher or do the research!).
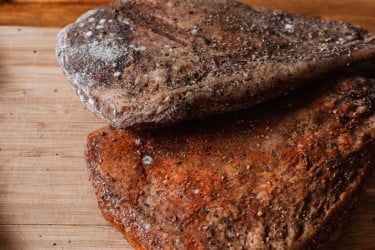
Pork back fat is very prized in a quality pig. It’s often the cornerstone of many salami recipes. I’ve found a 1-2kg/2-4pds piece of back fat that is perfect for making lardo. It really should be 2-3″ thick or more.
The process of dry curing meat intensifies the meat flavor, which is why meat quality is imperative to salt dry curing.
Sugar should not be an ingredient in classic Italian salumi of any kind.
Key Equipment
For this equilibrium salt dry curing method (link to a guide I wrote), an accurate digital scale – this is a subject covered a lot on this website, here is a page on scales. It’s nearly imperative (or another form of accurate scale allowing precise measurements of one decimal place per gram).
Having an adequate-sized bag for the meat during curing is key. This isn’t hung to dry as per the other classic Italian salumi dry cured meats. This is left in the salt cure for 6 months.
The air is to be removed inside the bag. I use Ziploc bags or water bath/sous vide bags for this task. The goal is to have the meat and cure “equalizing” inside the bag.
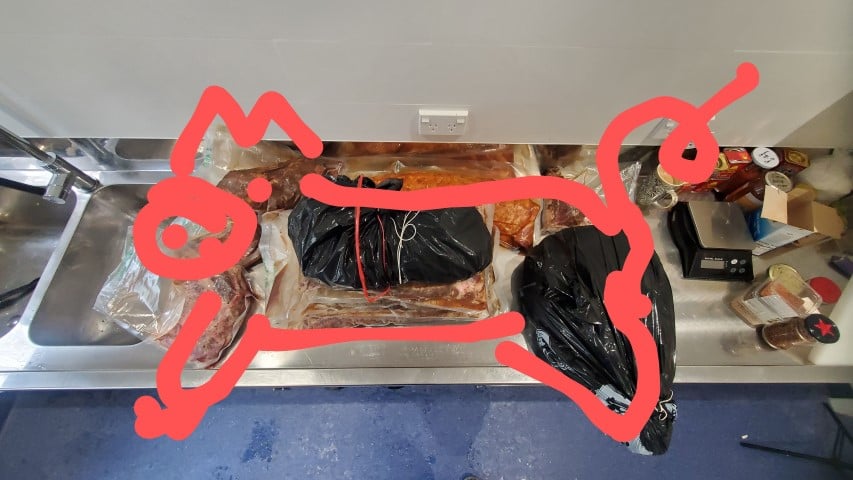
I prefer to use another bag around the curing bag, usually black. The avoidance of light is beneficial. Light can turn the fat yellow and rancid.
How to make Lardo
A well-fed pig should produce back fat of 2 inches + up to 4 inches
No drying and hanging with Lardo.
Curing Steps
Step 1
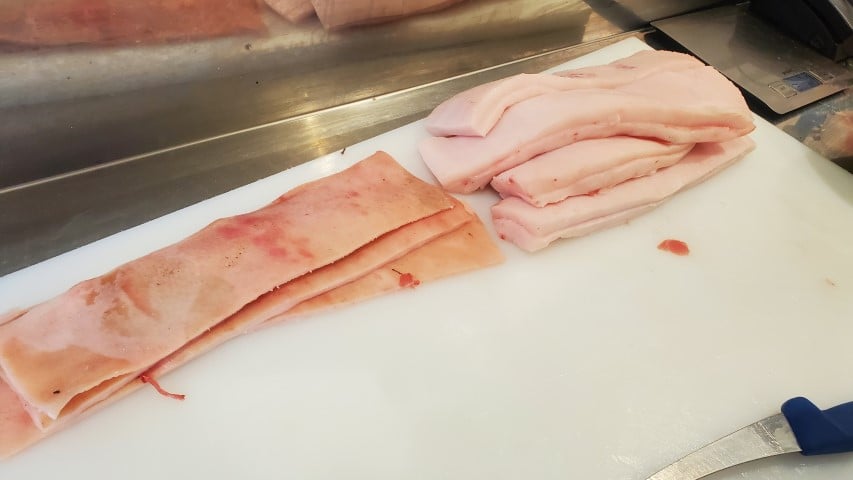
Depending on the shape of the meat, you may need to shape and trim it. Traditional beef is square or rectangular.
If need be, you trim and process the meat first. Removing the skin.
Step 2
Weighing the meat first for the equilibrium curing method, you can also record the minimum 30% weight loss needed for the drying process below. The weight of the meat can be entered in the calculator below, which will auto-calculate the spices.
If using nitrates/nitrites, accurately calculate the required pink-curing salt No. 2 (optional). No.2 Pink Curing is for meat-curing projects over 30 days long.
Step 3
Use a mortar and pestle or spice grinder to make the salt cure mixture finer; if it is coarse, this will help spread the mixture evenly across the meat.
Ensure there are no lumps to spice clusters in the cure mixture.
Step 4
Mix salt cure mixture, and apply to meat in a bowl or lipped metal tray.
Step 5
Place the meat and all the cured mixture from the bowl into a bag.
Step 6
Remove the air from the Vacu-Pak or Ziploc bag; the goal is to have minimal air in the bag during curing. Then, wrap another bag around the curing bag to prevent light.
Step 7
Cure in a fridge or cool area at 2-6°C or 35-45°F – 4 months minimum, up to 8 months.
Step 8
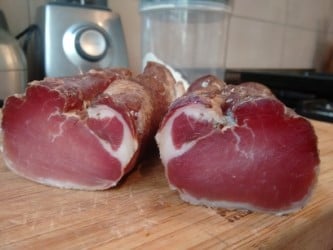
Once at least four months have passed, remove the bag and rinse, optionally, with water or wine.
The lardo is complete.
Expert Tips
- Remove as much oxygen as possible to force equalizing since this project is completely done inside a regular fridge (or at a near-fridge temperature).
- This is a set-and-forget dry-cured recipe, one of the only ones where hanging and drying are not applicable.
Recipe Variations
You can vary the amount of sea salt to your preference. A minimum of 2.0% salt is needed for curing. My salt level is often 2.25% total.
The maximum I prefer for saltiness in dry-cured whole muscle is 3.0%.
What & How to Serve
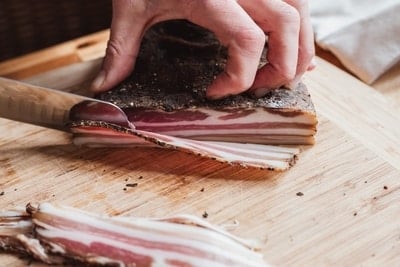
- Slice wafer-thin. It may be easier to cool the lardo briefly once it is finished in the freezer to make slicing with a knife or deli-slicer easier.
- Lardo is the ultimate replacement to butter. When placed on quality toasted bread, it melts if thin.
- It can also be used instead of oil for frying in a pan for incredible depth of flavor.
Frequently Asked Questions
How Long Does it Take to Make Lardo?
After 4 months, the Lardo will be ready; however, 6-9 months is also possible for a deeper, umami-rich flavor.
Does Lardo Go Bad and Spoil?
If kept in a fridge without light, lardo can last several years. It will begin to render and melt at room temperature outside of a fridge.
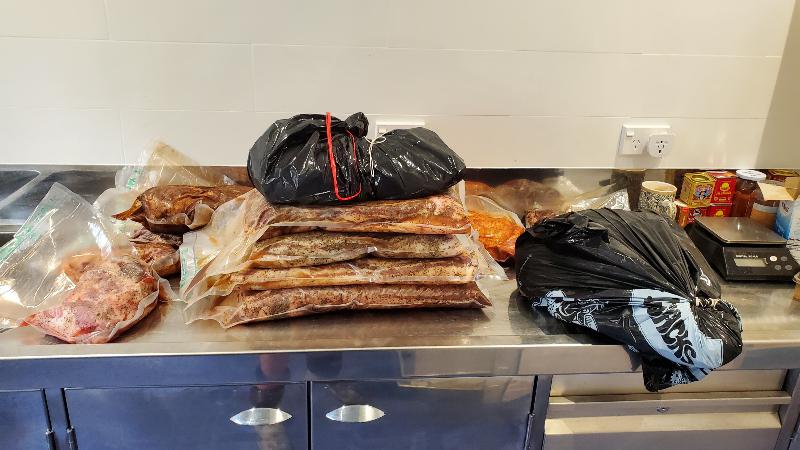
Storing and Shelf Life
Vacuum-packing and storing it in the fridge can be used for several years. I’ve had dry-cured meats, like lardo, in vac-packed bags in my fridge for two to three years.
More Craft Recipes You’ll Enjoy
What to Expect for Serving Size
Dry-cured salumi, like this, were never produced to be eaten as a primary protein for a meal.
Since the fat is rich, it’s a craft creation to be savored in small amounts. Twenty grams is plenty per person as a starter.
Scaling the Craft Recipe
You will see below the recipe has an auto-calculating recipe based on the input of the meat weight.
This will allow you to calculate the salt cure mixture. If you wish to adjust the calculation below, you can also use a meat curing calculator I created on this page.
Lardo- Dry Cured (Equilibrium)
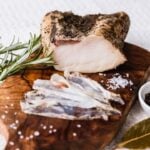
Using quality back fat from a well-fed, older animal. The back fat is cured many months in the dark for the salt and spices/herbs to penetrate and permeate.
One of the great pleasures of all the classic Italian salum recipe is quality lardo, cut thinly and melted onto quality toasted bread.
Lardo can be used as part of a antipasti or as a base for cooking. You can render the lardo to create a rich base for anything.
Ingredients
- 1000 g Quality Pork Back Fat
- 22.5 g Salt (2.25% of meat weight)
- 4 g Rosemary – Dry (0.4% of meat weight)
- 3 g Juniper Berries (0.3% of meat weight)
- 1 g Bay leaf / Sweet Laurel – Dry (0.1% of meat weight)
- 2.5 g Pink Curing Salt No. 2 (Prague Powder #2, Instacure #2, many other names – To be used for over 30 days meat curing projects (0.25% of meat weight) Optional See Notes
Instructions
Curing Steps
-
Trim to the desired shape. 2-4" Thickness Desirable. Remove the skin.
-
Weigh the meat accurately, record weight.
-
Calculate or use the Recipe Above to Auto-calculate the Salt and Spices
-
Use a Mortar and Pestle or Spice Grinder to mix the salt and spices. Mix salt, spices, and optional curing agents thoroughly, ensuring even distribution in the cure.
-
In a large bowl or tray rub and cover the meat with the salt and spices (it will seem like not much, but this is enough of the cure)
-
Apply the Cure: Coat the meat with the curing mixture, ensuring all surfaces are covered, including crevices in the meat.
-
Place the meat and all the salt cure mixture into a sealable bag- options include vacuum bags, zip lock bags etc. Use another bag that is not transparent, so light doesnt effect the fat during curing. (doesn't have to be airtight)
-
After 4-6 Months Remove from Bag. Project is Complete. Weight loss is not as relevant with lardo, mainly because fat has less water/moisture content. The salt cure will travel slowere through the fat, hence the 6 months curing to finish.
Recipe Notes
Please note that the craft of making dry-cured meats is beyond a recipe. This is not a cooked product. It takes a reasonable amount of knowledge to create salumi, charcuterie, and salami safely.
My advice is if you have doubts about smell or visual cues, then it’s not worth eating.
This is my interpretation of a classic salumi whole muscle dry cured meat project.
- If you want to try dry curing at home, and don’t have a hanging area. This can all be done in a regular fridge temperature, especially this recipe.
- Pink Curing salt is an optional ingredient – please carefully read this other article I’ve written about this.
- If you want to build a DIY dry chamber, I’ve written extensively on the topic here.
Feel free to leave a comment if you have any questions or have anything to chat about!

Tom Mueller
For decades, immersed in studying, working, learning, and teaching the craft of meat curing, sharing the passion and showcasing the world of charcuterie and smoked meat. Read More