Why Make Pancetta Tesa
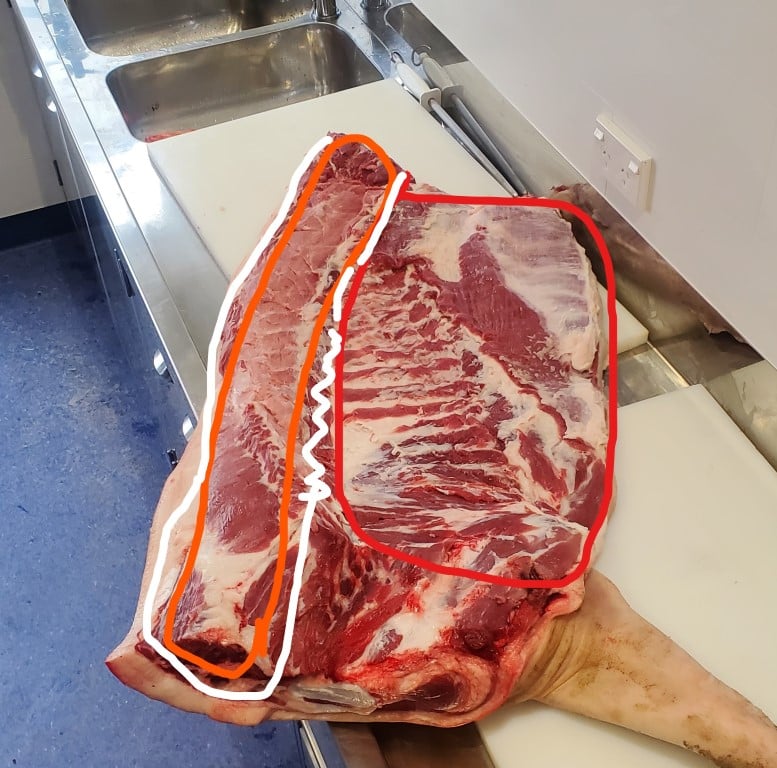
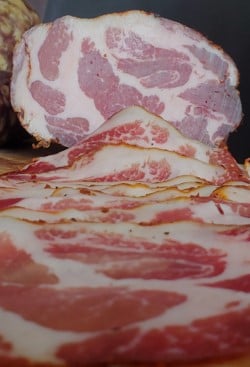
One of the most versatile classic types of salt-dry cured meat is made from the classic whole muscles of the pig. “Tesa” style pancetta is flat in shape; the other primary type is “Arrotolata.”
It is used for hundreds of Italian dishes or as an antipasto (charcuterie board appetizer). This dry-cured meat will be one of the most valuable preserved meats you can have in the kitchen.
Since it holds a decent amount of fat, you can use cubed pancetta as a base for a huge variety of pasta, soups, stews, and broths.
Key Ingredients
To make this recipe as helpful as possible, I’ve created a custom calculator inside the craft recipe below. This will auto-calculate the salt and spices based on the weight of the meat.
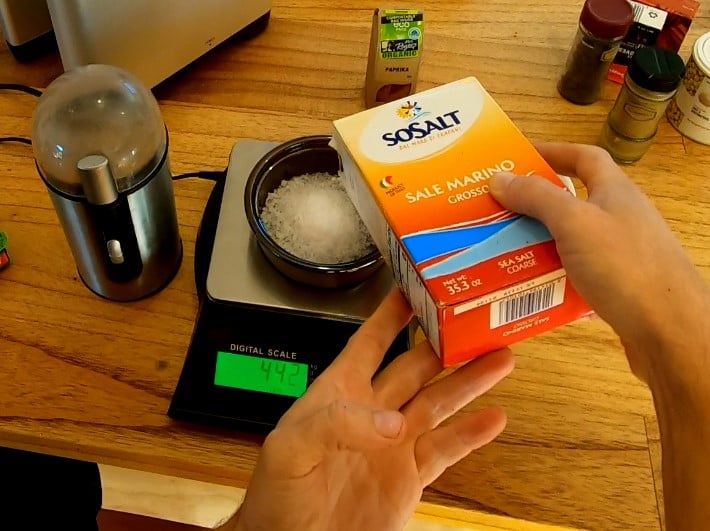
Sea Salt is essential for any curing project, including making pancetta. For this style of equilibrium curing, it’s best to grind the salt to a fine consistency to distribute it evenly throughout the meat during curing.
Quality pork belly is the other main ingredient; you need a reasonable fat ratio to meat. This often means the pig must be at least 12-14 months old. I’ve often found 24 months ideal for the meat-to-fat ratio (talk to the butcher or do the research!).
The process of dry curing meat intensifies the meat flavor, which is why the quality of meat is imperative to salt dry curing.
Sugar should not be an ingredient in classic Italian pancetta of any kind.
Substitutes
Since this is a focus on a traditional craft recipe with hundreds (possibly thousands) of years of history, it’s not really appropriate to suggest substitutions.
However, if you need a similar style of dry-cured classic Italian meat, then guanciale from the pig’s jowl is also used in Italy as a substitute. It has quality fat, and some would say it is the best fat on the pig.
Key Equipment
For this equilibrium salt dry curing method (link to a guide I wrote), an accurate digital scale is required. This subject is covered extensively on this website; here is a page dedicated to scales. It’s nearly imperative (or another form of accurate scale that allows precise measurements to one decimal place per gram).
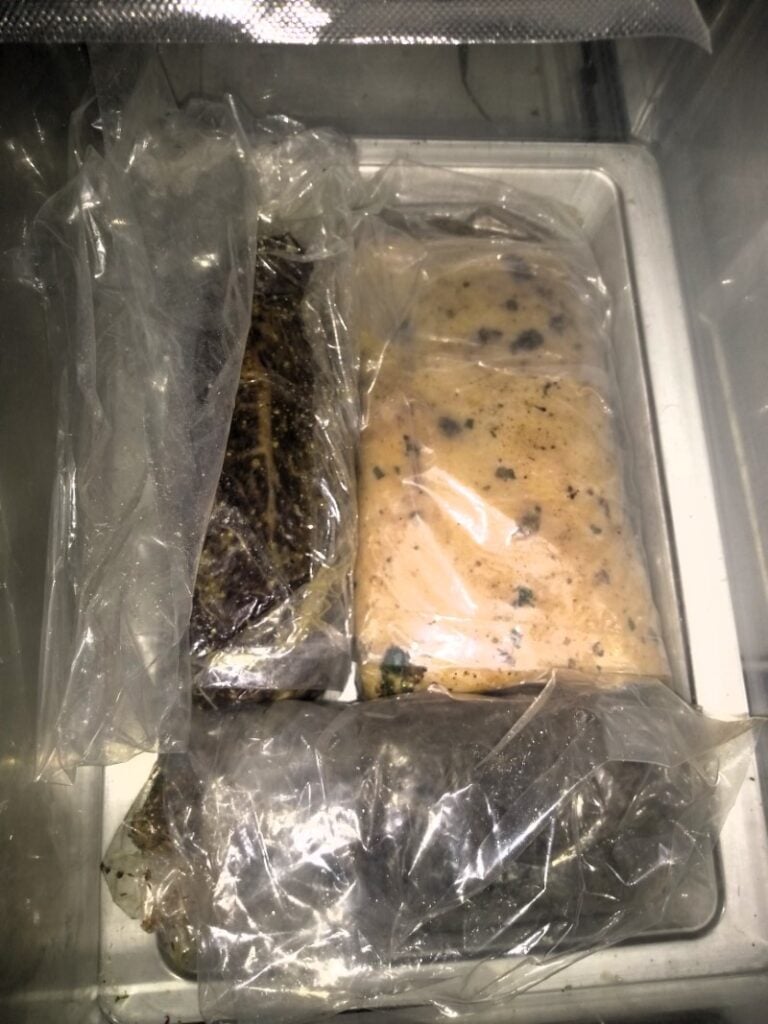
Having an adequately sized bag for the pork belly during curing is key. The air is to be removed from the bag. I use Ziploc bags or water bath/sous vide bags for this task. The goal is to have the meat and cure “equalizing” inside the bag.
How to make Pancetta Tesa
Curing Steps
Step 1
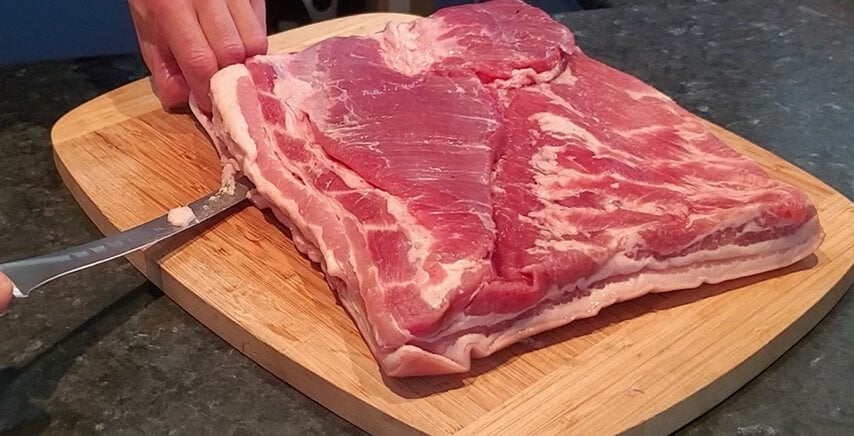
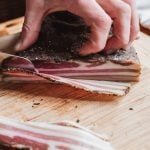
If desired, trim and remove the skin first (optional). Below, I’m removing the skin using a flexible knife blade. A filleting or prosciutto knife works for this.
Sometimes, I keep the skin, and when it’s finished, I use it for broths and stocks. If it’s dried straight and doesn’t have waves in it, it’s relatively easy to slice off once it’s finished.
Next, the salt cure is applied, followed by the drying and hanging stage.
Step 2
Weighing the pork belly meat first, the equilibrium curing method, you can also record the minimum 30% weight loss needed for the drying process below.
If using a salt curing agent. Calculate the required pink-curing salt No. 2 (optional) accurately. No. 2 Pink Curing is for meat-curing projects lasting over 30 days.
Step 3
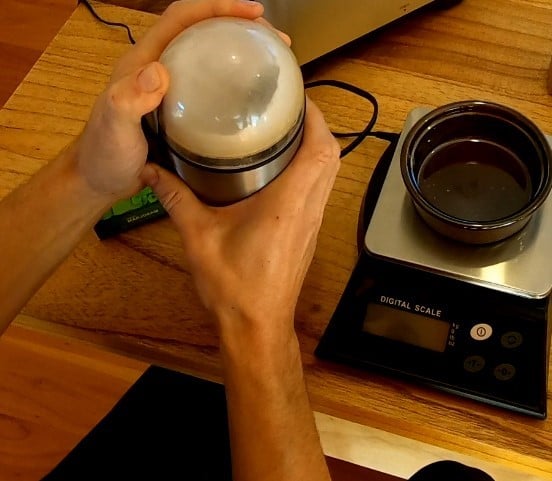
Use a Mortar and Pestle or Spice Grinder to make the salt cure mixture finer. If it is finer, this will help to spread the mixture evenly across the pork belly.
Ensure there are no lumps or clusters of spice in the cure mixture.
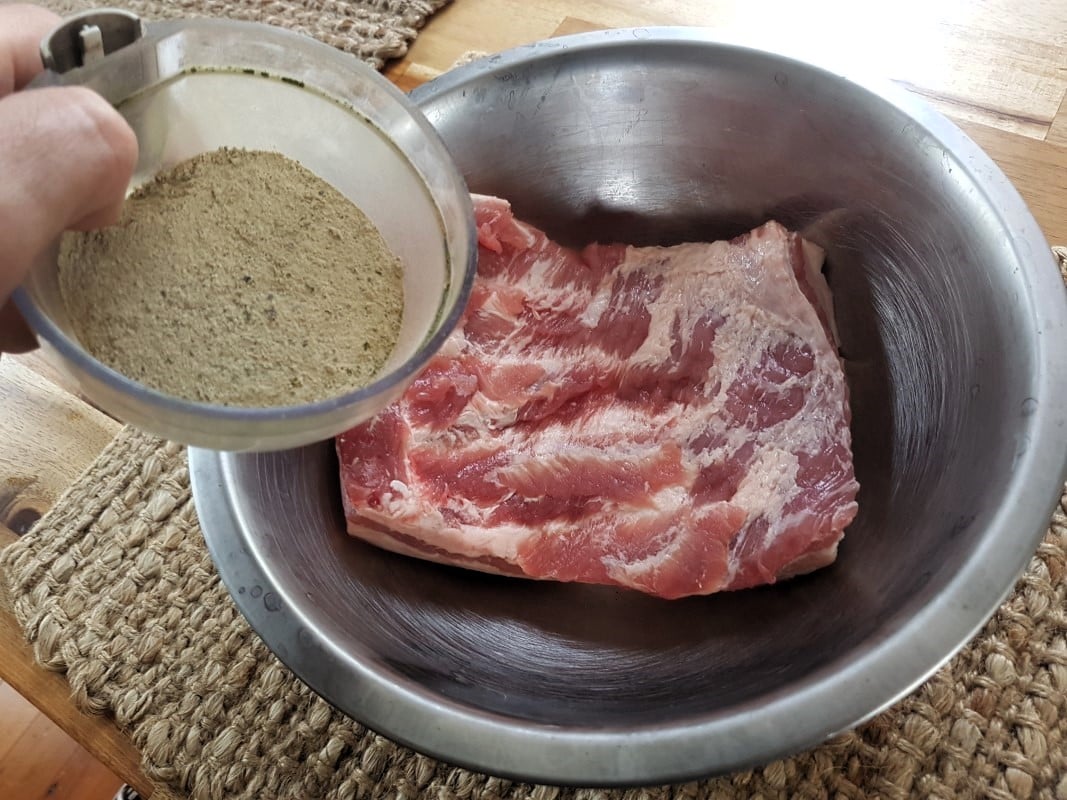
Step 4
Mix the salt cure mixture, and apply it to the meat in a bowl or a tray.
Step 5
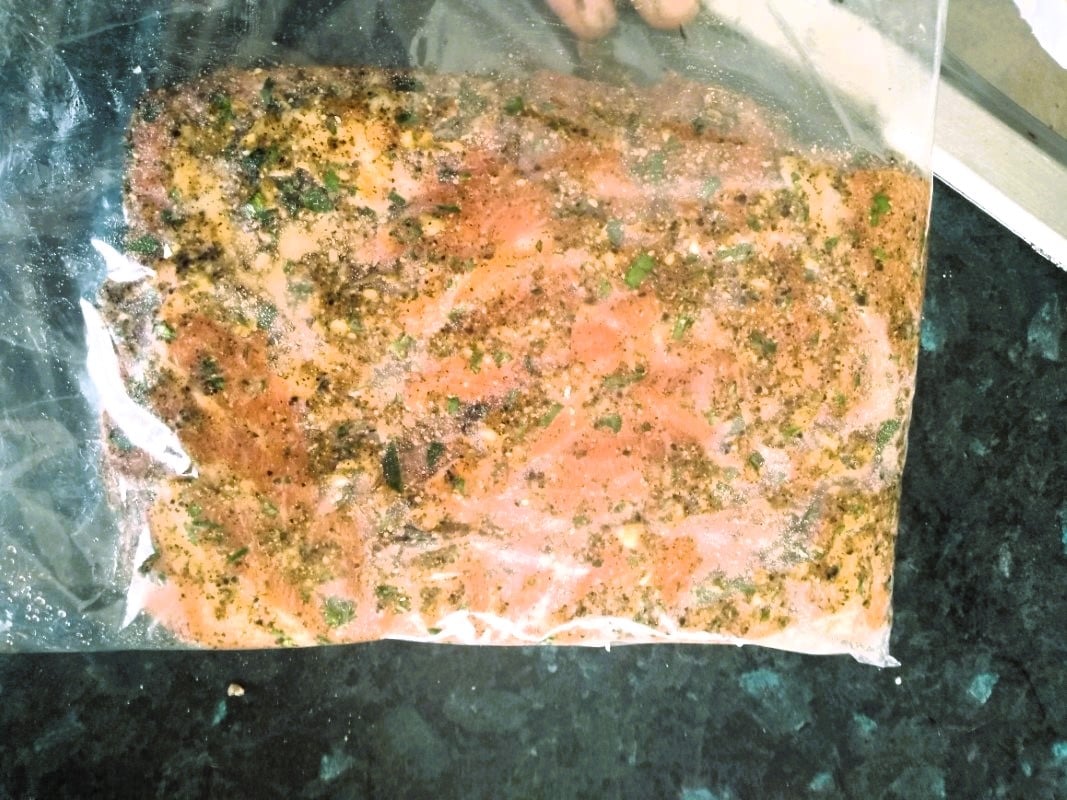
Place the meat and all the salt-cure mixture (as much as possible) from the bowl/tray into a bag. Use the meat to wipe the salt mixture from the bowl/tray.
Ideally, it should be flat; try to place all the cure mixture into the bag.
Step 6
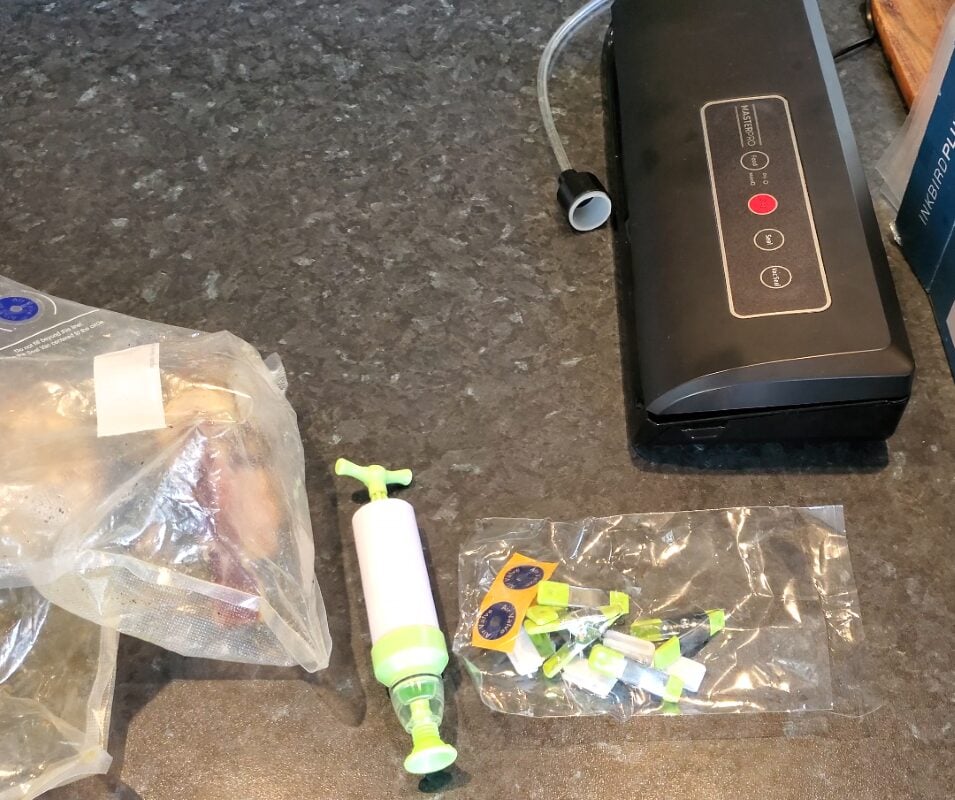
Remove the air from the vacpac or ziplock bag; the goal is to have minimal air in the bag during curing.
Step 7
Cure in a fridge or cool area at 2-6°C or 35-45°F
Imperial – 3 Days per Inch Thickness of Meat
Metric – 3 Days per 25mm Thickness of Meat
The advantage of using equilibrium curing, you can have the meat curing for an extra week or two. This will not increase the saltiness of the meat.
Drying Steps
Step 8
Once fully cured, remove from the bag & rinse, optional, with water or wine.
(If you forgot, weigh the meat and calculate 70% of the weight; this is a minimum weight loss for finished pancetta after hanging/drying.)
Stage 9
Make holes carefully through one end of the pork belly, ideally the thinner side. Use S-hooks or butcher’s twine to create a hanging system.
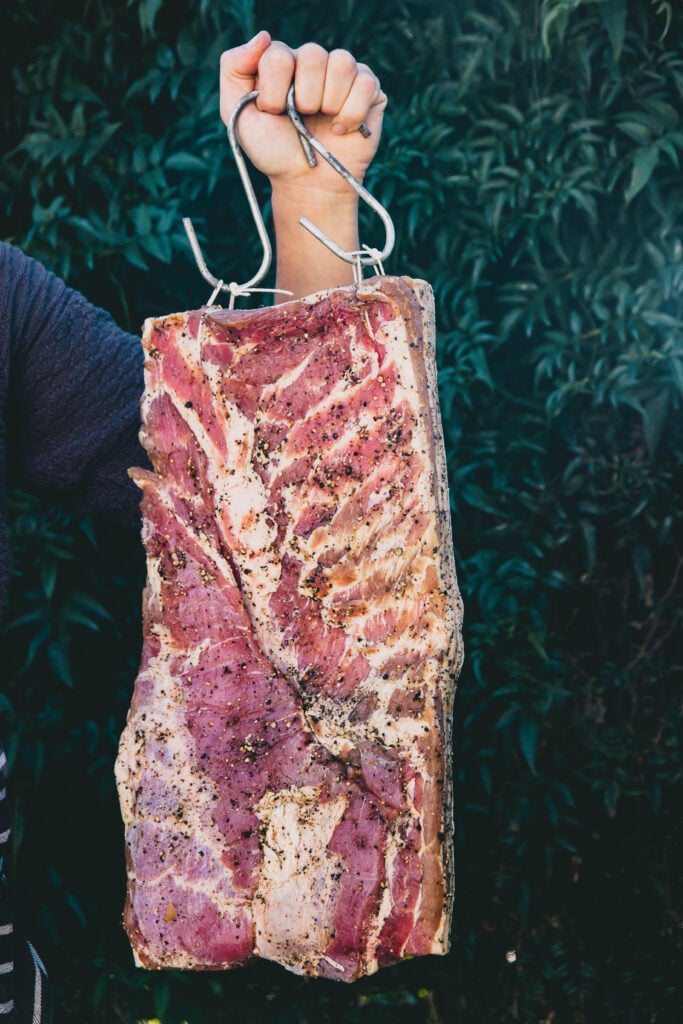
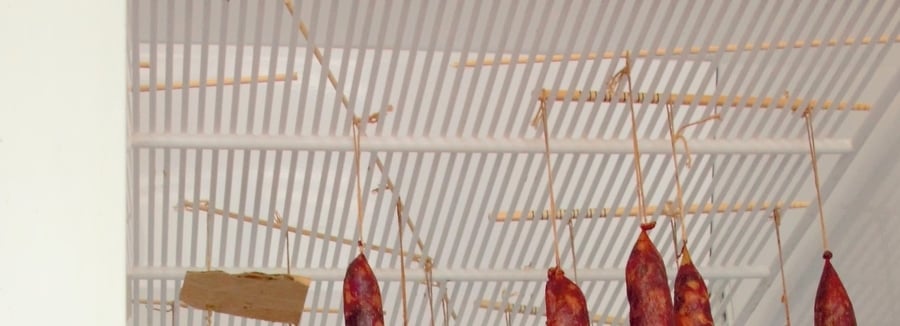
Hang the cured pork belly in a suitable environment. This could be a wine cellar, garage, shed, DIY dry curing chamber, commercial dry curing chamber, or the conditions should be in this range, approximately:
| Temperature | Humidity |
| 50-61°F/10-16°C | 65-75% |
You will need to check the meat while it is drying regularly. The reason for these conditions is to slowly dry the meat without drying the outside before the inside loses moisture (often called ‘case hardening’).
Airflow will also vary the speed of drying. A small amount of airflow is desirable, and often, ‘fresh’ air or a breeze is also preferred to avoid unwanted mold.
If too much ‘good’ mold forms, you can use vinegar of any sort to wipe or brush away excess amounts, for more on molds please read this article I wrote.
Step 9
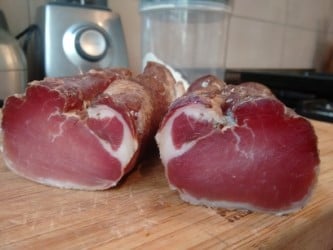
Once the weight loss reaches a minimum of 30%, ideally 30-40%, then the pancetta tesa is complete.
Expert Tips
- For extremely high fat-to-meat ratios in pork belly, weight loss can be as low as 30%. The fat of the pork contains less water, so it doesn’t lose as much weight as the meat muscle.
- During the curing stage, pork fat salt curing can also take longer since this curing method (equilibrium curing) is flexible regarding the time in the curing stage. For a very fatty pork belly, an extra week can be added to ensure the cure is evenly distributed.
- Ensure the pork belly remains as flat as possible during the drying phase, especially if the skin is left intact. Once the skin is dry, it is very tough to cut through. If it’s not flat, removing the pork skin can be more challenging. For the first time, I recommend not having skin on (you can use it to make pork scratchings!).
- Having at least 3-6 hooks on the pork belly whilst drying will help keep the pork flat during the drying process.
- Some of the classic dry-cured meats are cased to create more even drying. For this dry cured meat, it’s not wrapped or cased.
If you wish to read more in-depth about dry curing meat, I’ve got a guide page that highlights more details of the craft of meat curing, here is the page.
Recipe Variations
You can vary the amount of sea salt to your preference. A minimum of 2.0% salt is needed for curing. I prefer 2.25% for this dry-cured meat recipe.
The maximum I prefer for saltiness in the pancetta is 3.0%.
What & How to Serve
- Slice wafer-thin, add to an antipasti board as a starter/appetizer
- Cut into cubes and make a classic Spaghetti Carbonara
Frequently Asked Questions
How Do I Choose the Pork Belly for Pancetta?
Learn about the meat, what the pig ate, how old it was, and when it was killed. Fresh pork must be used. Frozen pork belly can be used if it was frozen fresh and thawed carefully.
Is it Hard to Make Dry-Cured Pancetta?
It is not difficult if the above process is followed and general kitchen hygiene practices are observed. However, like anything of quality, it does take time to produce, typically 2-3 months or more.
Do I Need to Use Pink Curing Salt?
The quality of the meat is a crucial factor. Pink curing salt no. 2 can be used for any meat curing project. Statistically, botulism cases are very rare in meat curing at home. Whether to include it in the salt cure is a personal decision.
Storing and Shelf Life
If the environment is cool, approximately 50-60°F/10-15°C, the pancetta can be hung around the kitchen. It’s preserved, so you can simply cut off the amounts as needed.
Placing it unwrapped in the fridge will speed up the drying. Most domestic fridges have a humidity of 20-40%.
Vacuum-packing and storing it in the fridge can be used for several years. I’ve had pancetta in vac-packed bags in my fridge for three years.
More Craft Recipes You’ll Enjoy
What to Expect for Serving Size
Since pancetta has often lost 30% of its weight, it’s a more condensed form of protein. Dry-cured salumi, like pancetta, were never produced to be eaten as a primary form of protein for a meal.
It’s a craft creation to be savored in small amounts. Twenty to fifty grams is plenty per person as a starter.
Scaling the Craft Recipe
You will see below that the recipe has an auto-calculating recipe based on the input of the meat weight.
This will allow you to calculate the salt-cure mixture for the pancetta
Pancetta Tesa – Dry Cured (Equilibrium)
Using quality pork from a well-fed, older animal. The pork belly of the pig is used, boneless and often rectangular in shape (could be 1-5kg / 2-10lbs). One of the most versatile Italian's classic dry cured meats. It's used in many Italian dishes or can be served as a antipasti/charcuterie board.
Ingredients
- 1000 g Pork Belly
- 22.5 g Salt (2.25% of meat weight)
- 2.5 g Pink Curing Salt No. 2 (Prague Powder #2, Instacure #2, many other names – To be used for over 30 days meat curing projects (0.25% of meat weight) Optional See Notes
- 4 g Black Peppercorns (0.4% of meat weight)
- 4 g Rosemary (0.4% of meat weight)
- 4 g Juniper (0.4% of meat weight)
- 1 g Bay leaf / Sweet Laurel (0.1% of meat weight)
Instructions
Curing Steps
-
Trim to the desired shape. Remove the skin if you wish to.
-
Weigh the meat accurately, record weight
-
Calculate or Use the Recipe Above to Auto-calculate the Salt and Spices
-
Use a Mortar and Pestle or Spice Grinder to mix the salt and spices. Mix salt, spices, and optional curing agents thoroughly, ensuring even distribution in the cure.
-
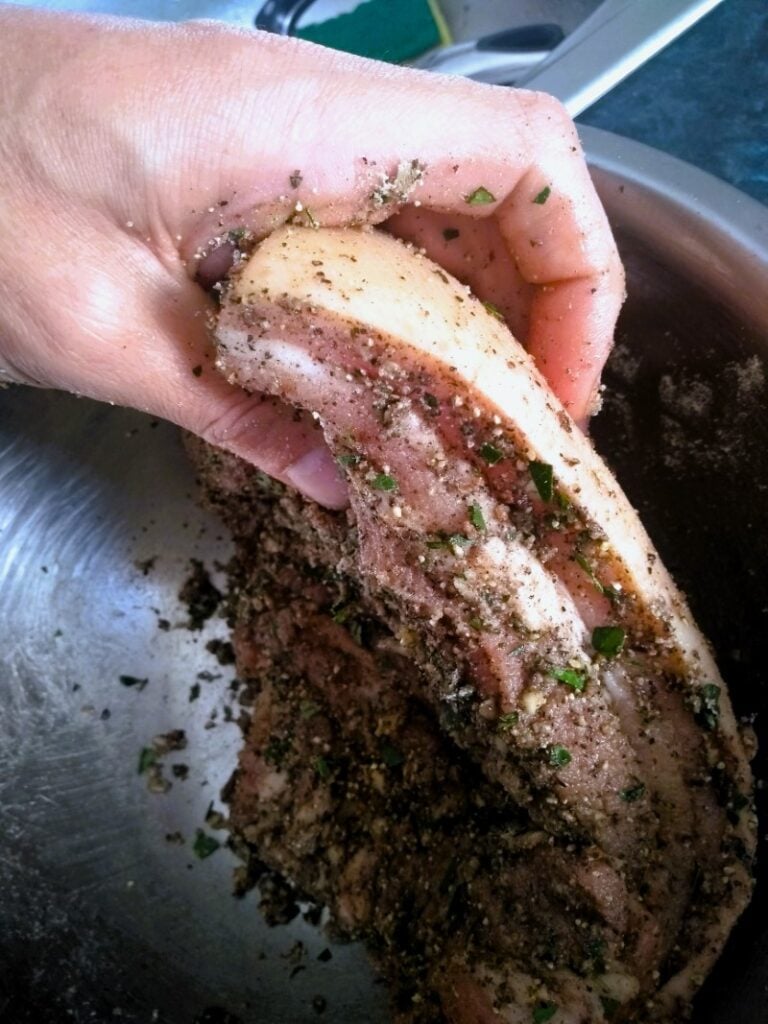
In a large bowl or tray rub and cover the meat with the salt and spices (it will seem like not much, but this is enough of the cure)
-
Apply the Cure: Coat the meat with the curing mixture, ensuring all surfaces are covered, including crevices in the meat.
-
Place the meat and all the salt cure mixture into a sealable bag- options include vacuum bags, zip lock bags etc.
-
Remove From Bag
Hanging and Drying Steps
-
Optionally, apply additional spices or aromatics before hanging – ie. chili, peppercorns
-
Hang in a Suitable Environment: Make a hole with a knife for either a S hook or some butcher twine. Hang the meat in a cool, well-ventilated Area, Cellar, Garage, DIY Curing Chamber, Regular Fridge, Dry Curing Chamber
-
Monitor Progress: Regularly check the meat’s weight and appearance to gauge the curing process’s progression. Vinegar dabbed onto mold can remove it, if excessive growth occurs.
-
Achieve weight loss of a minimum 30%, ideally 35-40%. However, large fat amounts have less water in regards to Weight loss.
Recipe Notes
Please note that the craft of making dry-cured meats is beyond a recipe. This is not a cooked product. It takes a reasonable amount of knowledge to create salumi, charcuterie, and salami safely.
My advice is if you have doubts about smell or visual cues, then it’s not worth eating.
This is my interpretation of a classic salumi whole muscle dry cured meat project.
- Hang the meat in a suitable environment, ensuring proper airflow and humidity levels for optimal drying.
- For small amounts under 300 grams, you can dry the meat on a non-reactive rack in a regular fridge. However, the outcomes will be far from ideal.
- If fuzzy or powdery white mold develops, you must use your senses to assess it. Here is an article about mold in detail.
- Pink Curing salt is an optional ingredient – please carefully read this other article I’ve written about this.
- If you want to build a DIY dry chamber, I’ve written extensively on the topic here.
- Always complete the drying before consumption.
- Uneven drying is always an issue when making dry-cured meats after weight loss is complete. Removing the mold with vinegar, leaving it to dry in a regular fridge, and then vacuum packing for 4-8 weeks can equalize the meat moisture evenly.
I’m always interested in seeing your results. I look forward to your comments.

Tom Mueller
For decades, immersed in studying, working, learning, and teaching the craft of meat curing, sharing the passion and showcasing the world of charcuterie and smoked meat. Read More