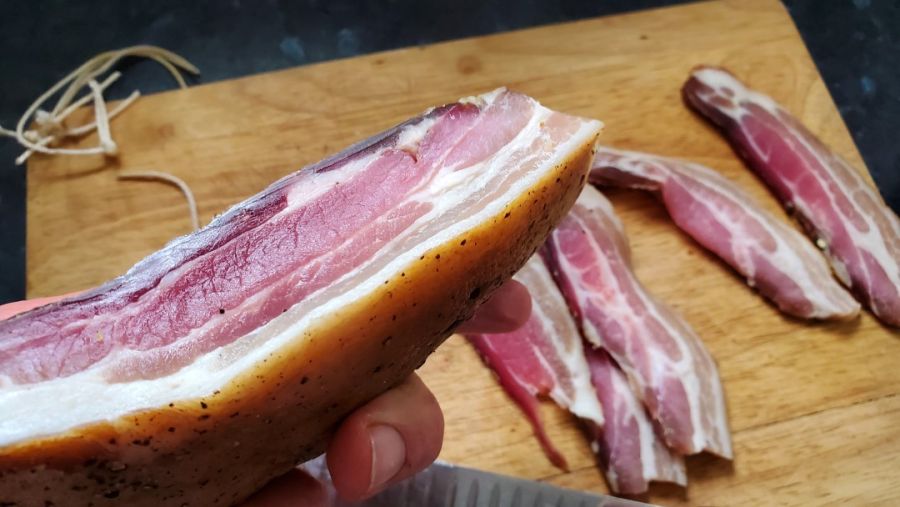
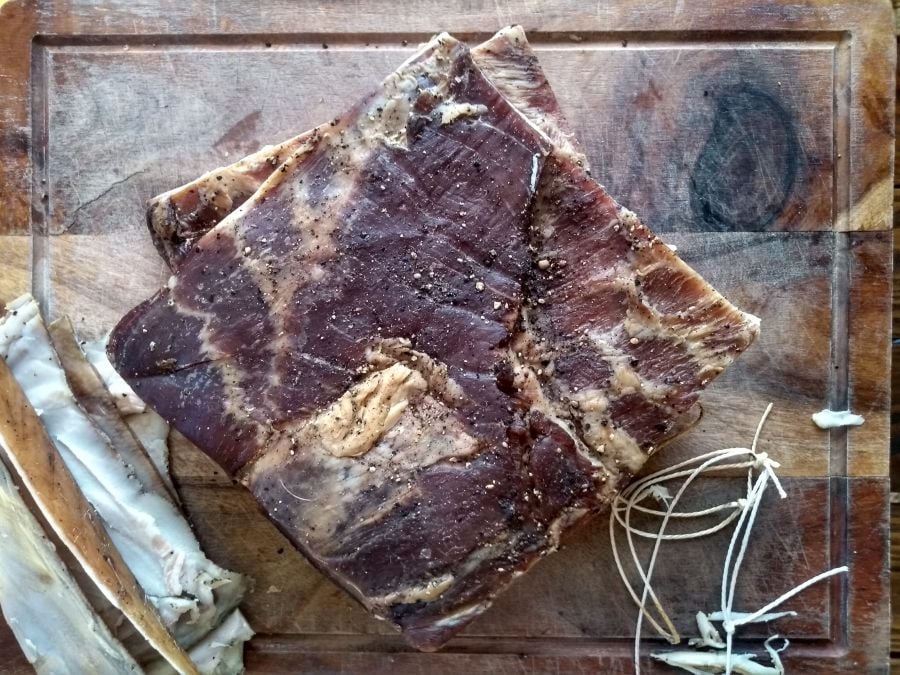
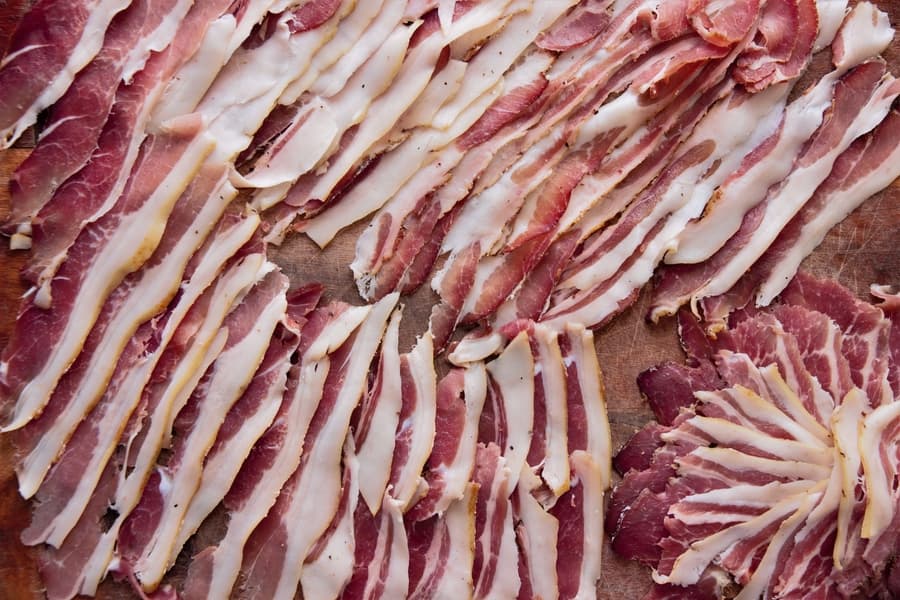
Cold-smoking bacon at home is probably my favorite type of curing, and cold smoking that I do. I have refined my process over many years and wanted to share a step-by-step breakdown of how I do this.
For me, cold smoked bacon is real bacon.
I’ve learned a balance of salt, smoke, and fat (and sweetness if you want).
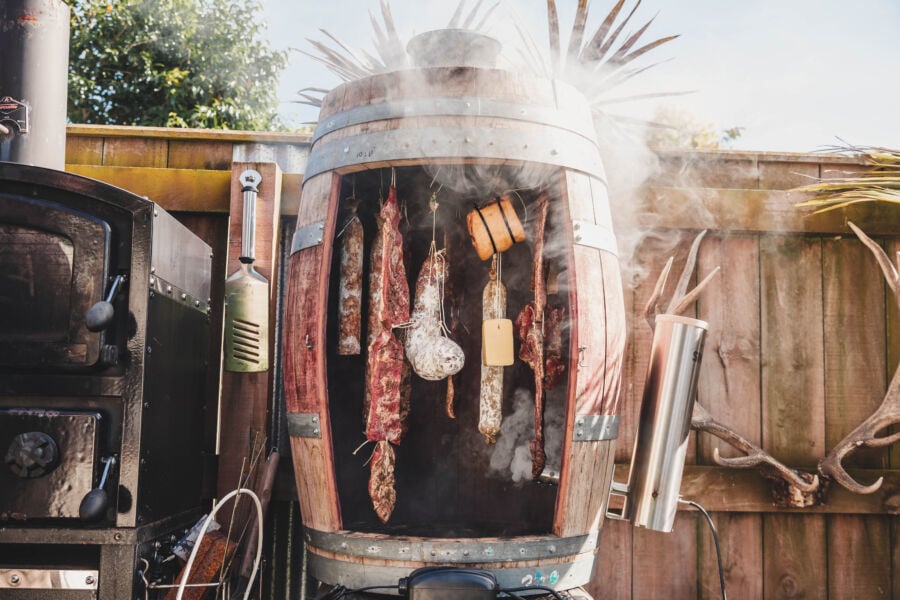
If you follow the correct process, cold-smoking bacon allows for more complex and deeper smoke flavors. This process takes time, often at least a few weeks.
The smoke also carries antibacterial and antifungal properties, used in the past to protect the meat.
It also makes bacon taste awesome!
How to Cold Smoke Bacon at Home
Here are the steps and summary for making your own tasty bacon from pork belly or any other cut of pork.
I’ll explain each step in detail and provide pictures to showcase it. Lastly, I’ll discuss some of the ins and outs of cold-smoking bacon at home that I’ve learned.
Steps to Cold Smoke Bacon at Home
- Trim Pork to a Uniform Size
- Remove Skin if Desired (or keep for stews and stocks)
- Weigh Pork Belly or Saturate Salt cure
- Calculate Salt
- Rub and Mix Cure in a Bowl Over the Meat
- Place Pork and All Cure Inside a Ziploc or Vacuum Sealed Bag
- Leave in Fridge for one week per 1-inch Thickness of Pork
- Remove From Bag, Rinse if Desired
- 9. Hang or Dry 3- 8 hours to form Pellicle
- Cold Smoke for 4-20 hours, depending on Smoke Flavor
- Complete at 15-30% Weight Loss
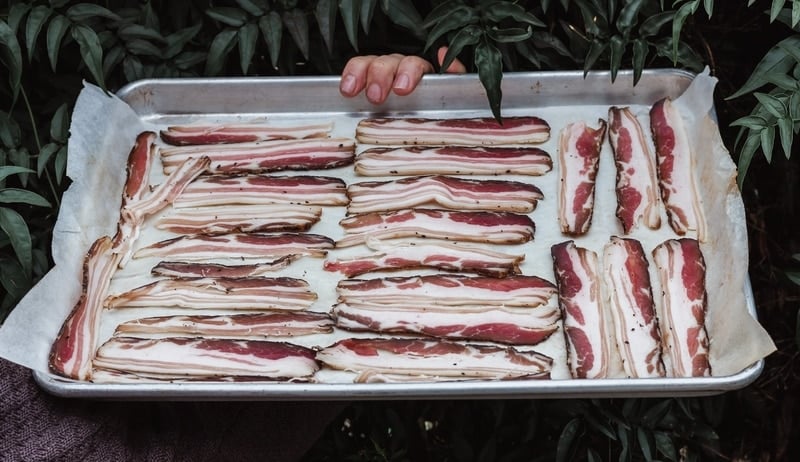
- Remove Skin, Slice, and Freeze in Slices on Baking paper
Breakdown Steps to Cold Smoke Bacon at Home
1. Trim Pork to a Uniform Size
Of course, the classic cut to use is the pork belly. Where I live, it’s sometimes hard to get good quality pork that’s older than eight or nine months, which means it’s often two inches or less thick.
The thicker, the better, I find.
But then there is also the fat-to-meat ratio. Most prefer at least 50% solid white fat running through the belly.
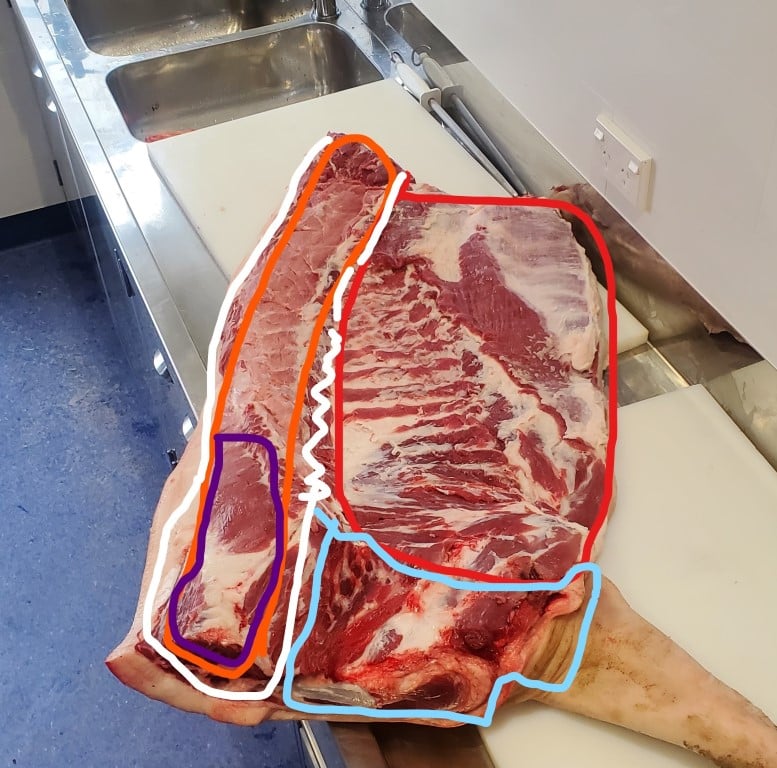
The loin can be used with a streak of fat around the outside and some solid meat inside. I have used a range of random cuts of pork depending on whatever I had handy.
A uniform size, especially one suited to the width of your vacuum sealer bags or Ziploc bags, makes things easier (see above the squeeze).
Other Cuts for Bacon You Could Use:
Here’s a simple table you can use in your blog post:
| Cut of Meat | Description |
|---|---|
| Shoulder | Good meat-to-fat ratio |
| Loin | Often leaner |
| Jowl | Behind the cheek |
2. Remove Skin if Desired (keep for stews and stocks)
When I started making bacon with pork belly, I took the skin off and made pork crackle.
A helpful tip is to use a flexible long blade knife for this, filleting knife works very well.
But nowadays, I like to leave the skin on. Once the curing, smoking, and drying are done to remove the skin, it takes a little time, but it’s worth the effort, I find.
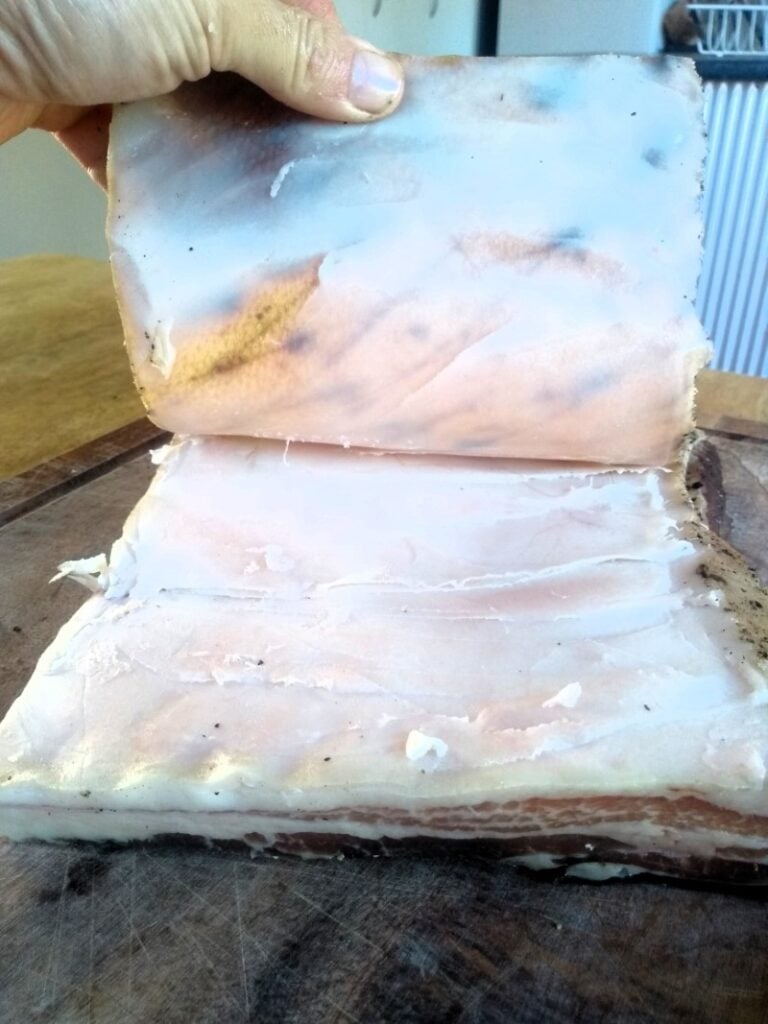
I use kitchen scissors to cut out small squares of the skin and freeze them in a bag. They are an excellent addition to stocks, giving you that delicious smoke flavor.
3. Weigh Pork Belly
Once you’ve achieved the desired shape for your chunk of pork, you need to weigh it to calculate an equilibrium cure.
You can do it the old-school way using a saltbox saturation method. This entails putting a layer of salt above and below your pork and then leaving it for one day per kilogram of meat in the fridge.
My challenge with this approach is that it’s often been too salty. For many years, I have used the equilibrium cure, which creates a salty brine and evenly distributes the salt throughout the meat.
My equilibrium calculator is used thousands of times a month. This page has a link to some guides on equilibrium curing.
4. Calculate Salt and Spice Curing Mix (Equilibrium Curing)
If you haven’t encountered equilibrium curing for meat at home, this is something you want to get familiar with, it’s the cornerstone of meat curing.
Here is a quick reason why:
Different teaspoons of salt will have different weights depending on the salt structure and the brand. However, it will still be the same volume, which makes volume measurements with teaspoons and tablespoons inconsistent.
Using volume for cooking recipes is inaccurate, accurate measurement in weight is consistent.
For nearly all the dry curing I do, the salt level is between 2 and 2.75% of the meat’s weight.
To give you an example, 2% salt equals 20 g per 1000 g of meat.
When you use the above percentages, you cannot go wrong. I have been using this type of salt curing amount for decades.
Garlic, Juniper, and Pepper of each 0.5-1%
Dry Herbs like Thyme, Oregano 0.1-0.5%
You can adjust the salt level depending on how salty you like your bacon. In dry-cured meats, the perceived saltiness changes greatly with thickness.

The regular kitchen scale you have at home probably only has 1 or 5 grams accuracy, but you need a minimum of 1 decimal place accuracy from grams (i.e. 0.X or 0.XX). Home curing for charcuterie meat curing, ideally 2 decimal places.
I wrote a page here about digital scales that are suitable for you to see.
Using the metric system rather than the imperial system with these calculations is much easier.
5. Rub and Mix Cure in a Bowl all Over the Meat
In a large bowl, I sprinkle the cure mix with one hand and work it into the meat with the other, ensuring all the crevices and flaps of meat have the mix on them.
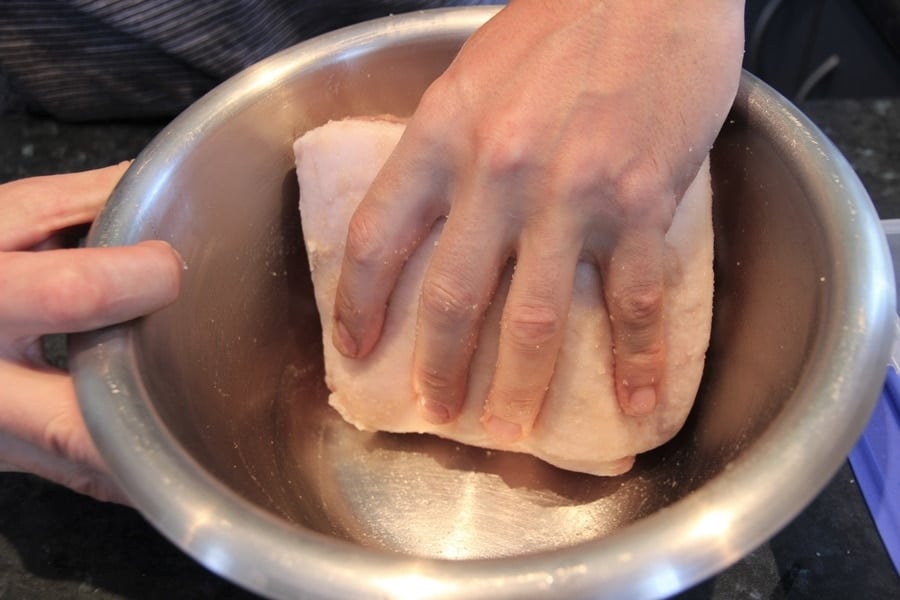
You have to spread and sprinkle the mixture all over to make sure it covers each side.
Then, you wipe up the bowl with the meat to ensure that as much of the cure adheres to the meat as possible.
You can also put any leftover cure from the bowl into the meat in the bag.
6. Place Pork and all Cure Inside Bag
Ensure minimal oxygen is left in the bag when all the meat and cured are nicely placed inside your bag (you don’t need a vacuum sealing set-up).
Equilibrium curing gives you more flexibility because it doesn’t matter if the curing is a week or two longer than you need.
4 Days per 1 inch of meat is the golden rule I use for this equilibrium bag curing.
If using a standard bag. Roll the bag up and squeeze as much air as possible out.
An optional step is placing some weight on top to force the cure through the meat more.
Flipping the bag every two or three days is always a good idea, but I’ve never had issues when I don’t flip it.
In effect, when you create a very accurate wet curing brine that is doing some water-binding, the salt will start sticking to the cells inside the meat just as the old method of saturation curing diffusion occurs – to a certain extent, this is happening from the meat science side of it too.
7. Leave in Fridge for 4 Days per 1-inch Thickness of Meat
I like to place it inside or underneath the vegetable drawer at the bottom of the kitchen fridge.
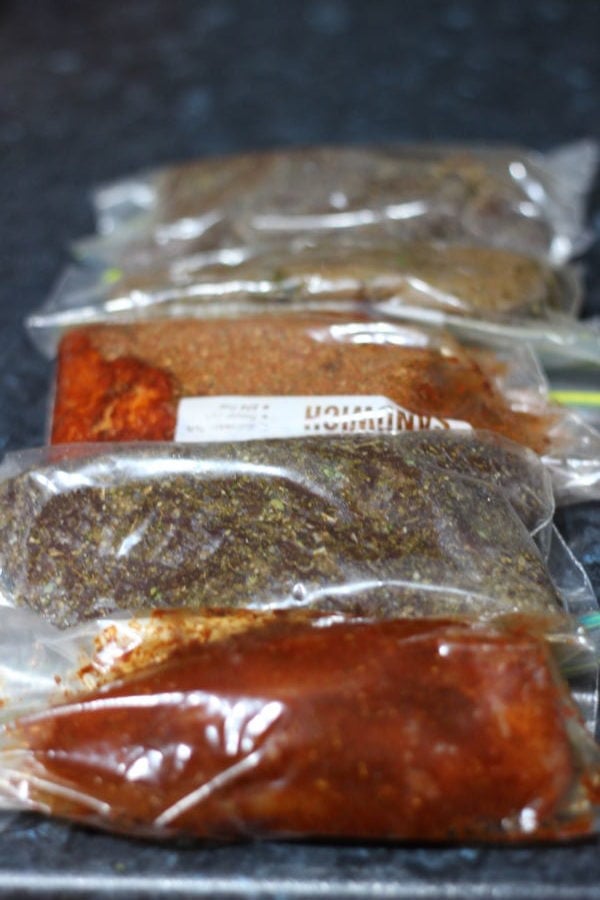
It is always a good idea to write down on the bag the start and end dates, what you are curing, and when you check the finishing weight, especially if you’re doing a batch!
8. Remove from Bag.-Rinse Optional.
I like spices and cracked pepper on the outside of the many bacon of dry-cured meats I make, so I don’t rinse—unless with some wine, of course!
Because equilibrium curing is done precisely, you don’t have to check the level of saltiness that occurs. Other techniques involve ‘test frying’ a slice to see how salty it is. If you want, you can do this.
Some other bacon recipes I’ve read online mention soaking the meat afterward; this is generally only needed if it is over-salted, as mentioned, which can happen with saturation curing.
9. Hang or Dry for 3- 8 hours to form Pellicle
If you want to know about the pellicle I wrote about here, this is a quick rundown on it.
If you form a pellicle on the outside of the meat before you cold or hot smoke the bacon, the smoke vapor and smoke flavor will stick better to the meat.
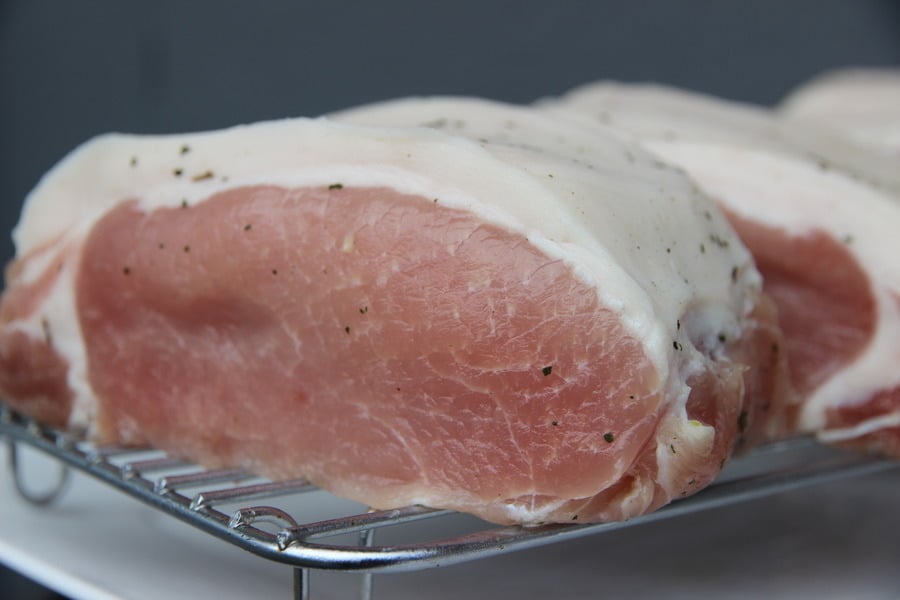
I usually dry the pork in the fridge for eight hours during the day or overnight.
The pellicle binds the proteins together on the outside of the meat and develops a tacky, sticky feel when touched with your finger.
10. Cold Smoke for 4-20 hours, depending on Smoke Flavor
I’ve done cold smoking in many sessions up tp 7 days with 8 hours a day of cold smoking. This is excessive, in my opinion, but you do get a preserving effect.
I think cold smoke vapor can’t do much more to the meat after a few weeks. Cold smoking is a craft, and the amount of smoke, humidity, and airflow can vary the end product greatly.
Cold smoking is like many things in life—less is better than more, although sometimes we forget this.
I find cold smoking has a level of balancing out the fat and salt flavor.
You don’t want big bellowing chunks of smokiness – no – you want to see a transparent and decent amount of airflow through it as well.
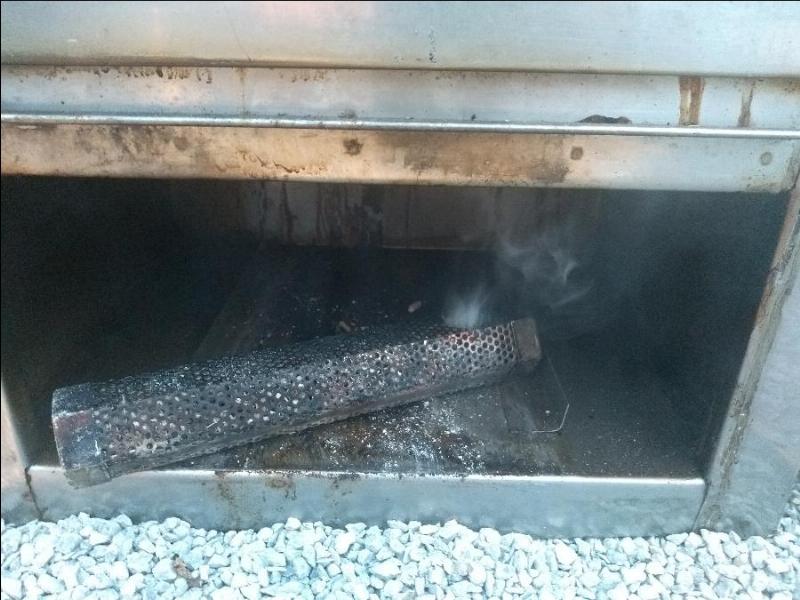
For certain types of dry-cured salamis, based on traditional recipes, it might take 3 approximately 8-hour sessions.
For cold-smoked bacon, I like to do either three-hour sessions or six-hour sessions, and the maximum is eight hours for our household everyday bacon.
For me, this is one 12-inch pellet tube session or a half 12-inch pellet tube session.
To get the next level of control, start the smoke generator, which gives you a great controller and very clean combustion. With a variable airflow pump to adjust the amount of smoke.
Complete at 15-30% Meat Weight Loss
Weight loss is important because, for example, when you dry-cure meat such as prosciutto or pancetta, you want a minimum weight loss of 30%. When this is done, you slice the meat wafer-thin, and it is ready to be eaten.
This is not so much for cold smoked dry cured bacon since you’ll cook it eventually.
Since I always cook my bacon, I have been experimenting with a 15% or 20% weight loss.
You don’t need to put it in the curing chamber; you can put it in your kitchen fridge for a week or two.
You can also hang the meat in a reasonably suitable environment around 52-68°F or 10 to 20°C. But if you don’t put it in a controlled environment like a curing chamber or a kitchen fridge, you expose it to other bits and pieces in that uncontrolled environment.
Now, I’ve also written about the 4 ways you can make bacon here, based on all the styles available, including without a smoker.
Remove Skin, Slice, and Freeze in Slicers on Baking Paper
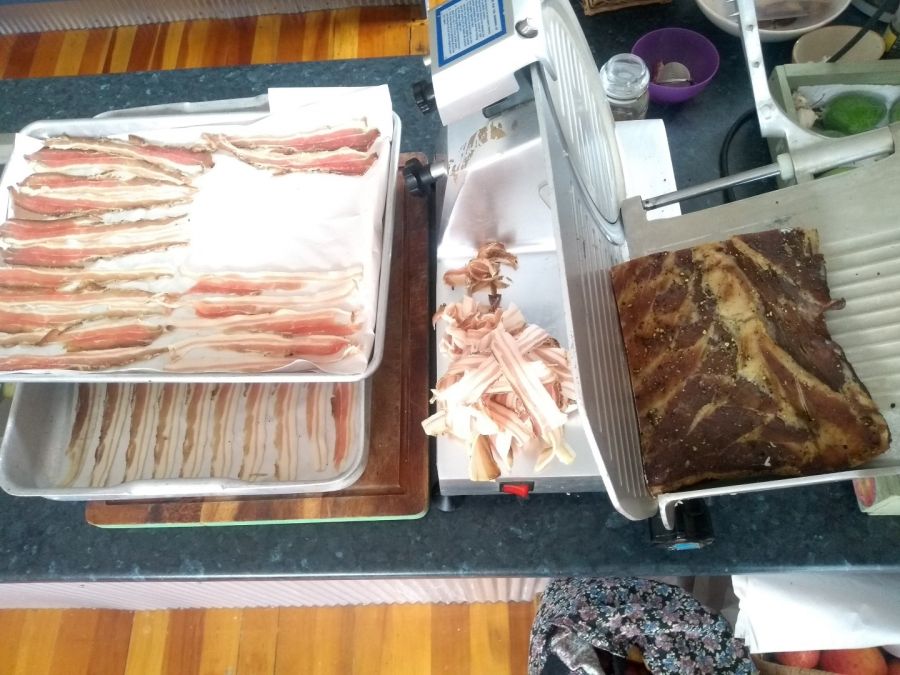
As I mentioned earlier, removing the skin once the meat has dried takes time. Yet, I consider it a valuable resource.
Specific deli slicers make wafer-thin slices, which is more critical for dry-cured meats than for bacon.
I use either an Iberian ham prosciutto knife or a brisket knife to get nice uniform cuts.
(A Brisket knife is probably better).
If you want to dry-cure meat and have the type of deli slicer that will do the job, it’s an investment, but it will do what you want. I recommend a slicer that makes slightly thinner bacon slices, barely 1 to 2 mm.
I recommend and talk about wafer thin slicing here.
Expert Tips
Freeze slightly (not wholly) the bacon for half an hour to an hour. This makes the bacon firmer and more straightforward to slice with a knife.
I have found that it’s great to have cold smoked frozen slices of bacon ready when you want to eat ‘al fresco’ or fry them anytime.
You can use a regular kitchen fridge to dry the bacon, you can also wrap a teatowel around it, to slow the outside drying to fast.
Hanging to dry is ideal since the air circulation is all around the bacon.
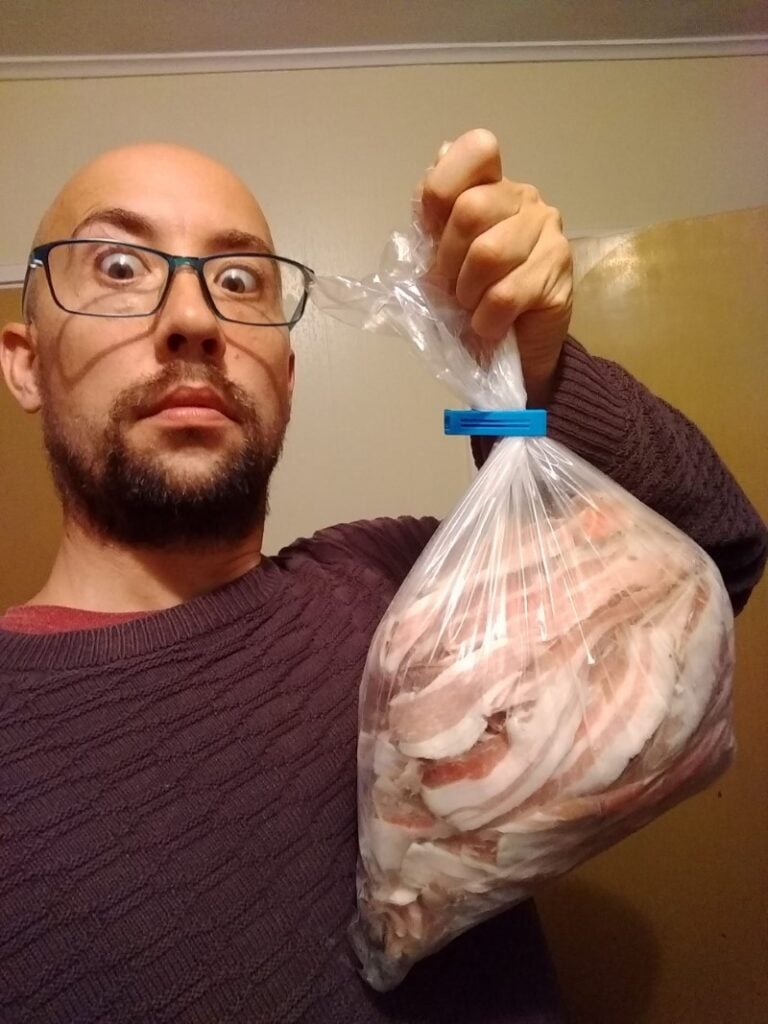
I slice the bacon and lay it on a tray with baking paper. Then, I freeze it for about two hours.
The frozen sliced pieces of bacon go in a bag, and hey presto, all I need to do is grab a handful whenever I want and throw them straight into the frying pan.
Difference between Cold Smoked and Hot Smoked Bacon
Cold-smoked bacon involves curing the meat (wet or dry curing) and adequately drying the outside of the meat to form a pellicle so the smoke vapor sticks to it.
(Hot Smoked Bacon: When curing the meat, you add salt for flavor but not to preserve it. You smoke and cook the meat indirectly with hot heat until it reaches a cooked internal meat temperature. Then, you slice and eat, or re-fry and eat.)
For an article on hot vs. cold smoked bacon – click here.
Types of Wood for Cold Smoking Bacon
Fruitwood like apple is popular. Medium and Light woods like Beech, Oak, and Nut tree woods work well. Heavier, stronger flavors like Hickory and Mequisite can work well also. Any fresh green woods are not recommended for smoking because they can be bad for your health and lead to bad flavors as well.
Is Cold Smoking Bacon Safe?
If quality fresh meat is used, it’s cured properly, and an effective methodology is used. Yes cold smoked bacon is safe. Here is an article for further information on this.
For some other information below to assist you.
Ways to Cold Smoke
Here is a link to different tools to cold smoke bacon.
Guide to Cold Smoking
Find more information in my guide ‘cold smoking’ here, which is also bundled into my charcuterie course as mentioned.
I look forward to hearing your comments and reading what you’ve done.

Tom Mueller
For decades, immersed in studying, working, learning, and teaching the craft of meat curing, sharing the passion and showcasing the world of charcuterie and smoked meat. Read More

