The various equipment you can use to make sausages can be incredibly simple or mechanized so that you can easily process many pounds or kilograms of meat depending on what you are trying to achieve.
Key Points:
- Equipment for sausage making ranges from basic to mechanized, suitable for processing varying amounts of meat.
- Options include manual mincers/grinders and funnel stuffing for small batches, Mixer attachments for moderate volumes, and electric mincers/grinders with stuffers for larger quantities.
- Manual methods like knife chopping or bench-mounted grinders are suitable for small amounts.
- For larger volumes, electric meat mincers/grinders (0.5hp+) paired with stuffers and optional mixers provide efficiency and consistency.
- Considerations for equipment include power, weight, speed, tub size, and chute size for optimal performance and durability.
- Recommended tools include heavy-duty manual grinders, and solid electric mincers/grinders for reliable sausage making based on the desired volume.
I’ll try and guide you through the many different setups I’ve used over the years.
I’ve been making sausages for a few decades at home and have also seen many butchers and commercial operators who produce thousands of pounds/kilograms per day.
I want to simplify the techniques you can use whether you are doing a small or large volume of meat.
Recently, I visited a museum that showcased an incredibly old style of producing sausages, this is a one-hundred-year-old chopping/mincing board, with a wooden sausage stuffing system.
Here it is below:
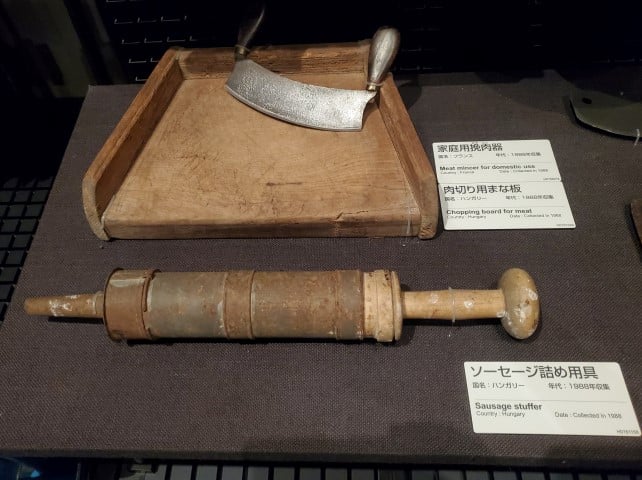
Some of the issues of sterility would be challenging when it comes to the wooden aspects rather than stainless steel which many of the more modern equipment uses.
Equipment for Making Sausages at Home
You can use a funnel and a knife for the most basic equipment for small amounts. For Larger amounts, grinders, mincers, meat mixers, stuffers, sausage prickers, and digital scales are more efficient to make sausages.
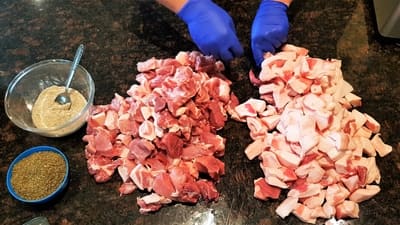
I’ll review the details of all these options and highlight what best suits you based on the volume of meat you want to process.
Different Equipment Options
Rather than say you need a whole setup for large amounts, I thought it was more useful to talk about the various options whether you want to do one-off small amounts or larger volumes of sausages per session.
Here are the options for Equipment to Make Sausages:
- Manual Mincer / Grinder / Funnel Stuffing Sausage – easy and small amounts
- Using Kitchen-Aid Attachment for Sausage – a moderately more advanced process of mechanizing
- 20LB/10KG or More Equipment for Sausage Setup – large volume and more efficient production
Sausage-Making Equipment Options for Different Volumes
| Options Based on Volume | Sausage Volume | Investment |
| Manual Grinder / Funnel Stuffing | Under 5lb/2.5kg | Under $50 |
| Kitchen-Aid Attachments(Grinder/Stuffer) | Under 10lb/5kg | $100-$300 |
| Electric Mincer/Grinder & Sausage Stuffer | Over 10lb/5kg | $400+ |
Manual Mincer / Grinder and Funnel Stuffing
Equipment List for under 5lb/2.5kg
- Manual Mincer/Grinder
- Funnel for Stuffing Attachment or Funnel
- Casings
For very small batches of sausage, this can be done in a DIY fashion or certain products can be bought which are very basic to get the job done, let’s go over some options and then highlight them with some videos.
Manual Mincer/Grinder
As you saw above, a chopping board and knife can be used to mince/cut the meat, it takes a long time though trust me!
I was running an in-person private course over a few days, we weren’t planning on making sausages, only dry-cured whole-muscle meats. However, they wanted a small batch – Two of us chopped up very finely 5 pounds/2.5 kg of meat over about 1 hour.
You always want to get the meat and fat to probably 2-5mm/0.07-0.1″bits before working on the binding more on this later.
Here are 3 options, just remember speed is ideally avoided since this will heat the meat up, and ideally low or near fridge temperature is advisable for safety and not to encourage unwanted bacteria onto the meat.
Option 1 – Chop Manually with Knife
I prefer to just use one knife and cut very thinly, like 2-3mm, diagonally 45-degree angles x2 like this…
Takes time, but you get way more consistency! A sharp knife with a narrow width ideally.
But here are some more ideas below as well.

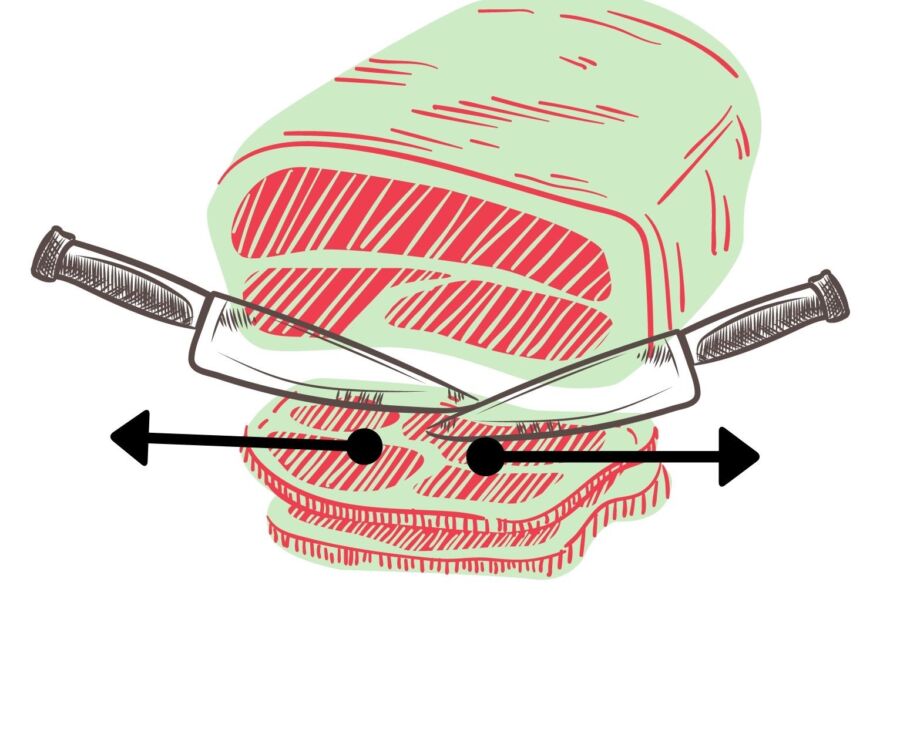
First the crisis cross-double knife movement.
Option 2 -Simple bench-mounted manual meat mincer/grinder (Good option, minimal investment)
Some of these manual bench-mounted mincers also come with funnels for stuffing, I’ll put the links at the end of the post for all my recommendations.
Option 3 – Small batch blade chopping in a food processor (least preferred option)
Funnel Stuffing
A funnel can even be made out of a plastic bottle, with various techniques to make it happen.
Here is the technique with a plastic bottle and a jar, messy but works! It’s definitely a rough and ready approach!
Option 1 – Just a plastic bottle that has been chopped up
Option 2 – Plastic Bottle, Jar and some Cooking Spray
Of course, you could come up with your own ideas to hack this, but it should give you something to start with.
Using Kitchen-Aid Attachments for Sausage
Kitchen Aid Mixers, some have the ability to attach an accessory to grind/mince or stuff. It’s not what I would call a great option, since you are using heat/movement and this will potentially increase the temperature of the meat whilst you are processing it.
Here is what it looks like:
Grinding Attachment
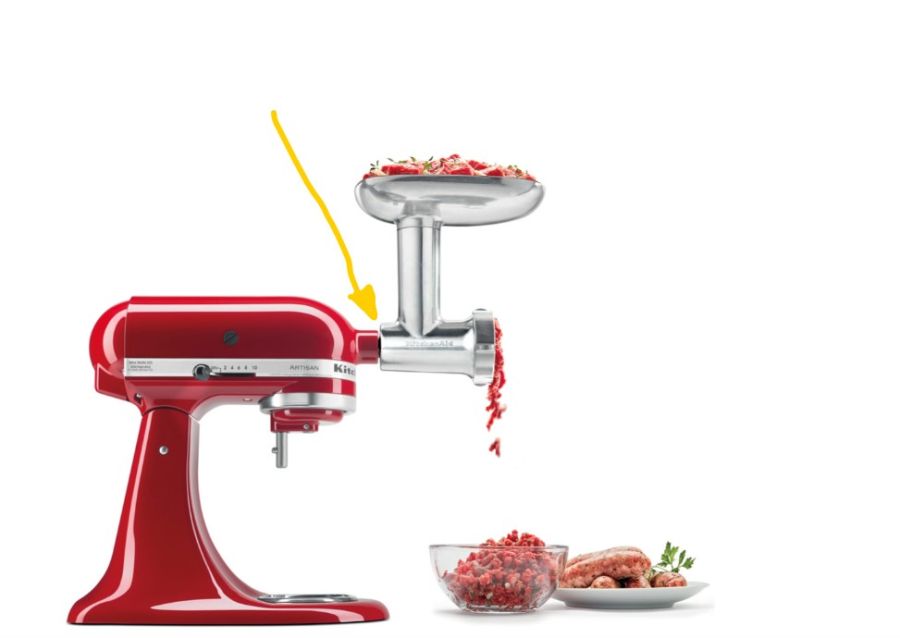
For ease of use, these are great, however, when you get down to it. It’s quite fast, often a little fast in my opinion. Fine for small runs, but not so good for long runs. Hence, why I put it in the moderate to low volume category.
It produces heat, especially if you don’t chop the meat into smaller pieces, since it will have to work hard and as mentioned, produce more heat.
Stuffing Attachment
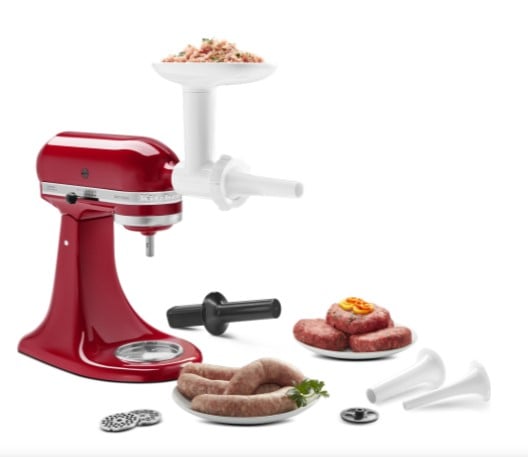
Or you could use a manual bench attached mincer winding type – like the one I talked about above in the basic setup options.
One of the main challenges when making sausages or for that matter salami is heat from the machines you use.
Kitchen Aid is an electrically driven appliance since it continuously turns when mincing or stuffing, using the additional attachments to the standard mixer option.
The plastic build some kitchen aid attachments have, I am not a fan of either. Which I think is quite common when it comes down to the stuffing attachments that are used.
For small batches of under 5lb/2.5kg, this can still work in my opinion. However, you do need to take your time and chill or freeze down some components to minimize the heat.
It’s not designed at all for these types of operations, however, it’s a small-batch solution.
20LB/10KG or More Equipment for Sausage Setup
Equipment List for 20lb/10kg or More
If you going to do a decent amount of sausage making, or for that matter salami making. Then, the below suggestions are really the way to make the whole process a lot more enjoyable.
- Electric Meat Mincer Grinder (0.5hp+)
- Meat Stuffer
- Meat Mixer (optional)
- Sausage Pricker or Needle
Electric Meat Mincer Grinder (0.5hp+ up to 1 hp)
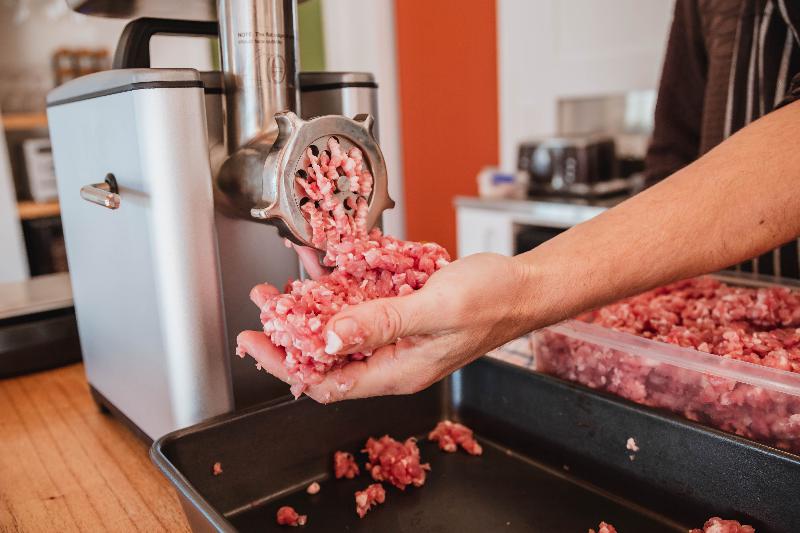
I’ve seen and used many cheap or ‘cost effective’ mincers and grinders, there are many factors to consider because so many mincers/grinders are just not built to last.
If you go to a website like Amazon, you will find 90%+ of the mincers/grinders are of inferior quality, a throwaway style design in my opinion.
The main factors for a decent Grinder/Mincer are:
- Power
- Weight
- Speed
- Tub Size
- Chute Size
- Amount and Size of Cutting Discs
There are so many crap/bad/ineffective mincers and grinders on the market….. its quite shocking to me.
You need enough power to cut and get the job done before things heat up. Whilst holding up to some strain also from the pressure system auger feed warm that pushes the meat into the cutting disc.
Often tacky features are used to promote or sell many grinders. So at the end of the article, I’ll highlight a few models and brands that tick the boxes. Remember though, what a good friend would say, good things aren’t cheap, and cheap things aren’t good!
I do have another article that goes into a bit more detail on grinders also, so here it is.
Meat Stuffer
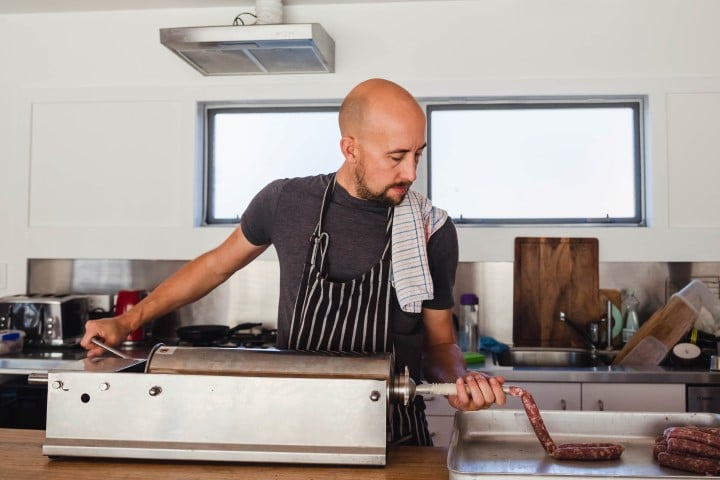
2 options – vertical or horizontal meat stuffer
Meat Stuffers can come in a foot pedal powered with electricity (which is also an accessory for some stuffers). Generally speaking, for the home sausage (here are some easy sausage recipes I wrote about) maker you will be using something that has a crank handle.
I’ve never gone to the foot pedal-assisted stuffer, I’ve been able to process up to 160lb/80kg of meat for sausages and salami over 2 days with one friend.
The horizontal one I have has 2 gears, fast and slow. I really only use the fast one to get the pusher down the tube more quickly.
The slower gear is used for pretty much more of the ‘stuffing’.
What I like about the horizontal stuffer is that it allows 2 people to operate it, whilst at the same time. You have a lower crank handle, than a lot of the vertical stuffers.
Ergonomically this is a more effective way forstanding for sometimes, quite a while.
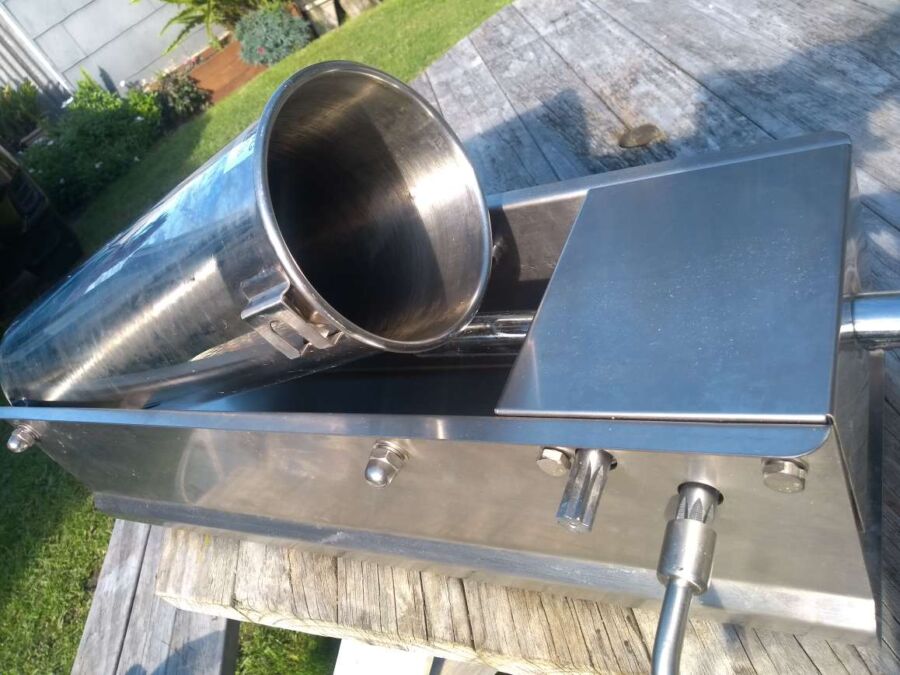
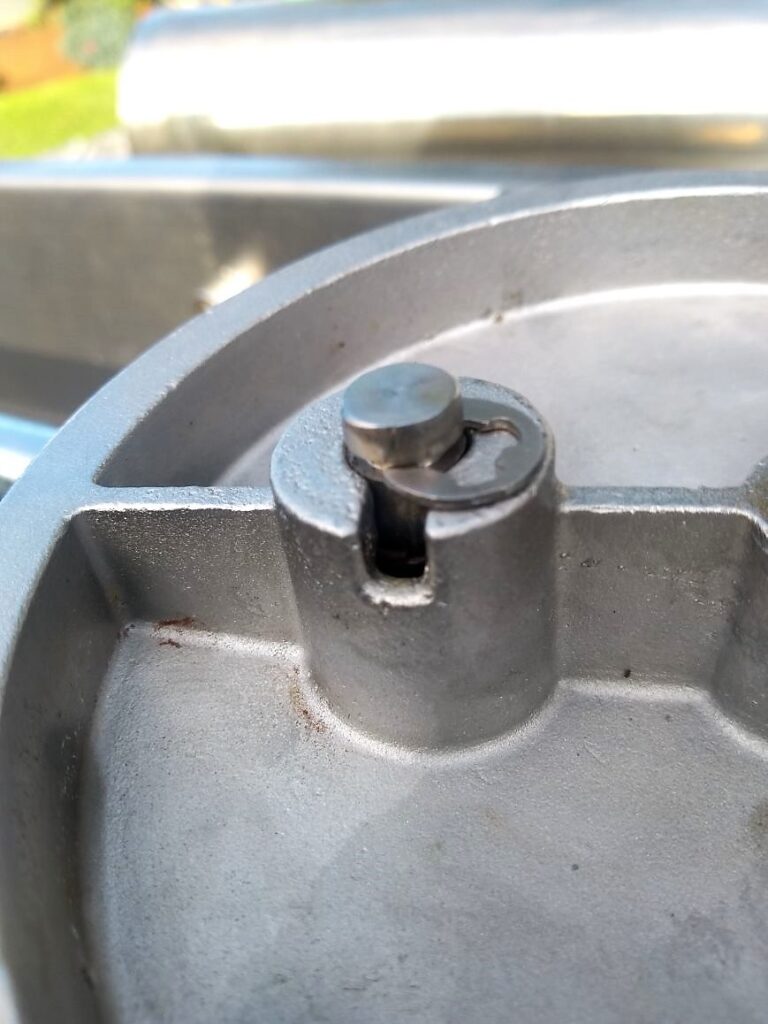
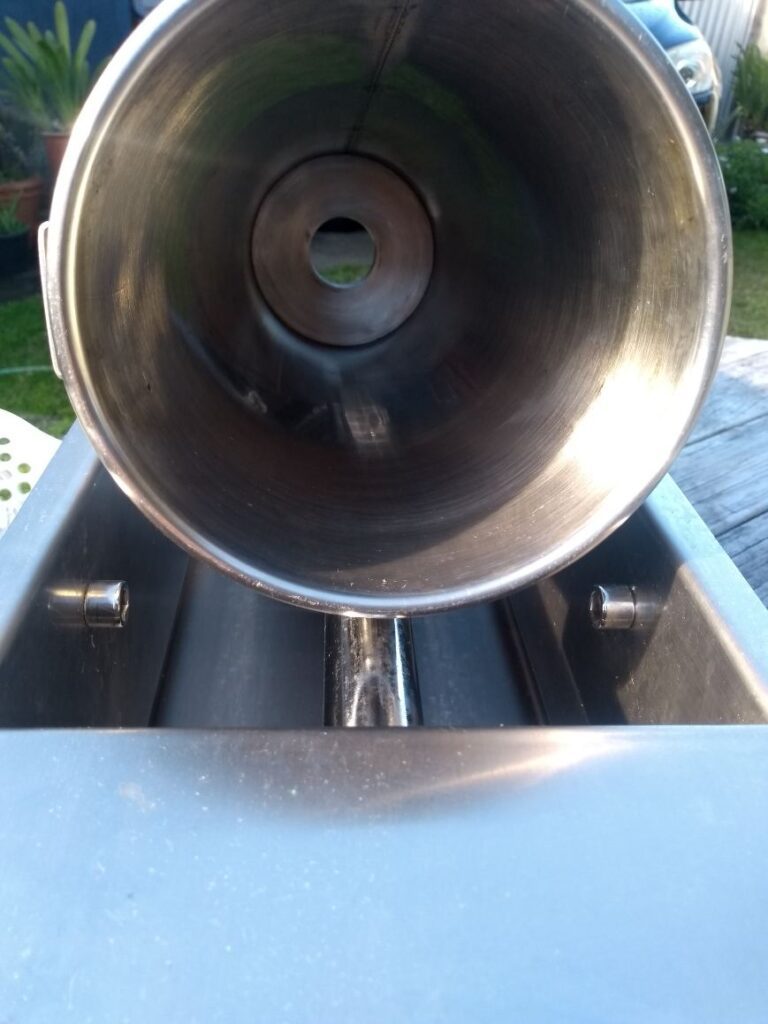
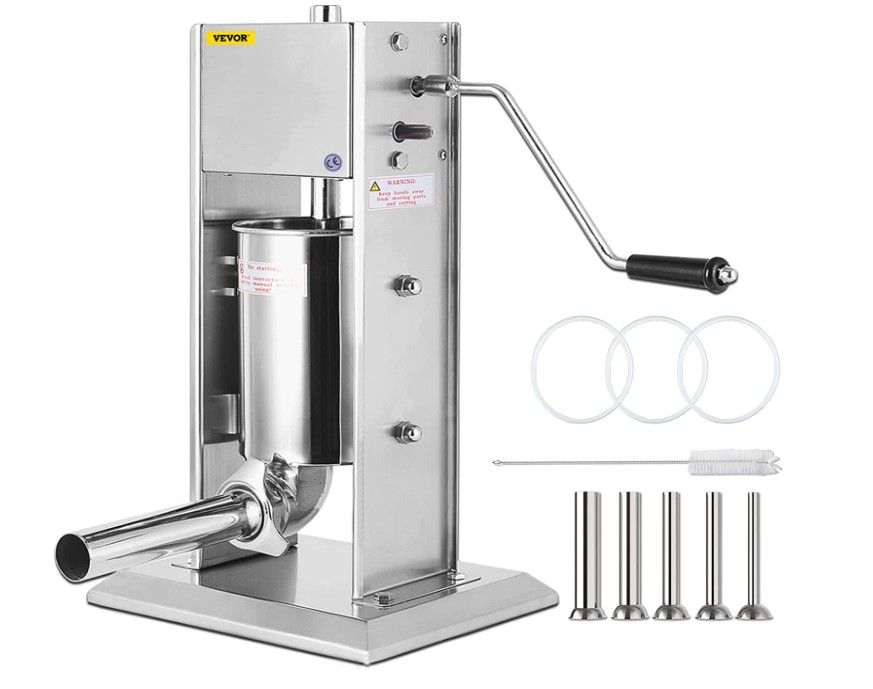
The benefit of the vertical stuffer is that it takes up far less space since obviously, it goes up rather than along the working area.
Weight and how heavy the stuffer is, that is super important. Since you will often just be trying to turn the crank handle with one hand if you are doing solo stuffing.
The size of the stuffer is important too, for the investment you will make into stuff, I would suggest a minimum of 11 pounds or more ideally which is 5 kilograms, slightly bigger than this is the sizing I like to use.
Meat Mixer (optional)
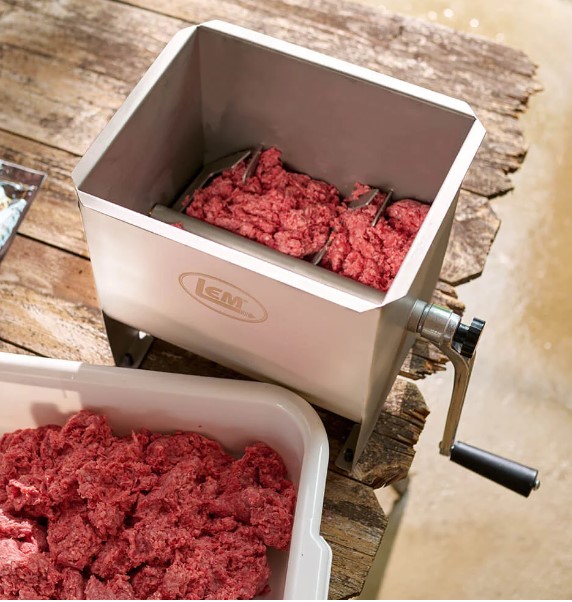
After a failed salami sausage run with a friend, he decided to invest in to crank handle and meat mixer, this is the slightly more mechanical approach to working/kneading or mixing the salt, spices, and meat by hand.
Often the goal is to extract a little more a lot of the protein, myosin that is in the meat.
This is what creates the binding without adding additional ‘fillers’ or things like bread crumbs that mix the water and become the tacky glue that holds things together.
The myosin is enough if the meat is mixed to the point where it binds.
The old Italian way is to clump of meat pattie mixture to the back of your hand, hold it upside down and it should not fall off. Once the meat has been worked enough and is sticky.
This is generally my favorite way of working out the level of tackiness!
Tools – Sausage Pricker or Needle
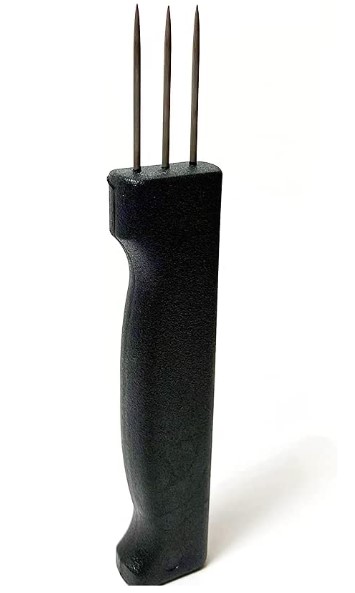
Sausage prickers that have a line of needles in a row on one tool are a good way to do the pricking to release the air pockets after stuffing.
Most of the time, honestly I just use a needle, heating the end of a lighter then letting it cool down before the pricking!
Recommended Tools Based on Volume of Sausage Making
Here are some hand-picked recommendations I have of products that will get the job done, based on the volume you are trying to process.
Though I mentioned 0.5hp or more, the below product is a solid engine. Don’t bother buying a grinder for $100 USD, you need to invest $200+ in my opinion if you want something that isn’t going to fall apart after a bit of use.
| Equipment | Sausage Volume | Features/Benefits |
| Manual Grinder | Under 5lb/2.5kg | Heavy, Cast Iron |
| Kitchen-Aid Attachments(Grinder/Stuffer) | Under 10lb/5kg | Metal not plastic |
| Electric Mincer/Grinder Under 0.5hp | Over 10lb/5kg | Solid, Portable, Sturdy, Good Brand |
| Electric Mincer/Grinder 0.5hp Heavy Duty | Over 10lb/5kg | Solid, Heavy, Good Brand |
| Horizontal Stuffer – 11lb/5kg or 25lb | Over 10lb/5kg | Heavy, Simple, Long Lasting |
| Vertical Stuffer – 11lb / 5kg or 25lb | Over 10lb/5kg | Sturdy, Heavy, Long Lasting |
I wrote another article on sausage stuffers here as well.

Tom Mueller
For decades, immersed in studying, working, learning, and teaching the craft of meat curing, sharing the passion and showcasing the world of charcuterie and smoked meat. Read More
