When I first got into curing and smoking meat at home, I didn’t have any fancy gear — just a few basics from the kitchen and a strong curiosity.
Over the years, I’ve tested everything from DIY setups to professional meat slicers and smoke generators. This guide is a breakdown of the gear I’ve used and still use, depending on what I’m making.
Whether you’re starting with fridge curing or going all-in with a salami chamber and cold smoke generator, this page will help you figure out what equipment matters — and what doesn’t.
Dry Curing Essentials
This is the most accessible way to get started. You don’t need fermentation chambers or casings — just a good cut of meat, some salt, and the right environment.
Whole muscle curing projects like pancetta, duck breast, or lonza can be done in a regular kitchen fridge with minimal gear. I’ve done this dozens of times with consistent results.
Curing Meat in a Fridge
One of the best things about whole muscle curing is that you can start with your regular kitchen fridge. That’s how I began — pancetta, duck breast, and coppa all cured perfectly over a few weeks. The trick is to choose the right meat and give it enough drying time.
My early projects were hung in the back of the fridge, tied with butcher’s twine and placed over a baking tray. I monitored humidity and temp with a cheap fridge thermometer — nothing complicated. Over time, I began experimenting with slightly more advanced setups.
As I got deeper into the craft, I began upgrading gear piece by piece. If you’re heading down this road, consider reviewing some DIY meat curing chamber designs I’ve tested — a few of them can be adapted from fridges you already have lying around.
I also wrote about how to cure meat in a fridge without modifying it, which is a great place to begin before moving into chamber builds.
When you do make that leap, you’ll need to manage humidity and temperature precisely. I’ve reviewed some affordable and reliable curing chamber controllers that I’ve used in both small and large chambers.
Creating a Dedicated Curing Chamber
Once you’re confident, a dedicated chamber opens the door to longer-term dry curing like coppa, lonza, or full-size prosciutto. Mine is a 6-foot-tall double-door fridge that I’ve fitted with fans, heating, and humidity control — probably overkill, but it works incredibly well.
There are loads of ways to build one, from simple plug-and-play setups to fully DIY conversions. If you’re curious about how I did it, I wrote a detailed piece on designs for a meat curing chamber based on all the systems I’ve built over the years.
Hot Smoking Equipment
Hot smoking is what most people think of when they imagine smoked meat — ribs, brisket, salmon. It uses smoke and heat together to both cook and flavor the food. If you’ve got a BBQ with a lid, you can already hot smoke. But to take it further, there are some tools I’ve tested that really help.
Portable Smokers
These are perfect for smoking fish and small cuts on the go. I’ve used mine over a portable gas burner and even on camping trips. You just need a pan, a rack, and a lid — that’s it. I tested several models – here is more on portable smokers.
Charcoal BBQ for Smoking
I’ve had the most success with kettle-style grills using the snake method. You just lay charcoal in a semicircle, light one end, and let it smolder slowly. With a water pan and a few wood chunks, it’s an easy way to smoke brisket, fish, or even bacon. Here’s my dedicated gear page for charcoal BBQ smokers.

Electric & Gas Smokers
When I want the easiest “set and forget” hot smoking, I use my electric cabinet smoker. They’re brilliant for consistent temperature and long smokes. Some also offer cold smoke add-ons. Gas smokers produce more heat, making them great for finishing sausage or jerky.
You can hot smoke everything from cheese to venison to brisket. I’ve covered the different options and setups in detail here.
Pellet Grill Smokers
This is one of the fastest-growing smoker types. Pellet smokers feed compressed wood pellets via an auger and burn them in a controlled firepot. You get great flavor and digital controls to dial in your settings.
Cold Smoking Equipment
Cold smoking is one of the most rewarding techniques I’ve worked with. Since you’re not cooking the meat, it’s all about infusing flavor. But that also means the meat must be properly cured first, especially for things like bacon, ham, or salmon.
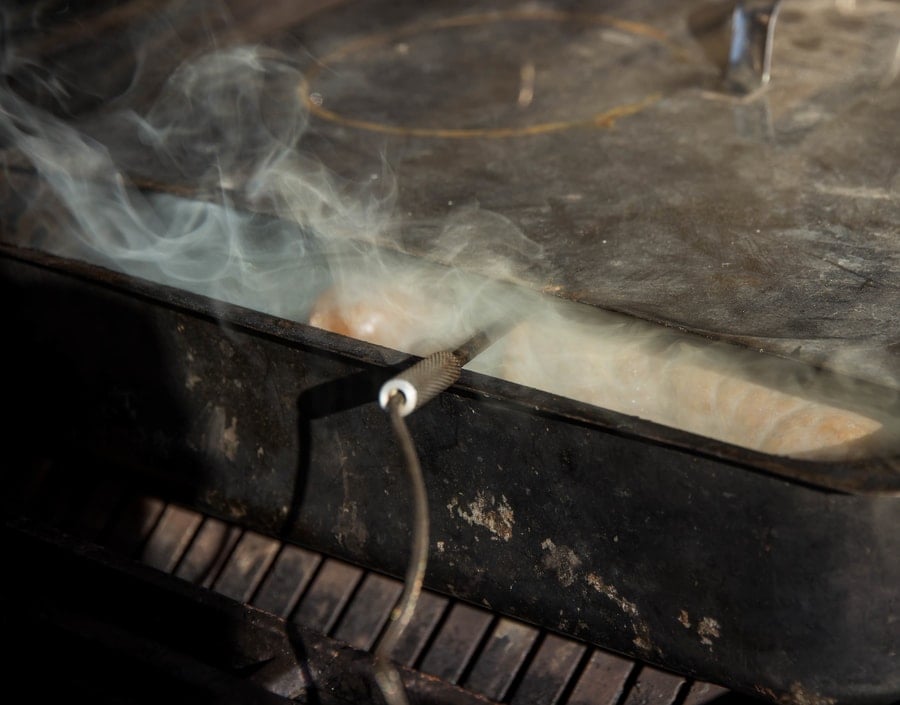
I’ve built and tested everything from wine barrel smokers to converted fridges and sealed boxes. The most crucial part is generating clean, cool smoke that flows steadily without raising the temperature.
Cold Smoke Generators
I’ve used a bunch of different smoke generators — maze trays, tubes, and venturi-style injectors. Some worked well with sawdust, others with wood pellets. It really comes down to how well they maintain airflow and burn consistency.
Here’s the roundup of options I’ve personally tested, with notes on what’s worked best:
Cold Smoking Generators I Recommend
Adapting a Chamber
You don’t need to buy an expensive unit. I’ve cold-smoked using cardboard boxes, sealed wooden crates, and modified mini-fridges. As long as you can keep temps under 30°C (86°F) and allow proper venting, you’re good to go.
Some of my best setups used a separate firebox with smoke piped into the chamber through dryer ducting — a great way to cool the smoke before it reaches the meat.
Slicing & Cutting Tools
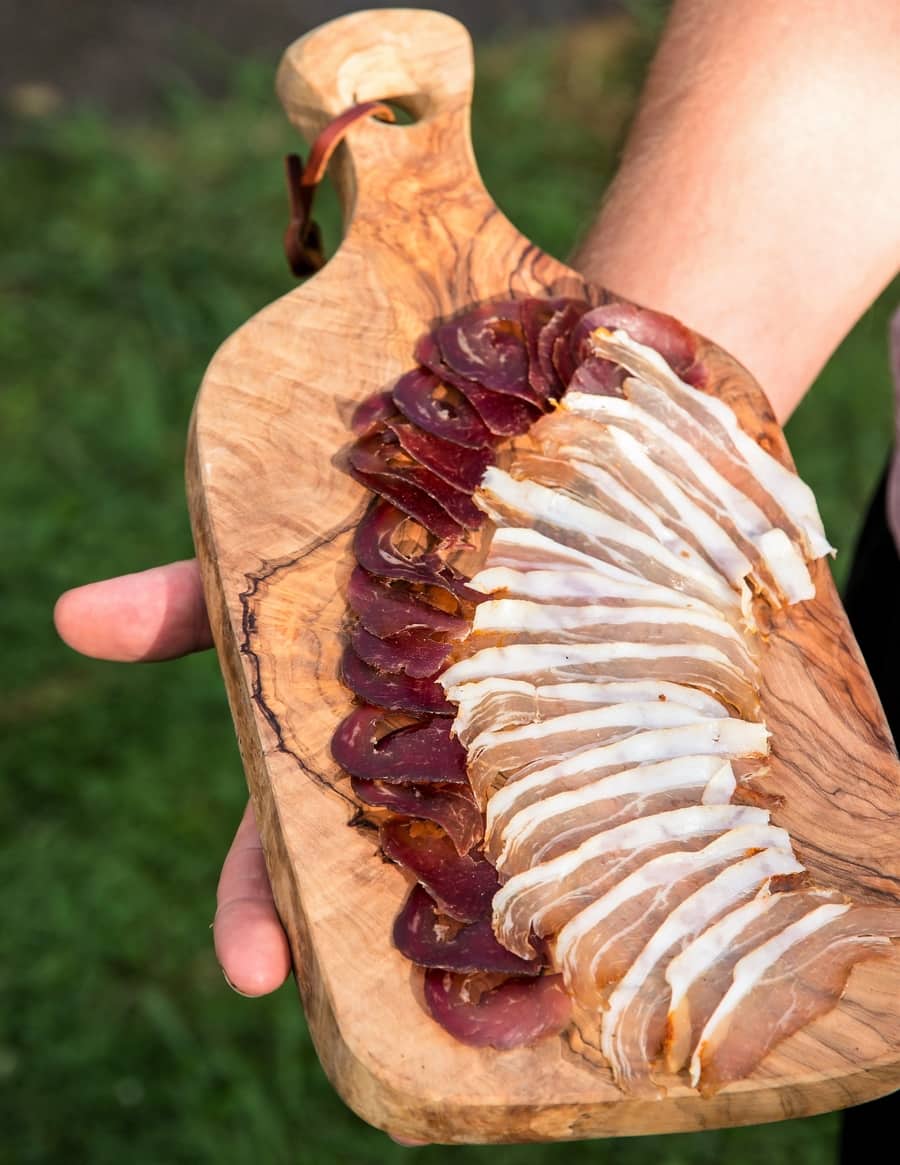
Once you’ve cured and smoked your meat, slicing it properly is where the craft really shines. I’ve used everything from flexible prosciutto knives to heavy-duty deli slicers — each has its place depending on the cut.
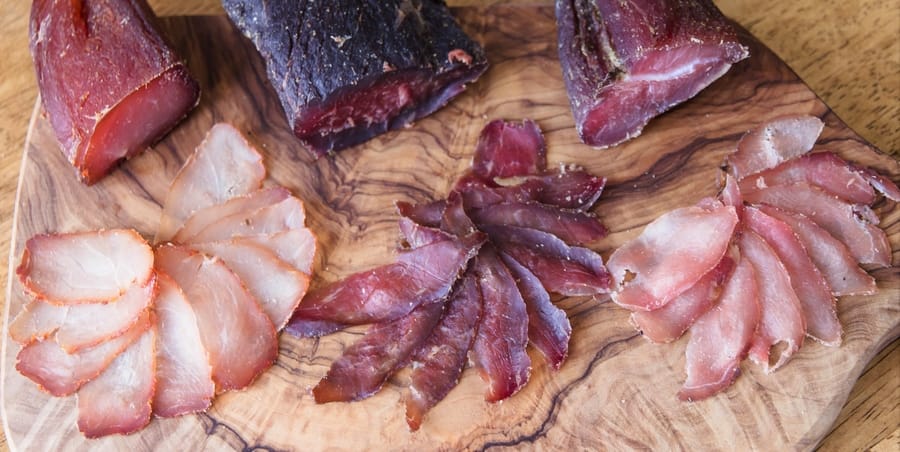
The goal is wafer-thin, clean slices — especially with dry-cured whole muscle (like lonza, prosciutto, or bresaola). Too thick, and the texture feels harsh; too thin, and the meat can tear or lose its flavor.
Knife Techniques for Thin Slicing
The right knife makes all the difference for hand slicing. I prefer long, narrow prosciutto knives or Japanese-style blades that glide smoothly without sawing through the meat.
For detailed guidance on how I achieve consistently clean slices—even with just a knife and fridge—see my guide:
How to Thinly Slice Cured Meat
Home Deli-Style Meat Slicers
In many cases, a slicer is a game-changer—especially when slicing larger volumes of cured meat or ultra-firm cuts. A good deli-style slicer gives precision, consistency, and effortless handling for things like prosciutto or bacon.
I reviewed several models focused on slicing quality, motor power, and precision control to help you choose wisely:
Home Deli Slicers for Wafer‑Thin Cuts
This gear hub has walked you through every essential tool—from fridge curing and smoke methods to chamber builds, slicers, and fast-curing snacks. Now it’s time to wrap up with key takeaways and answer the most common gear and cost questions.
Cost & Setup FAQs
How much does it cost to build a curing chamber?
Anywhere from $150–500 USD for DIY setups using secondhand fridges and basic controllers. Professional models start at $1,200 and can go well over $5,000 depending on features.
Is a curing chamber necessary to make salami?
Yes. Salami requires a stable environment with controlled humidity and temperature. A curing chamber allows you to ferment and dry safely.
Can I dry cure meat in a normal fridge?
You can, but only for small cuts (like pancetta or duck breast). Fridges are cold and dry, which can lead to case hardening. A chamber is better for larger projects.
What’s better: DIY or professional curing chambers?
DIY chambers are more affordable and customizable. If you’re comfortable assembling the components, they work just as well as many commercial units.
Related Gear & Design Guides
If you’re still wondering about components or next steps—

Tom Mueller
For decades, immersed in studying, working, learning, and teaching the craft of meat curing, sharing the passion and showcasing the world of charcuterie and smoked meat. Read More