It still surprises people how affordable cold smoking can be. You can start with a basic setup for pocket change, then scale up as you learn what you actually enjoy smoking the most.
I started cold smoking about 15 years ago after talking to a traditional Dutch butcher who showed me how simple his setup was. That conversation sent me down the rabbit hole of trying different cold smoke devices, chambers, and DIY options at home.
This combined guide is a buyer-focused breakdown of what to buy, what it costs, and what works best for two popular projects, cheese and fish. I am keeping it practical, based on what I have tested over the years.
Quick Picks: Choose Your Cold Smoker Fast
Best budget option: a simple DIY smoke source with a basic chamber. This is the cheapest way to learn the rhythm of airflow and smoke density without overthinking it.
Best all-round option for most people: a pellet tube or maze style smoker. These are portable, easy to move between different chambers, and consistent once you learn how to light them properly.
Best upgrade if you want adjustable output: a smoke generator with a pump. When you want more control over smoke flow, this is where the upgrade becomes worth it.
Best long-term build: a smokehouse setup. If you know cold smoking is going to become a regular hobby, a dedicated structure can make the whole process more convenient.
What Matters Most When Buying a Cold Smoker
I judge cold smoking gear on a few simple points. If you get these right, almost any setup becomes usable, and it is much easier to match the gear to cheese or fish later.
- Smoke source: how steady it burns and how easy it is to restart.
- Runtime: short sessions for cheese vs longer sessions for fish.
- Chamber flexibility: how many “containers” you can use with the same smoke source.
- Control: whether you can dial output up or down without babysitting it.
How Much Do Cold Smokers Cost?
The simplest cold smoking setup can cost less than $10 USD. At the other end, an adjustable cold smoke system is often in the $80 to $150 range, and a basic smokehouse build can start around $200 depending on materials and how you design it.
I like to think of cold smoking as a sliding scale. You can start with a simple smoke source inside a basic chamber, then upgrade only when you want more consistency, more space, or more control over smoke output.
Cold Smoking Setup Options
| Cold Smoking Setup | Setup Time | Approx. Cold Smoking Time |
|---|---|---|
| Sieve Method | Minimal | Varies (Trial and Error) |
| Pellet Tube | Minimal | Varies (Trial and Error) |
| Maze Cold Smoker | Low | 4-8 hours |
| Smoke Generator with Chamber (smoke box, beehive, old fridge) | Moderate | 3-12 hours |
| Smokehouse with a Smoke Generator | High | 5-20 hours |
| Smokehouse with Tunnel/Ducted Smoke | High | 1-24 hours |
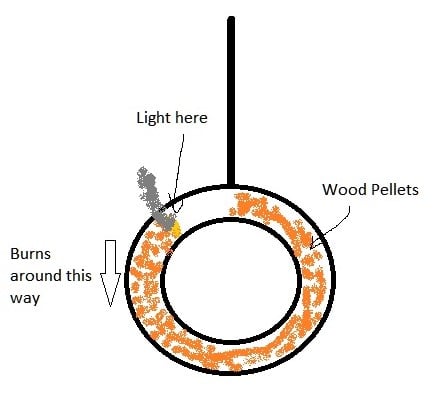
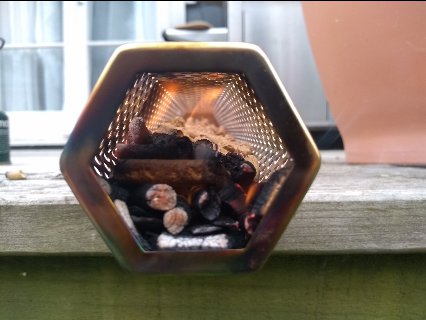
Under $10: Sieve Method Cold Smoker
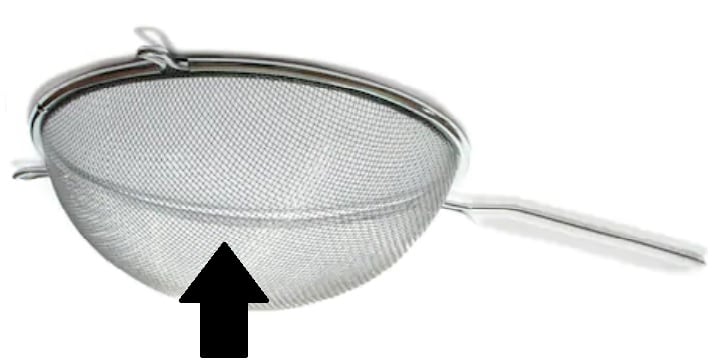
This is the simplest DIY option I have seen work again and again. You shape the sieve into a donut ring, pack sawdust or pellets around the ring, light one point, and let it smolder while the chamber breathes.
It is a great “first setup” because it forces you to learn the two things that matter most: steady smoldering and gentle airflow. If you want more enclosure ideas, I keep a separate list of DIY cold smoker ideas that work with simple smoke sources like this.
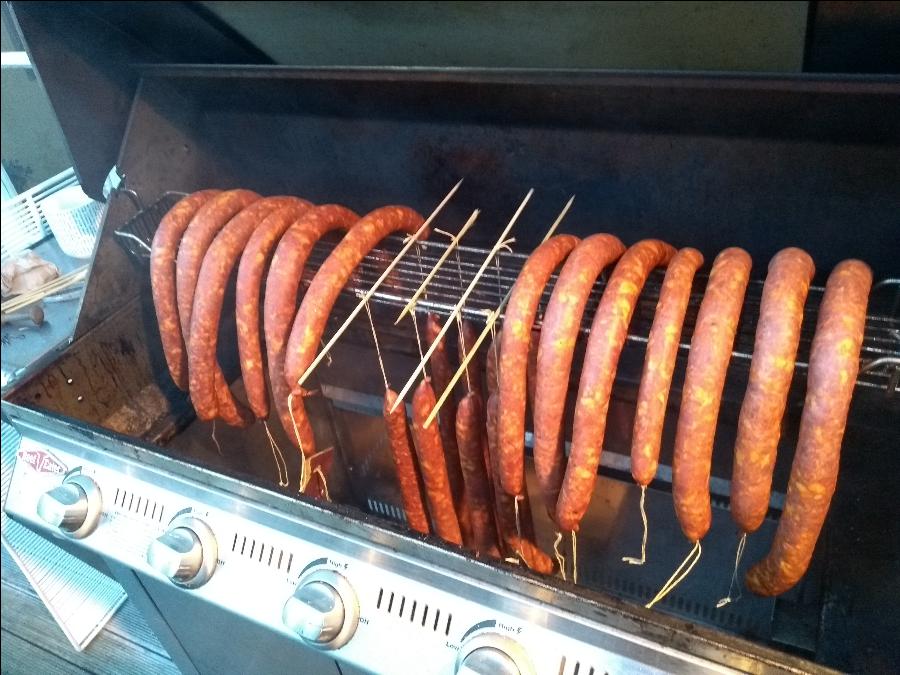
$20-$40: Pellet Tube Cold Smoker
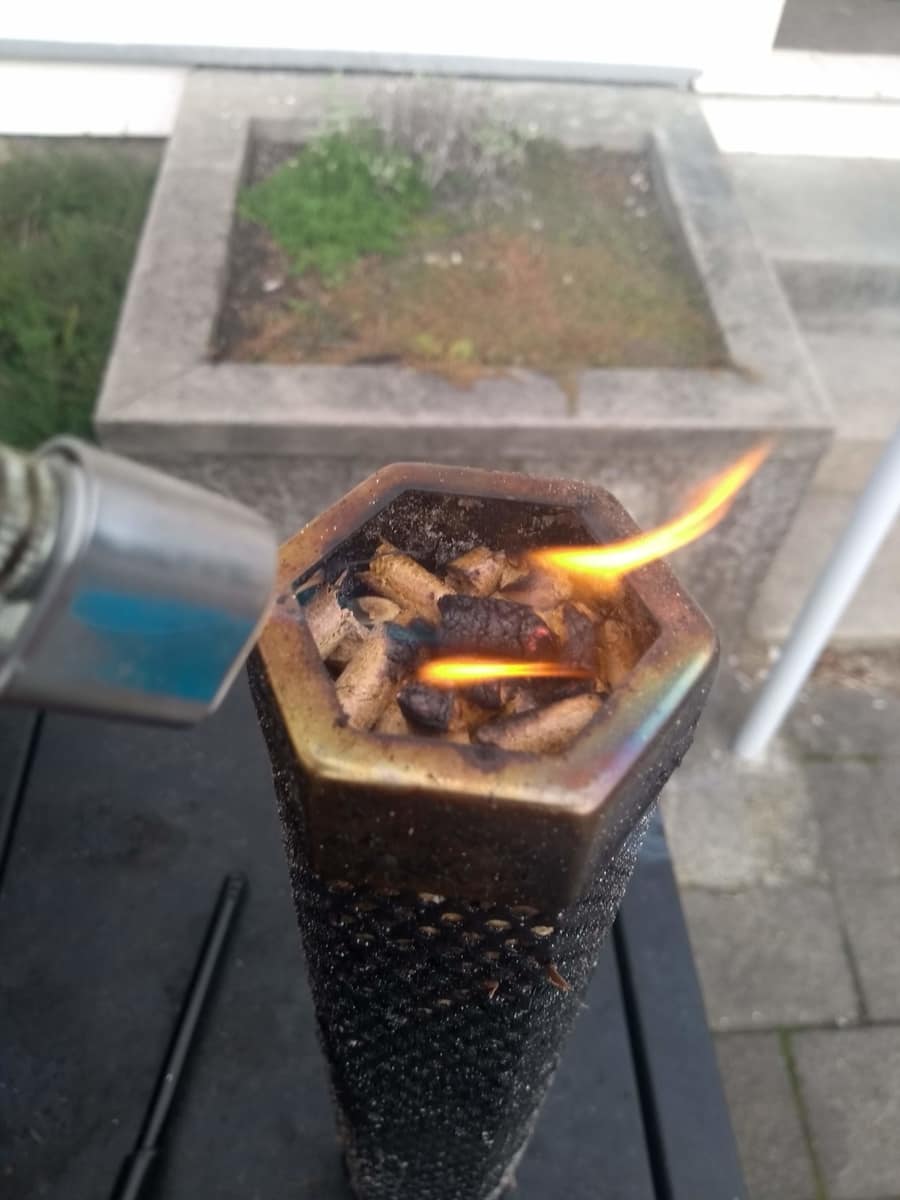
This is one of my favorite “do everything” options because it is portable and flexible. I have used a tube inside old kettle grills, smoker cabinets with the heat off, and even improvised boxes when I just wanted a quick cold smoke session.
The only learning curve is lighting it properly, then letting it establish a stable burn before you blow it out to smolder. If you want a deeper explanation of burn behavior and airflow, here is a detailed breakdown of how a pellet tube smoker works.
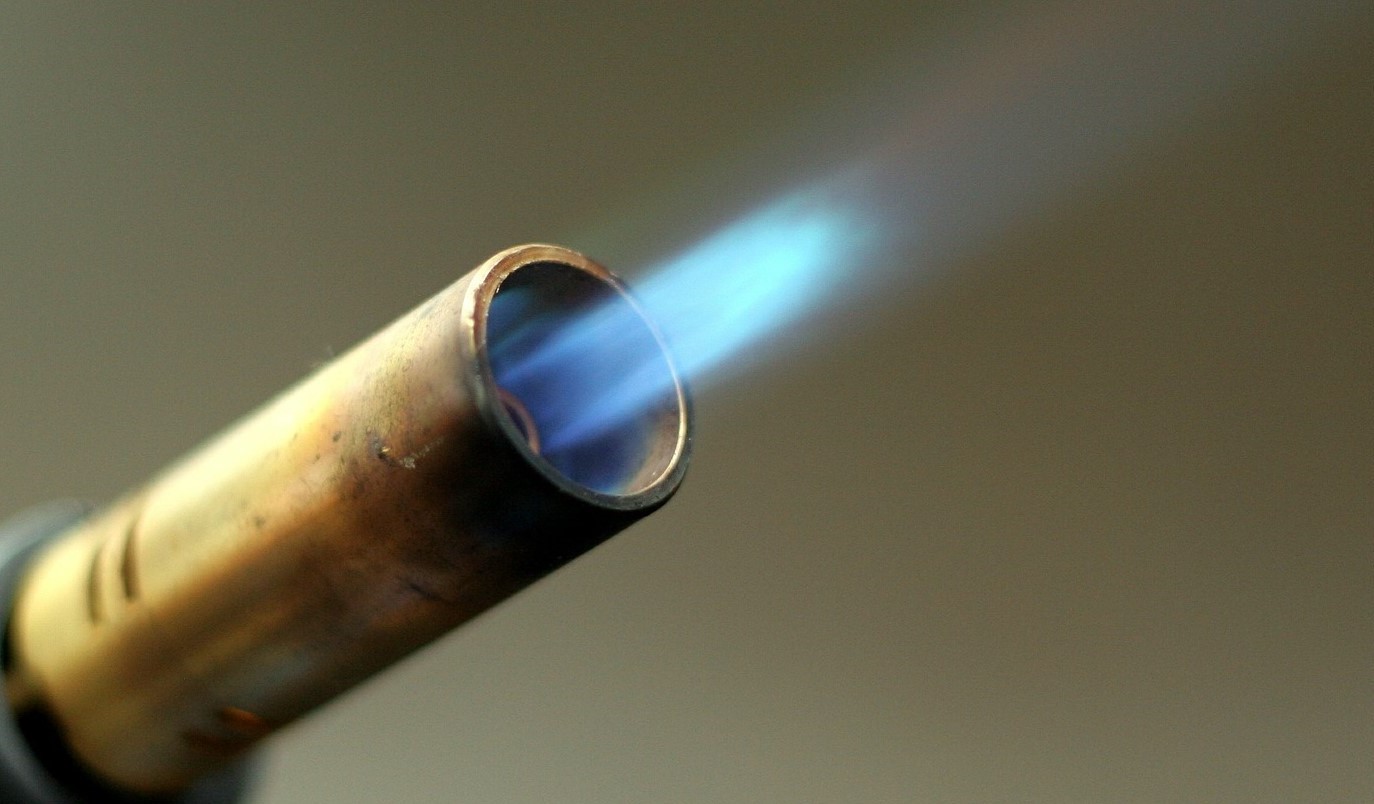
A small torch makes life easier here. It is not about “fancy tools,” it is about getting a clean ignition so the tube does not struggle in the first ten minutes.
$30-$40: Maze Cold Smoker
Maze smokers work on the same principle as a tube, but the longer path can give you longer runtime when the wood is behaving well. If you can get consistent smoking sawdust, the maze is a great set-and-forget option.
When people ask me which one to buy first, I usually say: start with whichever is easiest to source locally, then learn your chamber and airflow. I also keep a running list of pellet tube and maze smoker picks that have been reliable for me.
$80-$150: Smoke Generator (Adjustable Output)
When you want more control, a smoke generator with a pump is the upgrade. You can attach it to a chamber and adjust how much smoke is pushed through, which is useful when you want the output lighter for cheese or steadier for longer fish sessions.
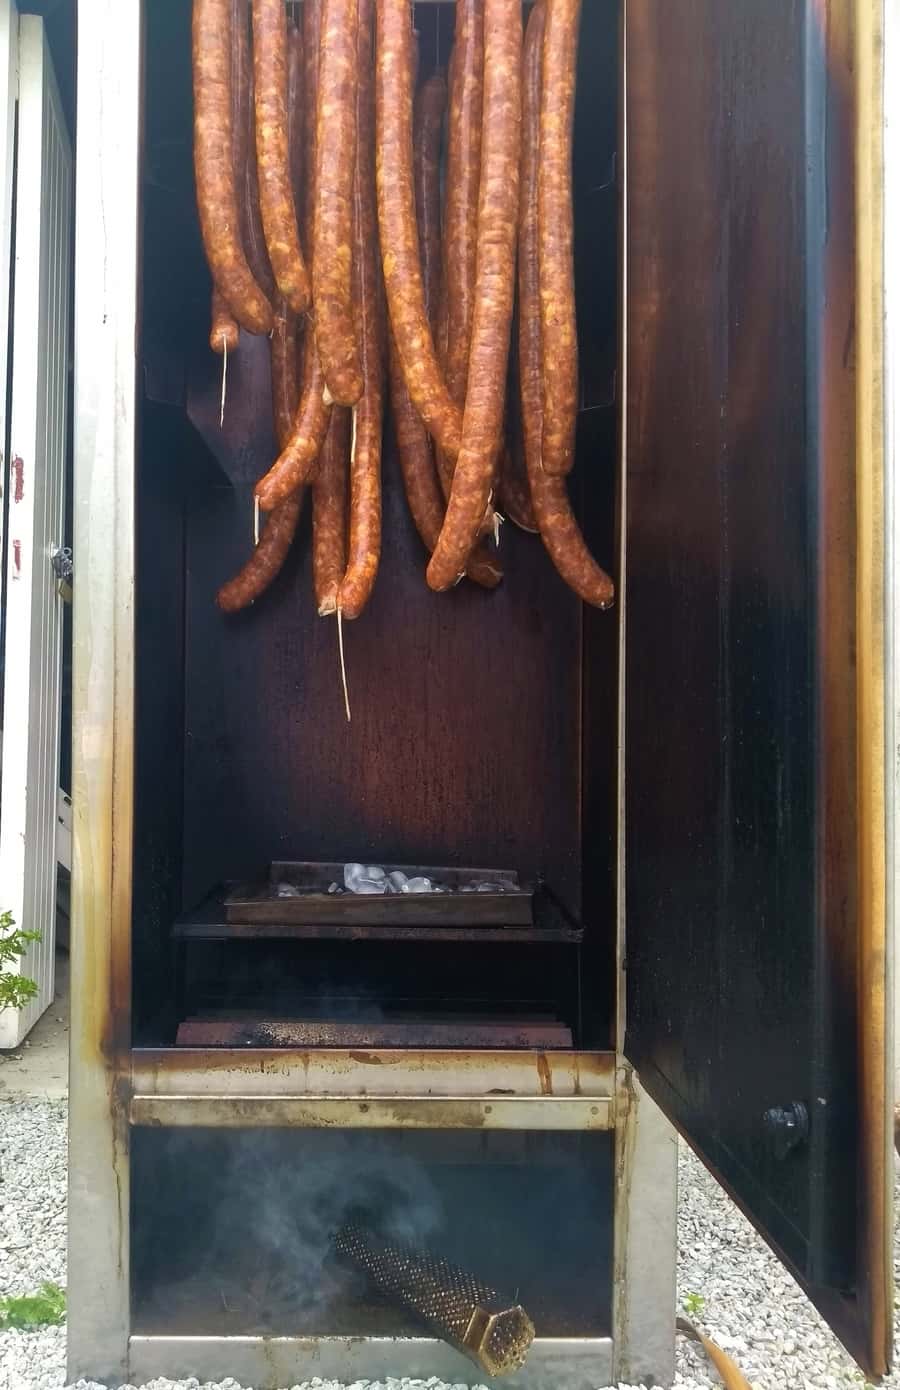
$200+ : Smokehouse Builds
If you are building a smokehouse, you are really paying for space, convenience, and repeatability.
A bigger chamber gives you room to hang fish, lay racks, and keep the smoke source far enough away to stay in true cold smoking territory.
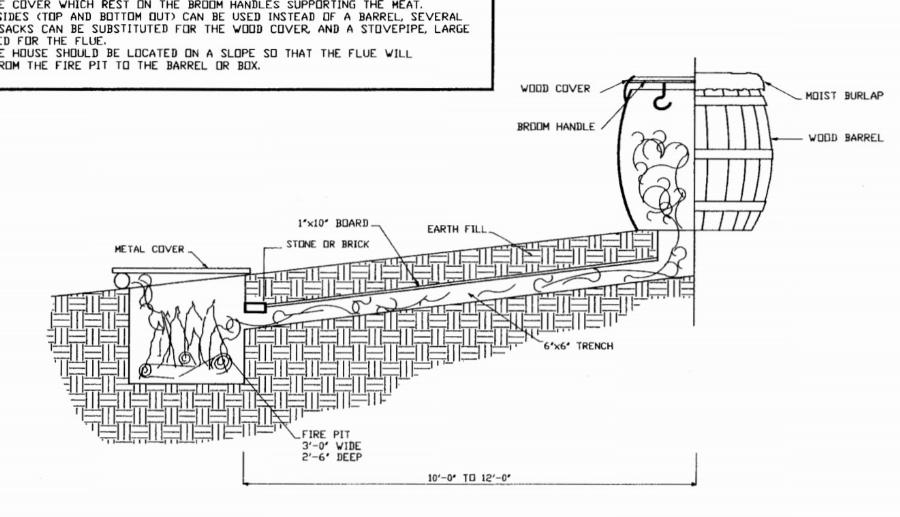
For classic plans and sizing ideas, the LSU AgCenter offers a straightforward barrel smokehouse plan that clearly shows the basic concept.
Cold Smoker Types Explained (What You’re Really Buying)
Most cold smoking purchases are not really about the smoker itself. They are about a smoke source that can smolder steadily, plus a chamber that gives the smoke room to move around the food.
That is why portable smoke sources are so popular. A tube or maze can move from a kettle grill to a smoker cabinet with the heat off, and even into a basic box setup when you need something quick.
When you upgrade to an adjustable smoke generator, the value is control. You can change how hard it draws or pushes smoke, which helps when you want to keep output lighter and more predictable.
For chambers, I tend to choose what is already available. I have used an old kettle grill, a gas grill, and smoker cabinets as cold smoke chambers.
Best Cold Smokers for Cheese
Cheese is the project I recommend when someone wants a quick win. Sessions are usually shorter, and you can get great results with simple gear as long as you keep the smoke gentle and avoid overdoing it.
My personal favorite for cheese is a pellet tube or maze. It is a simple setup, it is easy to move between chambers, and it is consistent once you know how your pellets or sawdust behave.
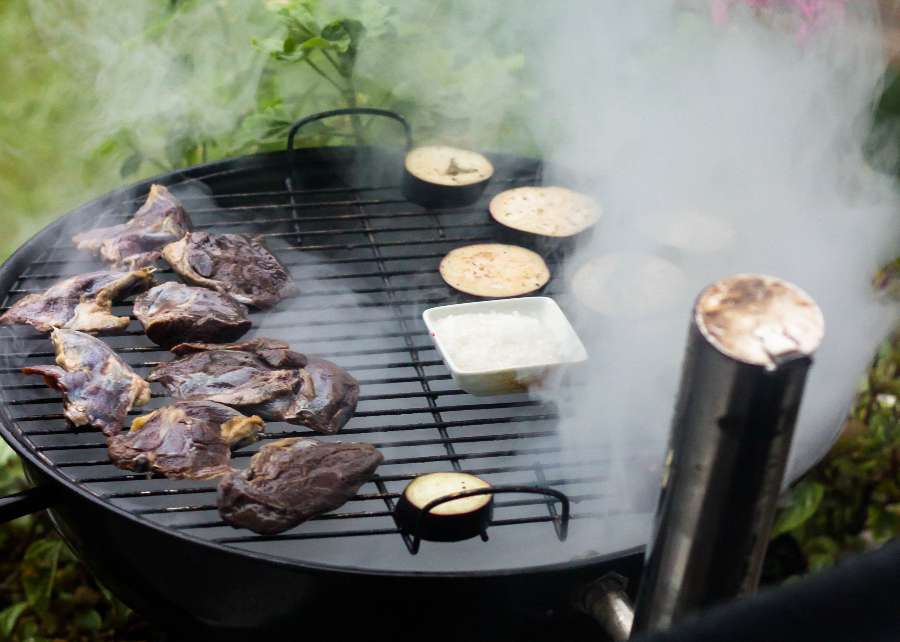
Charcoal and Wood Method (Fast and Simple)
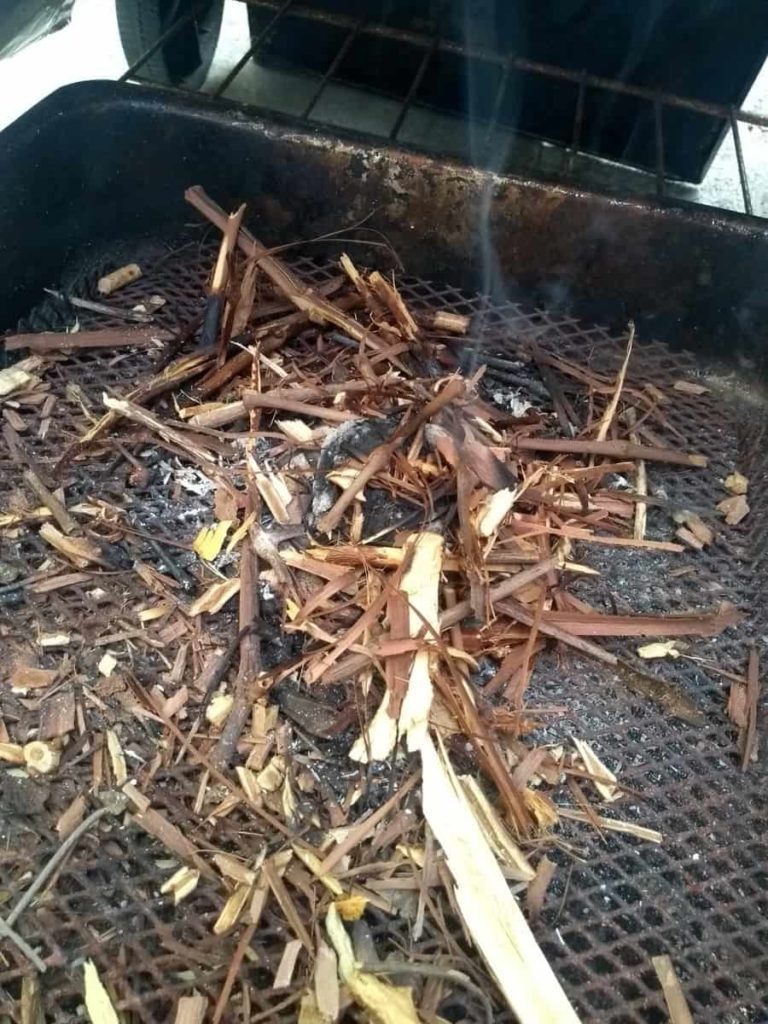
This is the simplest “kitchen-to-backyard” approach I use when I want a short cheese session. I light a small amount of charcoal, add a modest pinch of smoking wood, and let the chamber do the work with a little airflow.
The key here is restraint. Cheese takes on smoke quickly, so I focus on a clean smolder and a shorter session rather than trying to flood the chamber with heavy smoke.
Pellet Tube or Maze Smoker (Most Reliable Choice)

This is the route I use the most. It is predictable, it works in a wide range of chambers, and it scales nicely from small batches of cheese to bigger sessions when you have more space.
If you want to compare a few solid options, I keep my current pellet tube and maze smoker picks in one place so you can choose based on size and burn time.
Once the cheese is smoked, I like to rest it so the flavor settles and evens out. This step matters more than people expect, because the first taste right off the smoker is not the final flavor.
I also recorded a quick video with practical tube smoker tips that applies perfectly to cheese sessions because the same lighting and airflow principles apply.
Smokers to Avoid for Cheese Sessions
Any setup that is actively producing heat is fighting the goal of cold smoking cheese. The good news is many hot smoker bodies can still be used as a chamber with the heat off, as long as the smoke source is separate and the airflow is gentle.
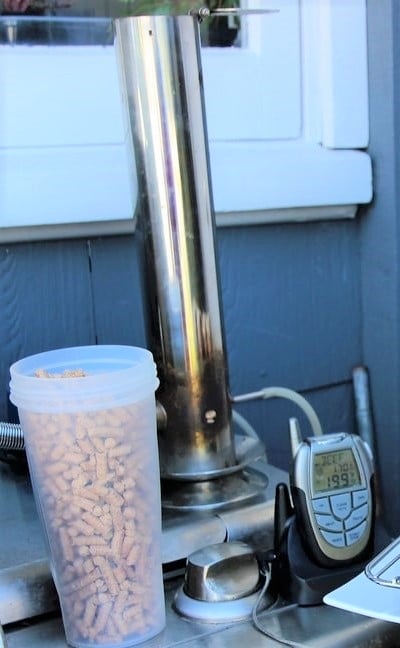
If your looking for the 'ducks nuts' (that means a very good bit of equipment). A smoke generator can be used as a cold smoker, or adding smoke to indirect cooking which equates to a form of 'low & slow' bbq or making smoked ham and some much more.
The inventor of smoke generators was Smokai, it's a simple device that uses the venturi effect and a variable air pump to control the amount of smoke you are pumping.
I have a range of cold smoking options, and the Smokai is my favorite.
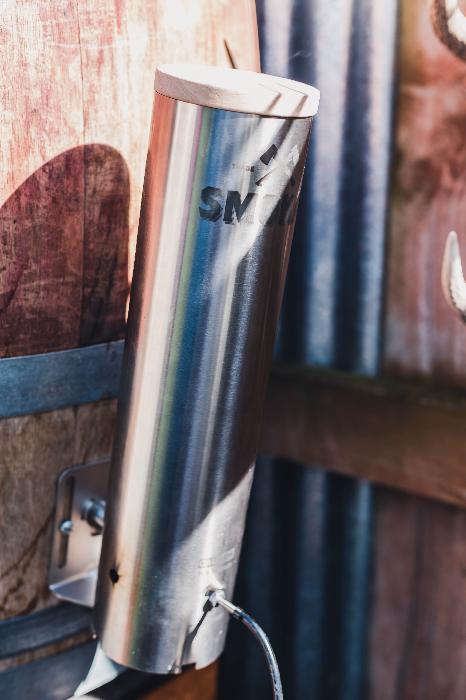
By far the smokai is the most efficient cold smoker I've come across because you have control.
It also burns very clean, which flavors the food exceptionally well. I've been using smoke generators for over 10 years, and this one is the ducks nuts.
Check out this review I did of the Smokai Smoke Generator here.
For a fish-specific example recipe that matches the “light smoke and steady chamber” approach, this cold smoked kingfish recipe is a useful reference for timing and process ideas.
Frequently Asked Questions
What is the best cold smoker for cheese?
For most home setups, a pellet tube or maze smoker is the simplest and most reliable choice for cheese. It is easy to run for short sessions, portable across different chambers, and predictable once you learn lighting and airflow.
What is the best cold smoker for fish?
For fish, I prefer a pellet tube or maze smoker because it produces gentle smoke consistently and works well in a range of chambers.
Pellet tube vs maze smoker, which is easier?
A pellet tube is often the fastest to learn because you light one end and let it establish a steady smolder. A maze smoker can offer longer runtime, but it can be more sensitive to airflow and fuel consistency depending on the design.
What is the cheapest cold smoking setup that still works?
A basic sieve method or a small pellet tube inside a simple chamber is the cheapest workable starting point. It teaches the fundamentals of smoldering fuel and airflow without requiring a dedicated smoker.
What cold smoker setup are you using for cheese or fish, and what would you buy again based on your experience?

Tom Mueller
For decades, immersed in studying, working, learning, and teaching the craft of meat curing, sharing the passion and showcasing the world of charcuterie and smoked meat. Read More