Sometimes, I want to prepare a charcuterie board beforehand so that it takes the stress out of it, rather than a last-minute rush of activity. I thought I’d share a few tips about how I prepare and some tips and tricks in the presentation that I have picked up along the way.
Key Points:
- Preparation can alleviate last-minute stress when creating a charcuterie board; it emphasizes quality over quantity.
- Utilizing plastic wrap or compostable alternatives is recommended for preserving freshness.
- Tips for enhancing the board include arranging contrasting colors, utilizing folding techniques for cured meat, and slicing cheese beforehand.
- Preservation methods for cured meat and cheese include beeswax wraps and proper storage to maintain freshness.
Of course, this resource site Eat Cured Meat is all about making a few cured meats, but I still buy quality, ideally, local products to add to an epic and spectacular charcuterie board (well, in my eyes, it’s hopefully epic!).
I lean towards a charcuterie board (here is what to do with leftover charcuterie meats) that is a little bit more minimalist and highlights quality rather than chockablock full of every imaginable food (but we did that above, actually); that’s my approach most of the time.
You can either prepare the entire board or prepare the cured meat and cheese ahead of time up to 24 hours before, as long as the board is wrapped and refrigerated beforehand.
My inspiration comes from traditional and classic and often from what I’ve seen across Italian antipasti platters over the months and months we have spent in the country.
So I’ll give a quick answer and then discuss ideas around prepping in a bit more detail to hopefully give you a helping hand.
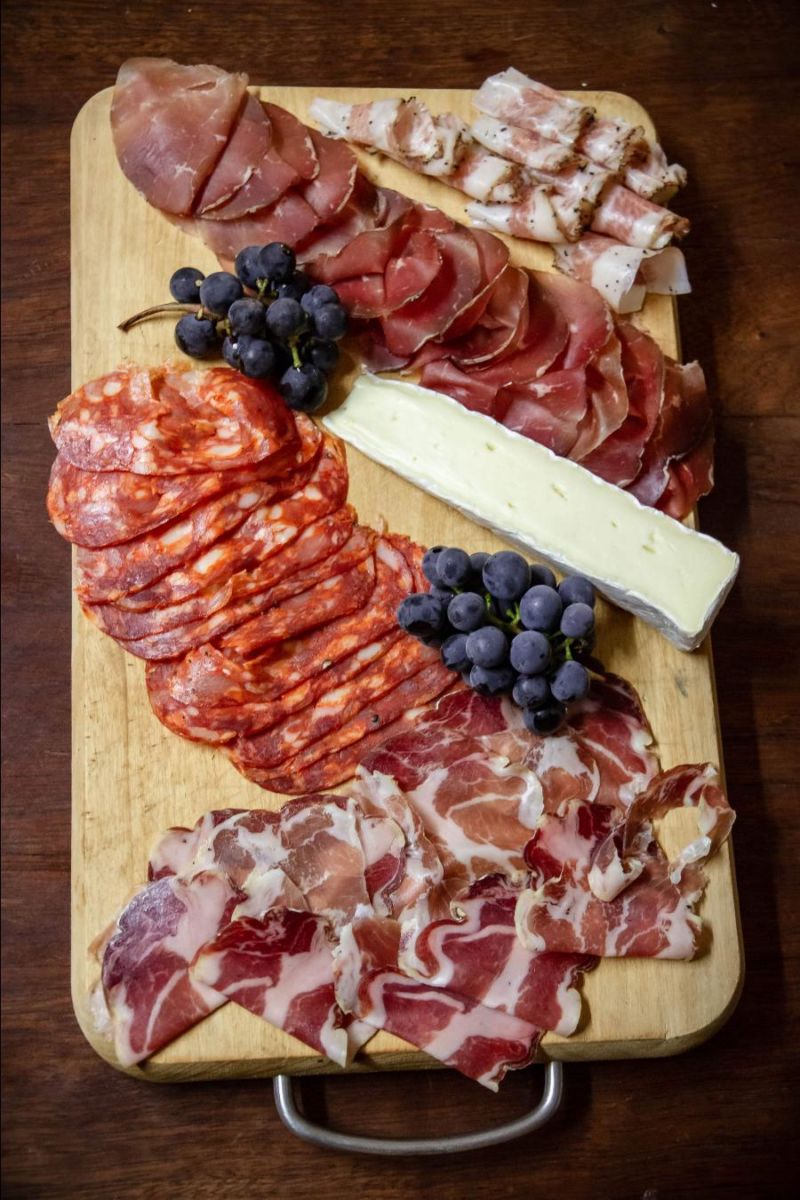
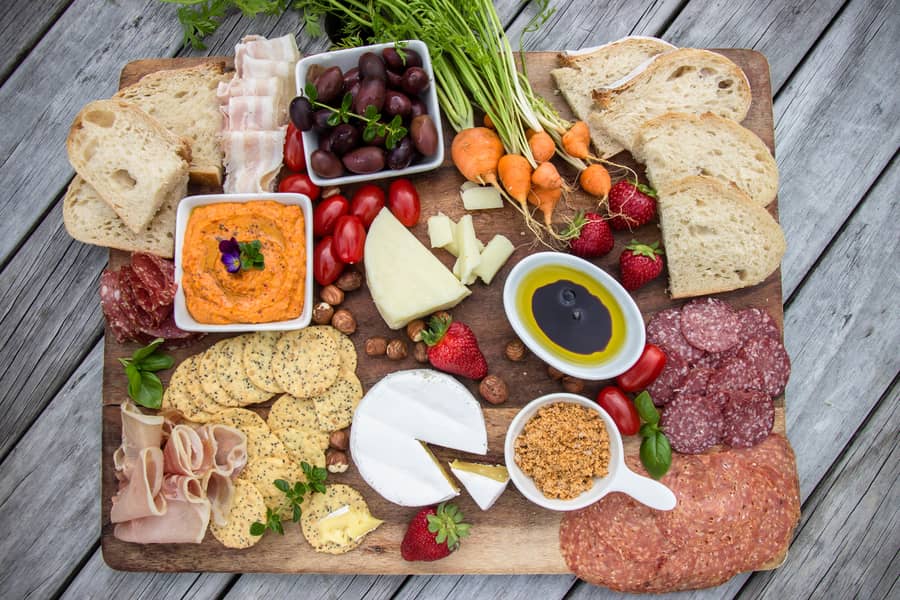
Maybe some ideas about how to change up your charcuterie board as well!
Charcuterie Board Preparation & Tips
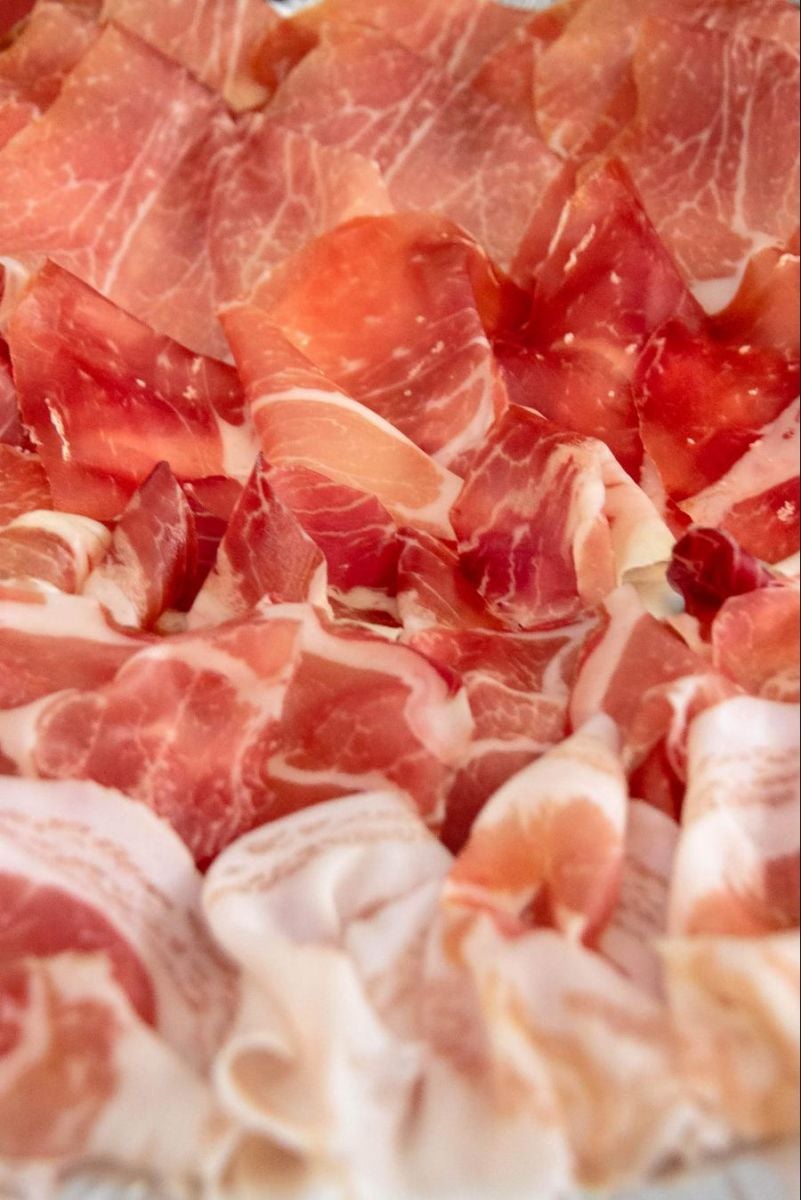
The way you fold the pieces of cured meat makes a difference when you can prop them up and make them a little bit more three-dimensional rather than flat two-dimensional (I will get some videos below to show the techniques).
Having a few useful little storage and display items can also help organize your charcuterie board. I’ve dived into them below.
Wrapped, Cool – Preparation Complete
Two main things you need to do to make sure prepping goes well.
Please keep it in a cool environment, like your fridge (mainly due to the cheese and cured meats). You also need to wrap or stop air or oxygen from drying everything out (obviously, I know).
Every fridge runs at around 20 to 30% humidity, which basically will dry out anything very quickly. Apart from your vege box in the fridge, I doubt you’ll fit your charcuterie board in there!
The easiest way to wrap a charcuterie board (to help, I have a calculator for how much meat etc. per person I created) is using plastic wrap/clingfilm.
It’s a new thing, but you can get compostable/biodegradable plastic wrap—crazy, I know! It’s made from PLA, a plant-based plastic alternative.
It’s unavoidable sometimes, but depending on the size of your charcuterie board, I’ll suggest other useful ideas.
Preparing the Night Before
I love cutting the cheese ahead of time. Then, store it in the fridge in the beeswax wraps or container below. The same applies if I need to slice the cured meat and salami.
The next day, all I need to do is put the preserved and pickled bits and pieces together and fold up the meat.
Please put on the breed crackers and happy days; it’s ready!
TIP – Buying some decent extra-virgin olive oil and adding a teaspoon of delicious quality balsamic vinegar makes an incredible acidic dip for the bread.
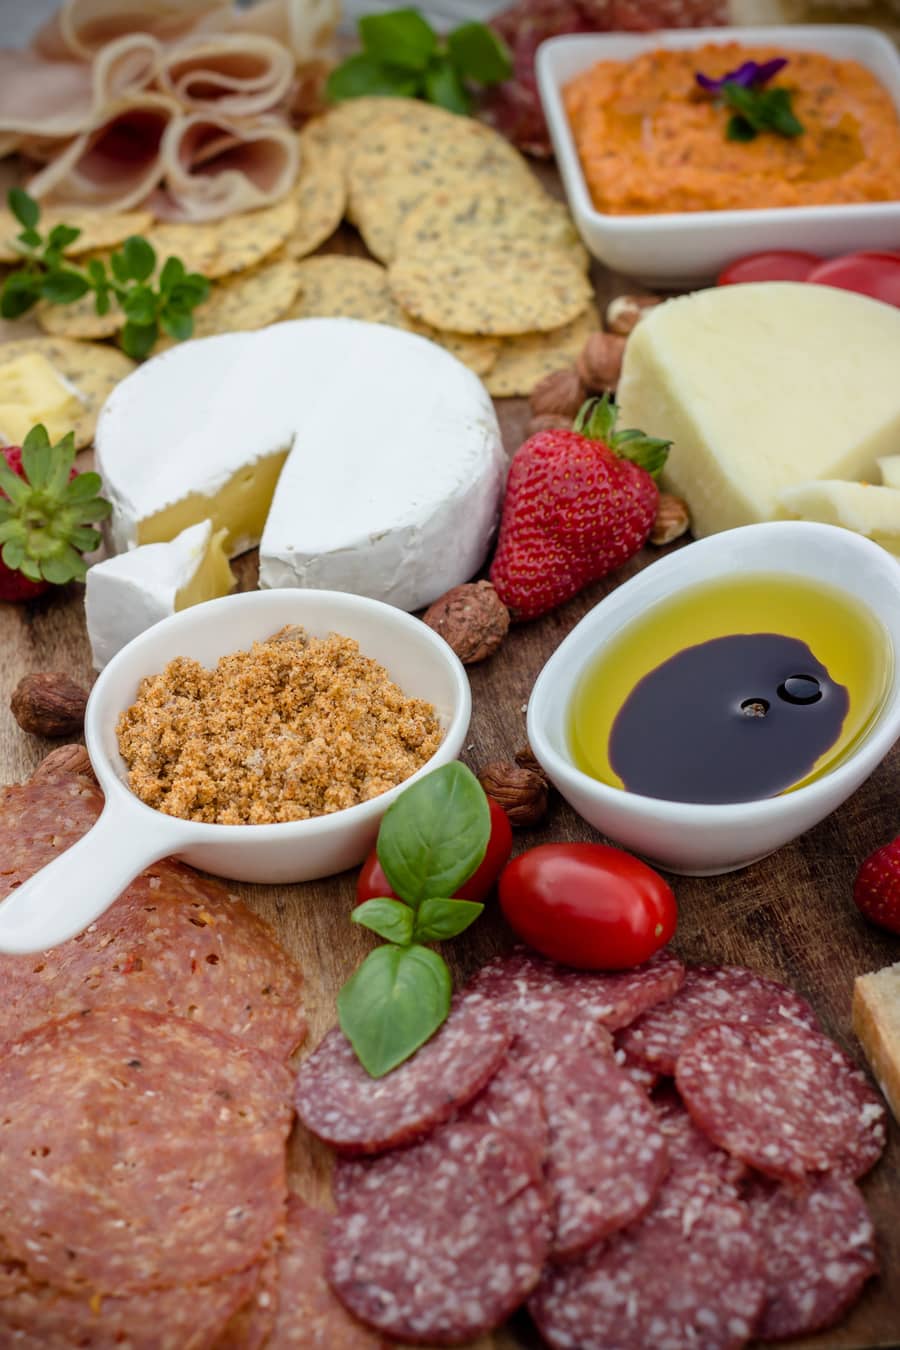
You can make one yourself. I use nuts like walnuts, hazelnuts, or cashews. Add some dry cumin, coriander, and salt to taste, and you’ve got the start of a dukkah.
Other additions to the dukkah:
- Smoked paprika
- pepper
- dried herbs like oregano or thyme
- a little sumac
You can just use plain extra-virgin olive oil and dip the bread into it before the dukkah coating. If you haven’t tried this, it is sublime.
Cheese Preservation Tip
Here is a helpful way to store a charcuterie board cheese.
One of my favorite eco-products is beeswax wraps. They naturally have antibacterial and antifungal properties. They’re made from beeswax and some other natural resins/essential oils.
These are an alternative for salami or cheese – great for vegetables, nuts etc.
Although meat is not so good for contact with them, fresh meat is. Salami is better (read the instructions, of course).
They are 100% fully compostable, just like an apple core. I have had friends who worked in companies that make them. They really have to be made by hand, which is cool in our mass-produced society.
The only issue is that you don’t get massive wraps to cover a medium—or large-sized charcuterie board.
I highly recommend you give them a try. They are an all-around better alternative and should last 6 to 9 months.
You rinse them in lukewarm water to keep them reusable. (They make fantastic cones for holding popcorn, and kids love sandwiches and snacks wrapped in them—because of the yummy beeswax scent!).
After they lose their stickiness (a nice stickiness that doesn’t leave residue), you can scrunch them up and use them for firelighters when camping!
But some eco-friendly plastic wrap alternatives are out there, differently a good move for the planet (random fact: did you know wet wipes are made with plastic? It blew my mind hearing about this recently)
A better alternative is Wax Bee Wraps (but you do need a big one for a whole charcuterie board!)
Here are a few of my favorite beeswax wrap products, which are official guys supporting environmental protection.
Quality
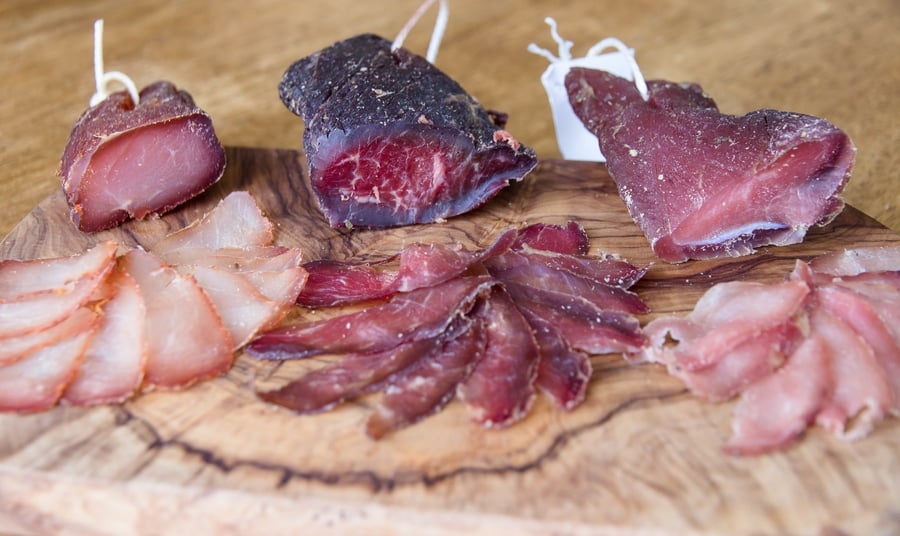
Even now, I have a super small garden; we try our best to produce carrots, herbs, beetroot, and other bits and pieces throughout the year. Luckily, the climate we are in means we can grow things just about all year round; it’s pretty mild.
Whether it’s curing meat or making something from your homegrown backyard, it it takes it to the next level when you’ve done it yourself, based on all the positive feedback I get.
Of course, for some people, this isn’t possible in the big city, but finding those local produce that are doing it on a small scale is probably a good place to start as well.
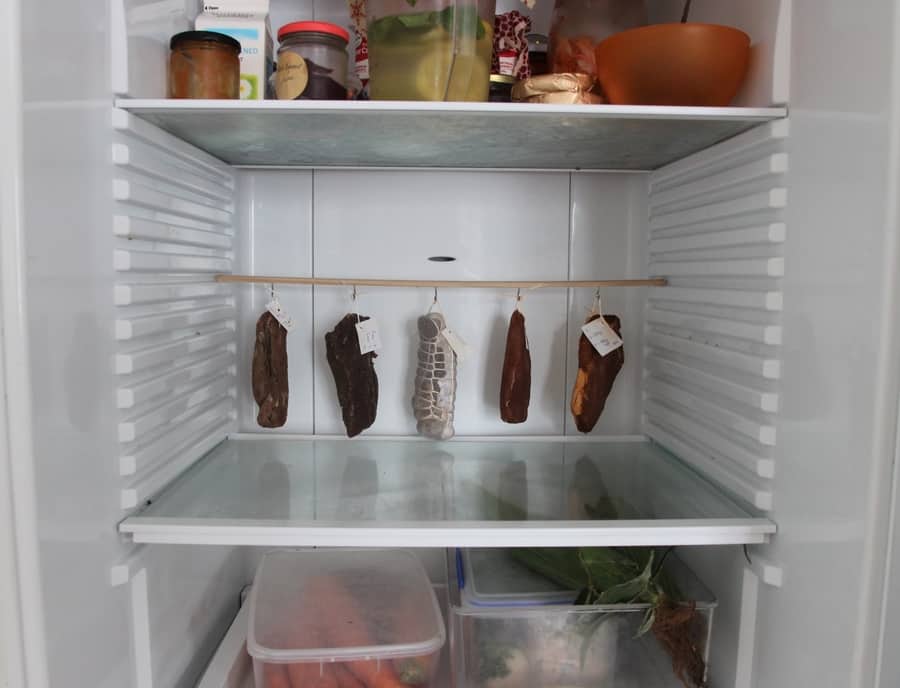
Or if you want to read about the above regular fridge meat curing, it takes 3-4 weeks, and you can make some delicious HOMEMADE curing meats – here is a link to the page I wrote.
Contrasting Colors
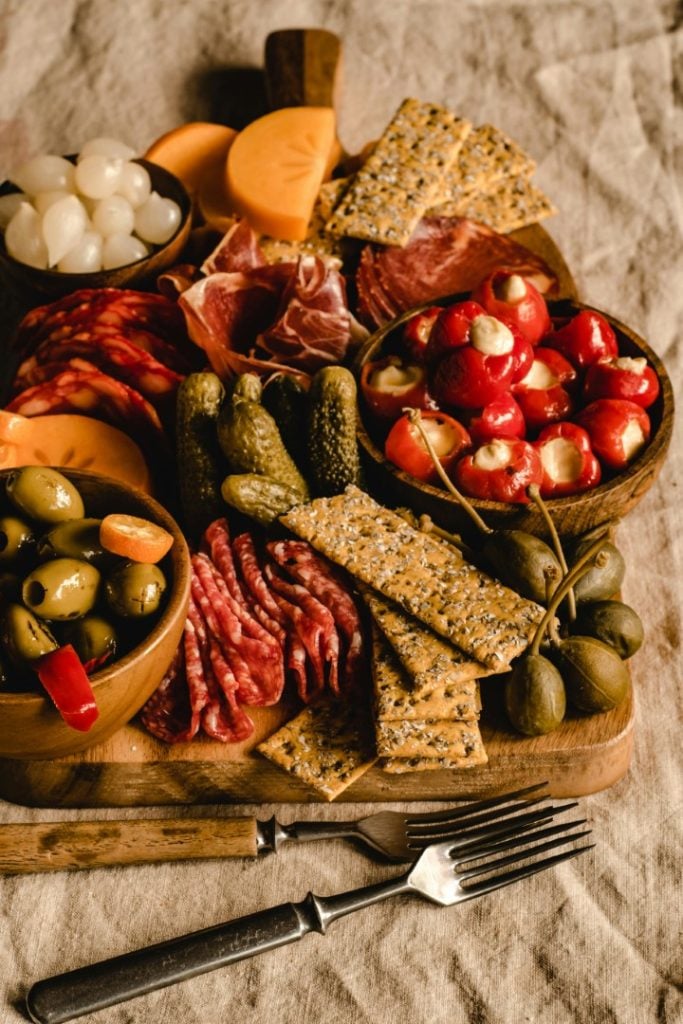
Color on a charcuterie board is a big deal. One way to go is to use the red shades of the cured meat contrasting with the yellowish and golden colors of the cheese. From an Italian perspective, a little bit of green summer on the board and nearly got the Italian flag—salute! You need the green olives!
There are so many ways you can do this yourself.
TIP – If you buy simple-brined olives, add a few fresh herbs and dried spices and leave them in the fridge for a day or two. Then, you’ve got a whole new angle of flavor!
Here is a gallery of some visual ideas to help.
Folding Cured Meat Techniques
It’s not hard to do just to slit to the middle of a larger piece of salami and fold it in.
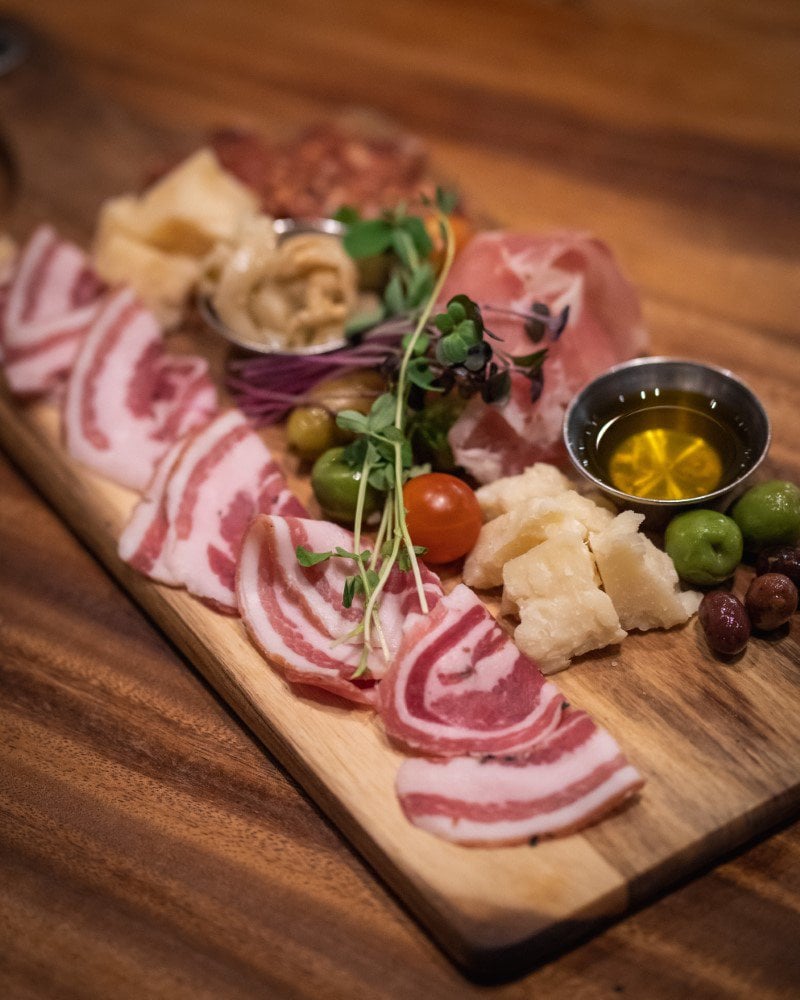
Rolling up or overlapping slices of prosciutto is also pleasing to the eye.
Cheese Arrangement
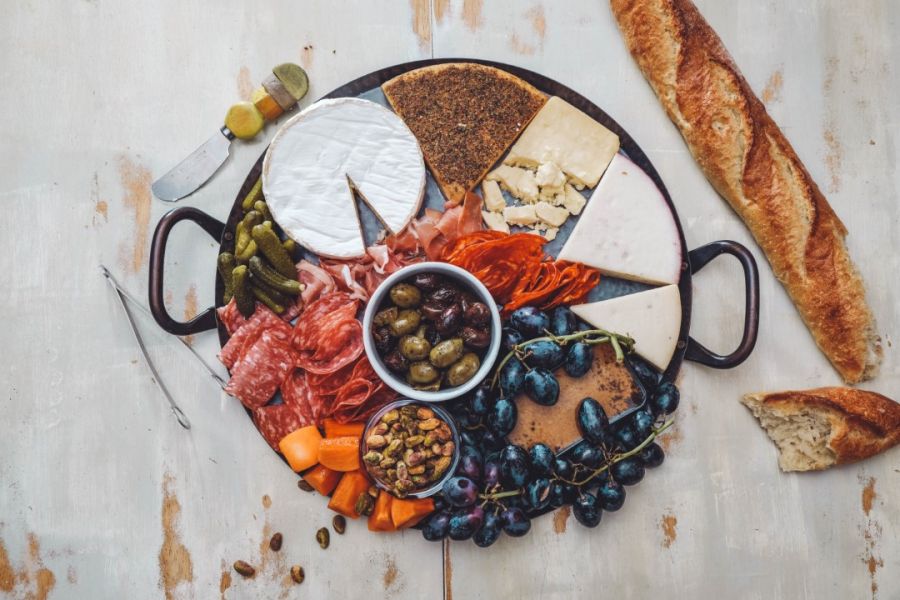
Some people like to stick a whole block of cheese on a board and provide a cheese slicer. Nothing is wrong with this, but I preferred to slice my cheese beforehand, making it easier for guests to enjoy.
Ramakins for Preserved Condiments
Egg cups are another small option for a condiment holder, and depending on your egg cup style, they can work!
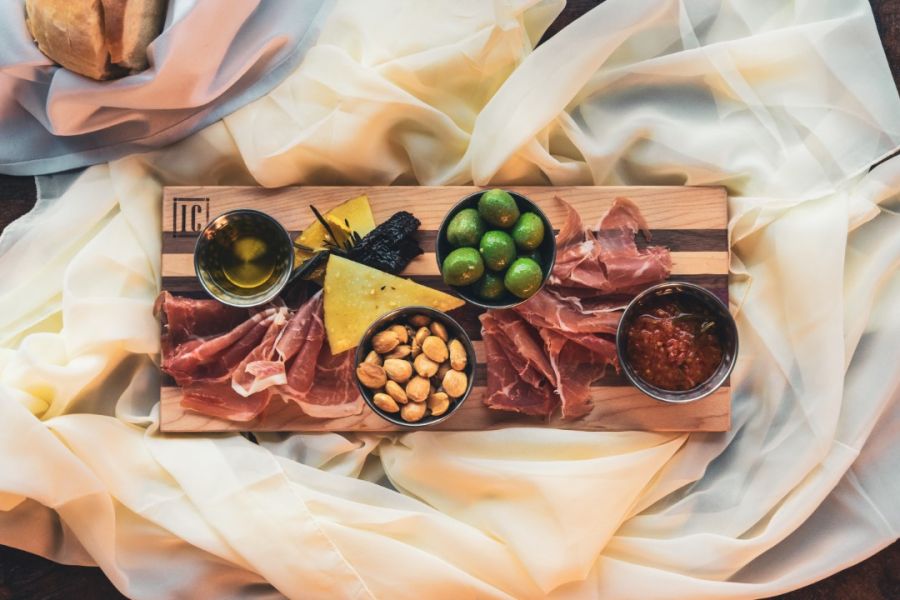
Other ramekins for dipping extra-virgin olive oil, dukkah, or other contrasting chutneys and pickles are good.
Whole Muscle Salumi & Dry Cured Salami
ie. Prosciutto, Braesola, Genoa, Picante (Modern name – Pepperoni)
Here are a few tips on prosciutto; you’re likely buying it from the deli, and it’s already sliced up for you.
It’s suitable for five days, even a week. I’ve found it better not to put it in a container and may develop a slimiest on the outside, just keeping it under-wrapped in the deli paper works well.
Eventually, that dry fridge environment will affect the sliced meat. It’s a bit different if you’ve got a bit of muscle; most guys will not have an entire prosciutto leg or whole braesola!
But you might have a whole stick of salami; dry-cured salami is often quite fresh, especially the mass-produced one, which has quite a soft touch to squish.
I like my dry-cured salami a bit firmer. It dries out a bit, and the flavor becomes more intense.
You can do this with most dry-cured salami for sale or remove it from plastic or paper. Let it sit in the fridge (wrapped with beeswax wrap or not). It will be a little harder in its casing after a few weeks. Just try it, as it hardens a little.
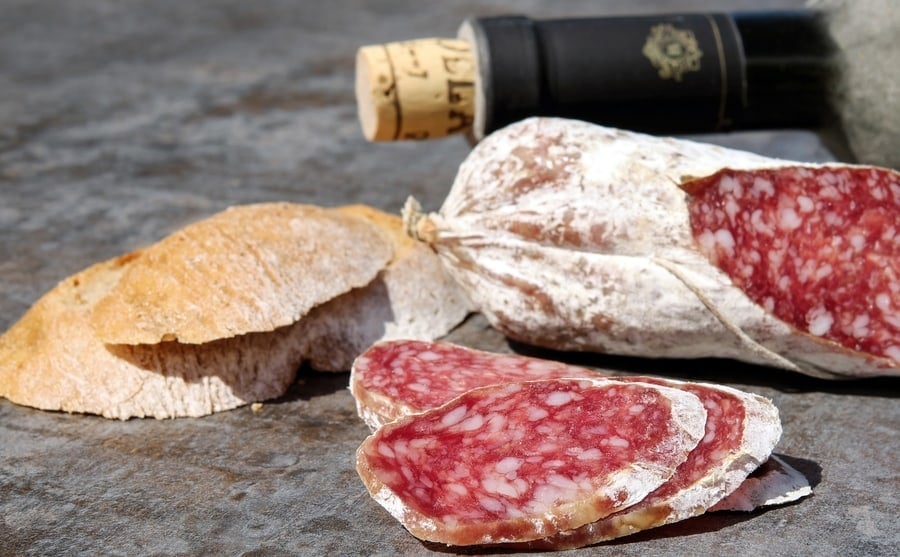
If you’re buying from an artisan salami producer, then more often than not, it’s been drying for several months already.
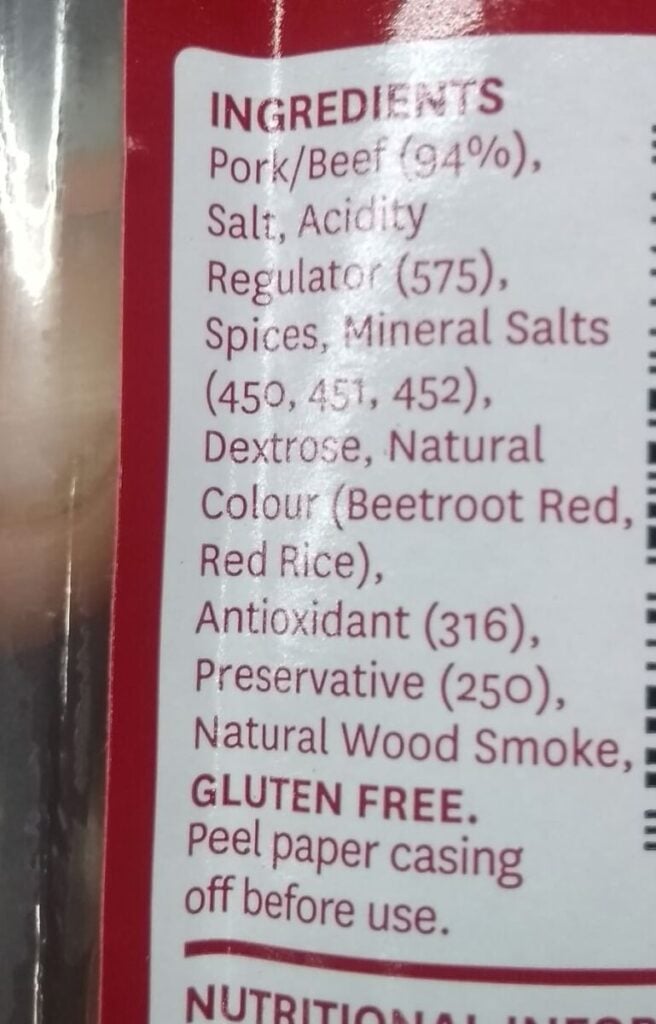
Unlike that tangy flavor, where the acidity is used to speed up the process, dry-cured salami is traditionally made, which takes a few months to prepare.
Other Charcuterie Preparation
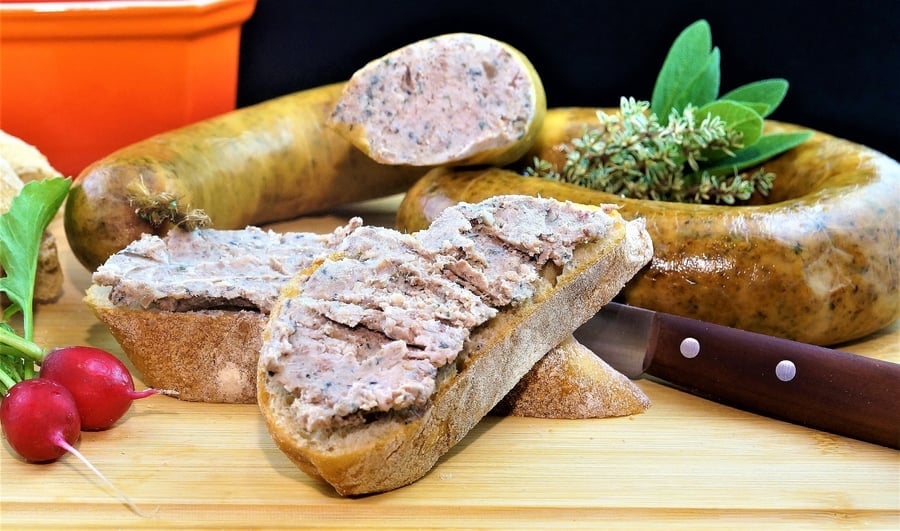
Rillettes and pates are all a bit different.
The rillette is preserved in fat; confit is a similar method.
But pates are a bit different—spreadable offal products should, more often than not, be eaten sooner rather than later.
Just like fresh offal, it should be eaten fresh.
However, the fat layer on top is sometimes used to protect it from oxygen aging and deterioration.
How Much Meat for a Charcuterie Board?
50-150 grams is sufficient per person. Dry cured has lost 30-50% of its weight. Therefore, 100 grams is 130-150 grams.
How far in advance can I prepare a charcuterie board?
You can prepare the cured meats and cheeses up to 8-48hrs hours in advance, provided the board is adequately wrapped and refrigerated.
What’s the best way to wrap a charcuterie board for refrigeration?
Plastic wrap/cling film is effective, but compostable alternatives are more eco-friendly. Beeswax wraps are excellent for individual items like cheese and salami.
How do I keep the cured meats and cheeses from drying out in the fridge?
Wrap them tightly with plastic wrap, compostable wrap, or beeswax wraps. Storing them in airtight containers also helps.
How long does sliced prosciutto last?
Sliced prosciutto can last for up to five days, even a week, when appropriately stored under deli paper, rather than a sealed container.
Feel free to leave a comment.

Tom Mueller
For decades, immersed in studying, working, learning, and teaching the craft of meat curing, sharing the passion and showcasing the world of charcuterie and smoked meat. Read More

