I wanted to share some incredibly easy ways to age venison in a normal kitchen fridge. All you really need is one clear shelf on which you can fit a baking tray or oven tray.
A friend introduced this method to me about a decade ago, and it is easier than all the other, more complicated methods that require a walk and chiller or hanging area to hang a carcass.
It has some similarities to wet aging but is slightly different.
This technique is specifically for the fast cooking cuts for steaks and grilling.
I’m lucky enough to sometimes have the facilities from farmers so I can dry age a whole gutted deer. Generally speaking, I’m coming home with hind legs and loins in my backpack. I have to do the aging myself.
With this method, we use it when carrying the meat out and we want some aged steak to enjoy.
You probably have everything you need already, making it all pretty straightforward.
So first, a really simple step-by-step, and then I’ll get into further details about how we break down the meat into groups/muscles, etc.
Easiest Way to Age Venison in a Fridge
Place prime steak cuts on a non-reactive drip tray on top of another oven tray. Cover or wrap the meat to minimize oxygen exposure. Place the tray inside the fridge for 5-10 days depending on taste preference.

- Place whole venison steak muscle on a non-reactive rack on a tray
- Wrap or Bag Meat
- Put into fridge
- Wait 5-10 Days, personal preference
This method assumes all the basic hygiene of using clean surfaces and keeping the venison cool as soon as possible after harvesting & gutting it.
I’ve used the same technique for other harvested fresh wild red meat. It can be incredibly rewarding to have nicely aged cuts ready to go anytime you want, straight out of the freezer.
Wet-aging is a relatively recent technique that developed along with advances in plastics and refrigeration. In this process, cuts of beef are vacuum-sealed in plastic and shipped to the market. The aging takes place in the 4-10 days between slaughter and sale while the meat is in transit.
The enzymes still have time to tenderize the meat enough to make it acceptable, and the biggest plus is that there’s no weight-loss in the meat due to dehydration.
https://www.thekitchn.com/whats-the-difference-dryaging-78737
As you can see from the above, it is probably a hybrid version of wet aging without vacuum sealing. It happens a lot faster than dry aging, too.
It’s also an interesting point that the meat does not lose as much weight as dry-aging meat.
What I dislike the most about vacuum packing meat is that it uses a lot of single-use plastic. If you’re piling up the cuts for aging and using the method below, I reckon you’d be using less plastic.
Nowadays, it’s scary since most waste plastic (even from polyester clothing) eventually goes to the ocean, where fish eat it – then we consume the fish. Airborne microplastics are floating around, and we breathe it in.
Here is the method that I use in detail for aging venison.
1. Place Venison to age on the Non-Reactive Rack on Oven Tray
Stainless steel is considered non-reactive
Aluminum, copper, iron, and steel (not ‘stainless’) are all reactive
https://www.thekitchn.com/food-science-explaining-reacti-73723
The reason I mention the above, I have learned through experience that some of my oven racks are stainless steel and some are not.
(I’m talking oven racks you normally use for roasting beef, pork etc.)
If you end up using an aluminum rack, or I guess something that is a mixture of metals it may be ‘reactive’ to the meat. You end up getting undesirable effects on the meat that’s in contact with it, I ended up slicing off quite a bit of waste which is a real shame.
I use either the coated type baking tray or some large commercial stainless steel trays. I wouldn’t want to be wasteful with that quality beyond organic harvested meat.
2. Wrap or Bag Meat
I prefer not to use single-use clingfilm plastic wrap for most things, but it’s the most effective way we’ve found of covering the meat properly.
Since there are only two to four times a year when there is a big meat harvest, I’m happy I’m not going through rolls and rolls of it.
3. Put into Fridge
You just need enough space and room – all you do is slide it into the fridge, and the waiting game starts.
4. Wait 5-10 Days -personal preference
The sweet spot for me and most friends is around the 7-day mark. Although one of the guys does like to go 10 days, sometimes 14 days.
When cooking the venison steak from rear to medium-rare, it goes without saying. Overcooked venison steak -is a ‘mis-steak’!
Grouping Cuts of Meat from Harvested Venison
Steps:
- Keep Meat Cool or Refrigerated after Harvesting
- Debone if Needed
- Break down into Major Muscle Groups (Roasts, Steaks, etc.)
- Tidy Meat Up – Sinew & Silverskin removal (optional)
- 2 Bowls for Off Cuts (Sinew, Stew/Mince)
- Place Aging Cuts on a Non-Reactive Drip Tray
- Wrap Steaks or Bag Meat / Vac Pac Other Meat
- Wait 5-10 Days, depending on Preference
1. Keep Meat Cool or Refrigerated after Harvesting
I mention this above, but most guys know this is pretty important. Getting the meat cool as quickly as possible after harvesting is really important.
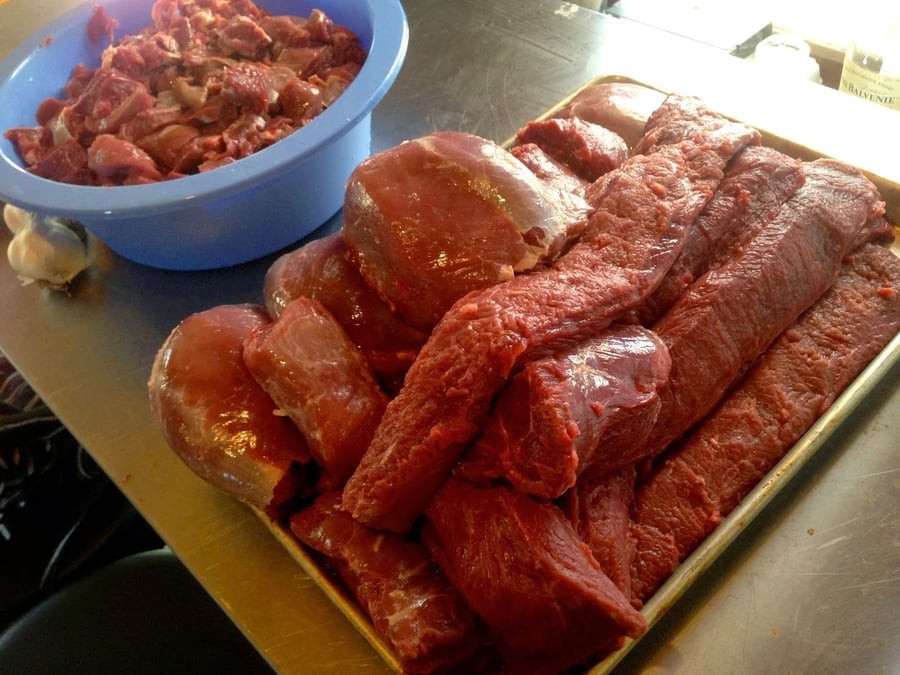
2. Break down into Major Muscle Groups (Roasts, Steaks, etc.)
The main groups of hindlegs are front legs and loin/back steak. We break down all the cuts for roasting and making steaks. For instance, the rump, you, of course, want to keep that whole when you add it to the steak aging pile that you put on the tray.
I won’t get into the offal side; it’s a bit off-topic for this. Apart from the obvious, the best-tasting and most useful parts of a harvested deer are the heart and liver. Slice and Fry these with onions and maybe some garlic as soon as possible.
Another possibility is to salt brine pickle a sub prime muscle from the front or back leg. Then make venison pastrami!
This was done on a pellet grill smoker.
Around the outside are other ways I use the venison, link to an article I wrote where applicable.
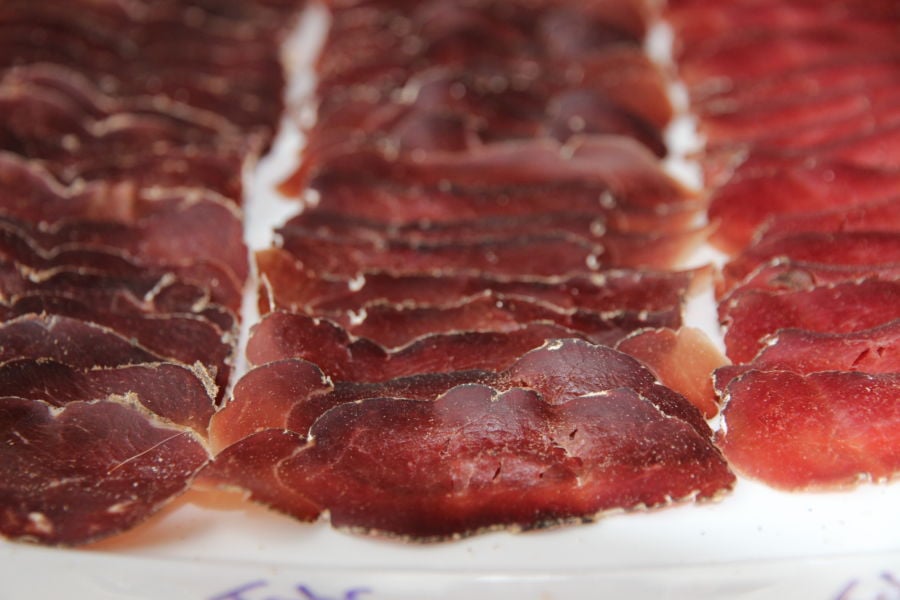
- Top Left, Biltong
- Top Right, Dry Cured in Regular Fridge
- Bottom Left, Dry Cured in Regular Fridge
- Middle Botton, Dry Cured in my Drying Fridge
- Bottom Right, Dry Cured Salami
As an alternative to aging, preserving, and curing. I wrote a post about the basics of dry curing meat at home.

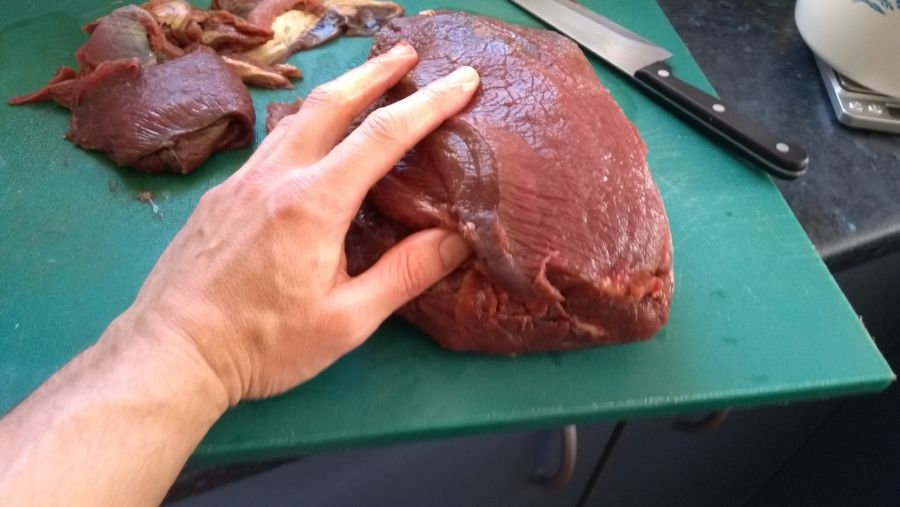
3. Tidy Meat Up – Sinew & Silverskin Removal (optional)
I actually enjoy tidying up the meat a lot.
There is an option here that some people use for those roast cuts of meat.
You leave it on the silverskin; it supposedly provides another level of protection if you’re going to be freezing the meat for longer periods.
4. 2 Groups for Off Cuts (Dog Food, Stew/Mince, Compost)
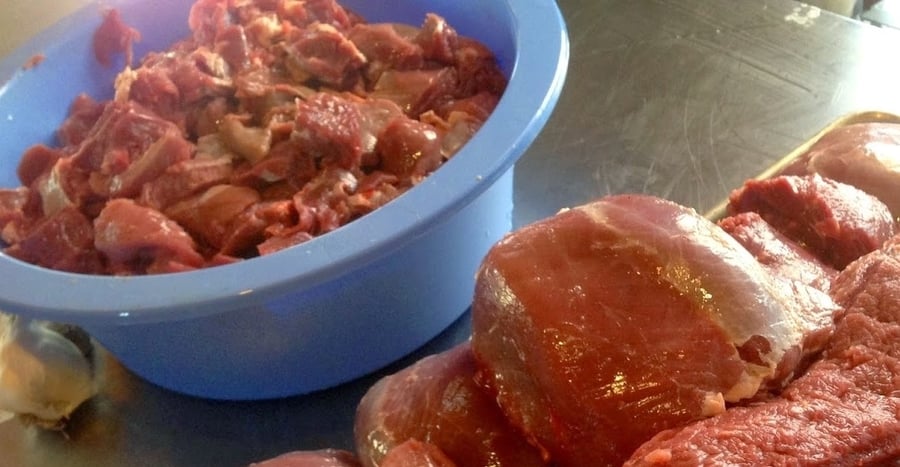
As we work through the meat, we like having three containers or bowls sitting there.
- Dog Food/Compost – sinew and other undesirable meat
- Stew Meat – Chunks of cubed meat
- Mince/Grind – For 1/2 to 1 pound bags.
A lot of the forequarters get put into this cube pile either cubed up, bagged and frozen, ready for a curry or stew.
Cubed up and ready for the mincer, then bagged up, ready for freezing.
These four steps are the same as above.
5. Place Aging Cuts on the Non-Reactive Rack on Tray
6. Wrap Steaks or Bag Meat / Vac Pac Other Meat
7. Wait 7-10 Days – Personal Preference
From doing this process, we have mince for bolognese, lasagne, etc.
Cubes meat for stew, braising, used in salami blend, curry, etc.
Aged Steak for the Grill!

Tom Mueller
For decades, immersed in studying, working, learning, and teaching the craft of meat curing, sharing the passion and showcasing the world of charcuterie and smoked meat. Read More
I generally hunt alone on public land where there are no vehicles allowed. I have to quarter my animals and pack them out. So you are saying that i can debone the meat and leave in the refrigerator for 7 days before freezing. I did this on accident one time with some meet i was going to grind. It had a horrible smell. I ended up giving it to the dogs.
For me and my friends that hunt, it works – as long as it’s NOT sitting in its blood/fliud and wrapped to not expose it to drying/oxygen in the fridge. Try re-reading it about the blood and tray aspect.
So you put meat on SS rack, wrap rack and meat with plastic and age keeping liquid off meat? Correct?
Yes thats a way I’ve been using for years. Just recently a friend have been using a technique, he reckons the New Zealand exporters of Venison use. Vaccum pack your aging cuts for 2-3 weeks. Stick it in the back of the fridge.
Then eat or freeze until you want to sear those rare delicous backsteaks or loin venison etc…
He swears by it, have to go harvest another deer and confirm – I’ll update post once I try it.
(just used the other method other the last week, 7 days didn’t quite do it for a young spring spiker, so 10 days then I will fry up a chunk and see….)
Cheers
Tom
Can you age the meat after it was frozen?
Never tried, dont think so, only when fresh. But salt curing and dry curing – yep do that all the time
Great info Tom, My question: I want to quarter up into front and back legs and wrap “bone in” in cling wrap and age for 7 days, then do my cuts after aging, followed by vacuum pack and freeze. I would also vacuum pack the tenderloins “backstraps” ASAP and leave in fridge aging in vacuum packs 7 days then freeze. Does this make sense? Thanks
wet aging with a bone, I am not sure about. I prefer to debone and make sure the meat isn’t sitting in the blood that drips off it. Or if the skin is still don’t, hang the whole leg.
The key is to have the meat at just above freezing point to minimize unwanted bacteria from what I know.
I wouldn’t wrap a leg, with bone in and wet age it. Cheer T