Over the years, I’ve tested, sliced, and cleaned a lot of deli slicers. From casual cheese and bread slicers to heavy-duty deli slicers for wafer-thin prosciutto, I’ve learned one key thing: what you want to slice — and how often — determines everything.
Some folks are after clean, consistent cuts of sourdough or sandwich meat. Others (like me) need paper-thin charcuterie slices, especially when working with dry-cured meats like pancetta, bresaola, or prosciutto. Thin slicing makes a huge difference in flavor, texture, and presentation.
I’ve spent time in Italian homes where a deli slicer is as common as a kettle. There’s a reason for that — thin slicing unlocks flavor. Fat melts properly, salt is balanced, and every bite has that signature texture. But most slicers sold online don’t explain the difference between basic food slicers and serious deli slicers. That’s what I’ll unpack here.
This guide breaks down what kind of slicer fits your needs — whether you’re slicing dry-cured meats, cold-smoked bacon, sourdough bread, or aged cheese. Below is a table of models I’ve used or tested, followed by a deeper breakdown of features and use cases.
Best Food & Deli Slicers for Home Use
| Model | Weight | Blade | Cut Thickness | Motor | Best For |
|---|---|---|---|---|---|
| OSTBA SL518-1 | 8.6 lbs | Serrated / 7.5″ | ~3/4″ / ~1mm | 150–200W | Bread, cheese, soft meat, fruit, veg |
| CUSIMAX CMFS-200 | 10.9 lbs | Smooth / 7.5″ | ~3/16″ / ~1mm | 200W | General slicing – not for wafer-thin meat |
| KWS MS-10XT | 38 lbs | Smooth Teflon / 10″ | 1/25″ / <1mm | 320W | Charcuterie, raw or dry-cured meats |
| VEVOR Commercial | 40 lbs | Chromium / 10″ | 1/25″ / <1mm | 240W | Home or light commercial use |
| KWS MS-6RS | 28 lbs | Stainless / 7.67″ | 1/25″ / <1mm | 200W | Cheese, salami, prosciutto |
| Sirman MIRRA 300 | 62 lbs | Smooth / 12″ | 1/25″ / <1mm | 210W | Premium slicing for charcuterie pros |
The first two models are solid for general use — sandwich meats, bread, firm cheese. But for paper-thin cuts of coppa, dry-cured pancetta, or smoked bacon, the heavier deli slicers are worth every dollar. That’s when consistency, pressure, and motor torque matter.
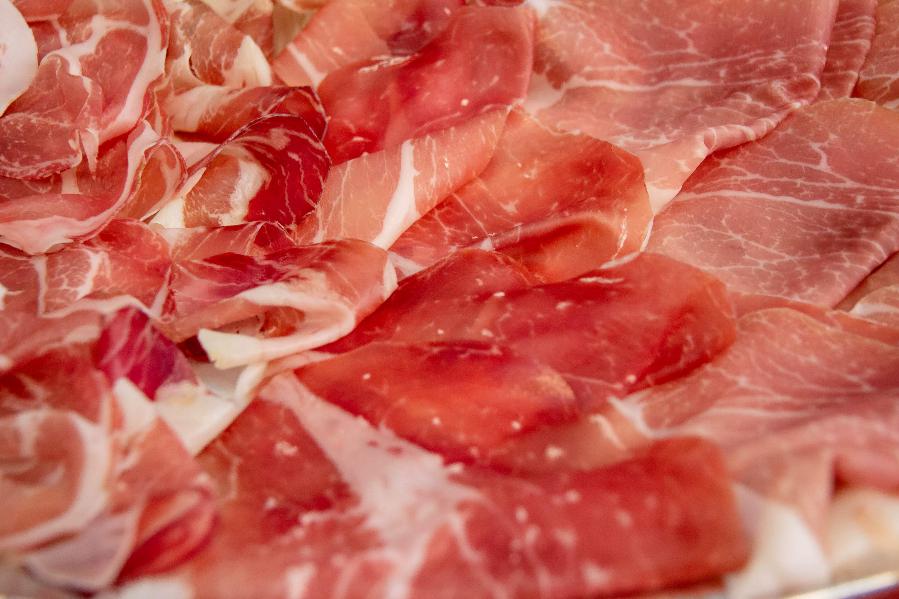
Food Slicer vs Deli Slicer: What’s the Difference?
The terms “food slicer” and “deli slicer” get used interchangeably, but they’re very different tools. I’ve used both extensively and learned that understanding this difference saves money, time — and frustration.
Food slicers are typically lightweight (under 12 lbs), with plastic frames and serrated blades. They work well for crusty bread, cheddar blocks, or thick salami — but they lack the torque, blade sharpness, and stability to cut ultra-thin slices consistently.
Deli slicers, by contrast, are built for precision. With smooth, heavy blades (often 10″+), solid construction, and 200–300W motors, they glide through fat-rich dry-cured meats without tearing or smearing. The difference in slice quality is vast.
Which Slicer Is Best for What?
- Food Slicer – Best for bread, firm cheeses, vegetables, and thick-sliced meats like turkey or mortadella.
- Deli Slicer – Best for charcuterie, pancetta, bacon, prosciutto, and anything requiring paper-thin precision.
Based on my experience, if you’re only slicing sandwich fillings once or twice a month or bread/cheese, a $100 food slicer will suffice. But if you’re working with more delicate, high-fat meats like pancetta or speck, the consistency of a deli slicer is worth every cent. You can’t match the control and presentation.
Why Blade Type Matters
Serrated blades are okay for crusty bread, ham or thick salami, but they tend to tear delicate meats, especially anything with a fat layer. Serrated edges also “grab” as they cut, making it difficult to obtain uniform slices.
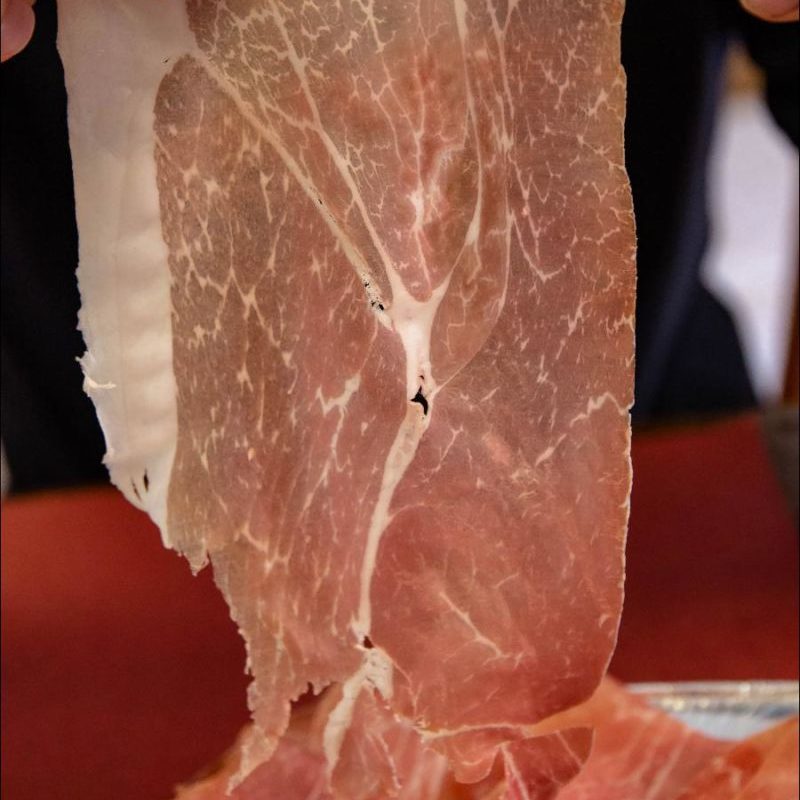
For cured meats, the key is a smooth blade. It glides cleanly through both fat and muscle. My 10″ smooth Teflon blade gets wafer-thin slices of prosciutto, and that’s a game-changer-the kind of cut where you can almost see through the meat. This precision doesn’t just improve presentation — it impacts the eating experience.
If you’ve gone to the effort of dry-curing your own meats, you want them to shine. A rough cut can mask the salt balance or tear apart fat ribbons that should melt cleanly on the tongue. A sharp, smooth blade is essential.
Weight = Stability & Precision
One of the fastest ways to determine if a slicer is well-built is by checking its weight. A 9-pound plastic slicer will not provide thin, dry-cured meat slicing. A 38-pound deli slicer won’t budge — and that stability gives you better control, thinner slices, and more consistent results.
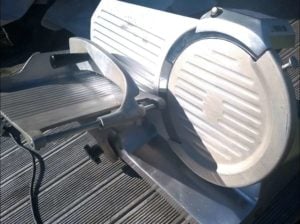
Beyond control, weight also means less vibration. That’s especially useful for slicing meats with marbled fat or a tender structure, such as coppa or bresaola. I’ve had cheap machines stall out, flex during slicing, or leave uneven chunks. With a deli slicer, it’s smooth, consistent, and way faster.
Choosing the Right Slicer for Cheese, Bacon, Bread & Charcuterie
Each type of food behaves differently on a slicer. Some glide right through. Others catch, smear, or require extra torque. Here’s how I break it down by category based on personal use and testing.
Cheese
Cheese can be hit or miss, depending on its firmness. A standard food slicer can handle blocks of cheddar or edam well, but once you try to go below 3 mm thickness or switch to softer cheeses, you’ll quickly see the limitations. You’ll get smearing, edge crumbling, or resistance from the motor.
I use my deli slicer for everything from semi-soft cheese to firmer varieties like Parmesan. The evenness of cut is especially helpful for portioning out platters, sandwiches, or charcuterie boards where presentation counts.
Heavier deli slicers will do cleaner cuts on cheese.
Charcuterie & Dry-Cured Meats
This is where the deli slicer really shines. Even with a razor-sharp knife, you can’t beat the consistency of machine slicing. I’ve tested blades, chilled meats, and every slicing trick out there — but when I’m working with something like coppa or prosciutto, nothing beats the smooth-glide cut from a deli slicer.
If you’re slicing meat from your own dry-curing project, consistency makes a difference. The goal is to showcase those delicate fat lines and balance the salt across a paper-thin slice. It’s not just for looks — it affects taste.
I often get asked whether a deli slicer is overkill.
My answer is simple: not if you’re doing any serious charcuterie. It’s the only way I’ve found to reliably highlight the work that goes into dry-curing whole muscles.
Bacon
When slicing my own cold-smoked bacon, I used to rely on a knife. But slicing 4-5 kg/8-12 pounds manually gets old fast — especially when you’re aiming for uniform thickness. With a deli slicer, I can process an entire slab in 10 minutes, stack slices with baking paper, and freeze them for easy storage. No fuss.
The fat on bacon, especially pancetta-style or belly cuts, makes it tricky. On a cheap slicer, it’ll pull, tear, or get stuck. On a deli slicer, it’s clean and controlled — and you don’t have to chill the meat as hard to make it sliceable.
Slicer Safety & Maintenance
These machines are powerful. Always unplug them before cleaning, fully close the blade, and remove any loose components with care. Never assume the edge is dull — even after slicing a few kilos of meat, I treat it like a scalpel.
For a simple safety guide with diagrams, I recommend this how-to-clean walkthrough from Ansell. It’s concise, clear, and covers both cleaning and safe handling basics that apply to home users too.
What I Learned Using Deli Slicers at Home
Once I got into dry-curing meats regularly, a deli slicer quickly went from “nice to have” to “essential gear.” I’ve used several slicers over the years at home, and they’ve each taught me something about performance, practicality, and expectations.
When I first tried slicing dry-cured meats with a chef’s knife or serrated blade, the results were rough. Sure, you can make it work, but if you want that paper-thin cut that lets light pass through, a slicer changes the game. The first slice of homemade coppa I ran through a deli slicer was a revelation—clean, whisper-thin, and evenly cut across the grain. I couldn’t stop staring at it.
Beyond its looks, the flavor improved as well. The thin slices meant consistenty for the saltiness, since dry cured meat has higher levels of salt, thinner slicer is how they should be eaten. Plus, I could finally plate up prosciutto or pancetta slices that looked like they came from a deli, not a bandsaw.
But it wasn’t just about cured meats. I’ve used these slicers for roast beef, turkey, and even vegetables like eggplant. That versatility is underrated. You can prep food in bulk, portion it exactly, and reduce waste by slicing only what you need.
One important thing I realized is that not every “deli slicer” sold online is cut out for dry-cured meats. Some don’t go thin enough. Others can’t handle firm meats without tearing them up. And nearly all of the cheap models I tried had blades that flexed or dulled quickly.
My current model is heavy and powerful—overkill for someone slicing sandwich ham once a week. However, for dry-cured whole muscles like bresaola or lonza, it has become my go-to tool. If you’re making charcuterie at home, it’s worth investing in something that performs like a real deli machine without going fully commercial.
Other Foods to Slice & How I Use My Slicer at Home
One of the biggest surprises when I started using a deli slicer at home was just how many foods benefit from ultra-thin slicing.
What began as a way to cut cured meats ultimately transformed my preparation for everyday meals and entertaining.
I primarily purchased my slicer for dry-cured meats, such as pancetta, lonza, and bresaola. However, I now regularly use it for roast beef, turkey breast, and even vegetables like cucumbers and onions when preparing large platters. I’ve also sliced sourdough bread, semi-hard cheeses, and even smoked fish with solid results. It’s a surprisingly versatile tool once you get the hang of it.
If you’re working with cured meats from your chamber or a butcher, getting consistent, thin slices can be the difference between good and great flavor. Some of the dry-cured meats need to be sliced almost transparently to soften up on the tongue and release their aromatics properly.
Once you’ve dialed in your slicer settings, you can easily switch between cuts — I go from wafer-thin salami to medium-thickness ham with a few clicks of the dial. This is where choosing the right slicer pays off, especially with precision controls and a heavy, stable build.
Another handy aspect I found is in portioning and storage. I often slice a whole piece of cured meat and vacuum seal or wrap it into smaller servings. It makes snacking or building a charcuterie board super convenient. Here are a few of my go-to tips on how to store cured meat after slicing, so the texture and flavor stay top-notch.
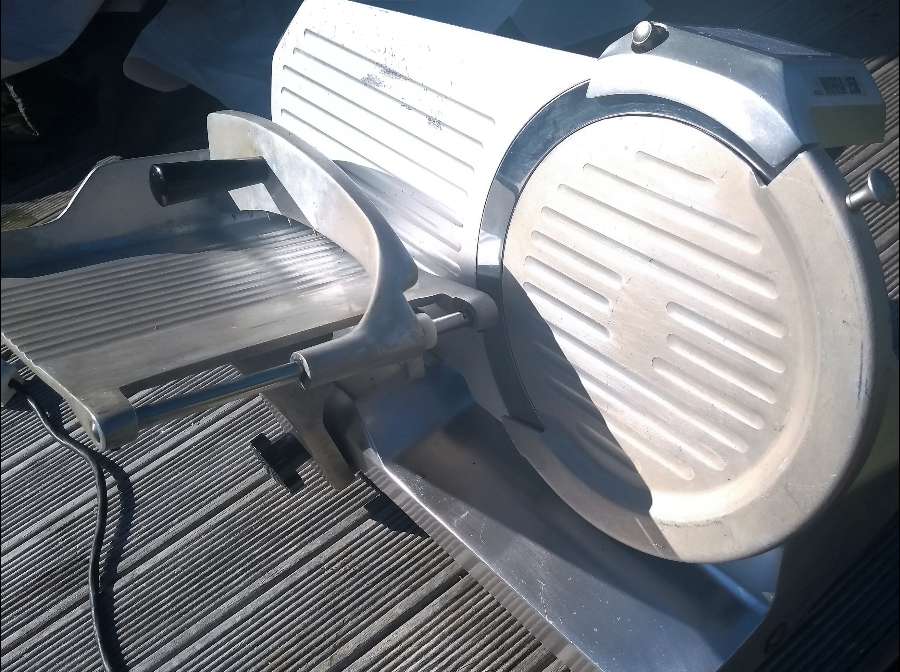
If you’re wondering how to actually get those see-through slices, the technique helps too. I wrote a more detailed piece on how to thinly slice cured meat based on lots of hands-on practice with different textures and fat content.
And if you’re curious what other models are out there — budget or premium — there’s a solid roundup over at Serious Eats on the best meat slicers tested in real kitchens. They break down the pros and cons pretty well, especially for home users.
Safety, Cleaning, and Maintenance
A meat slicer is one of the most useful — and potentially dangerous — tools in the kitchen. In commercial kitchens I’ve worked in, it’s often called the most hazardous piece of equipment (mandolines are a close second). But with the proper habits, you can use it safely and efficiently at home.
My first rule: always turn the power off when you’re not actively slicing. It takes a second, but this habit can prevent serious accidents. I also always close the blade gap after I’m done — leaving it exposed, even unplugged, is asking for a nasty slice.
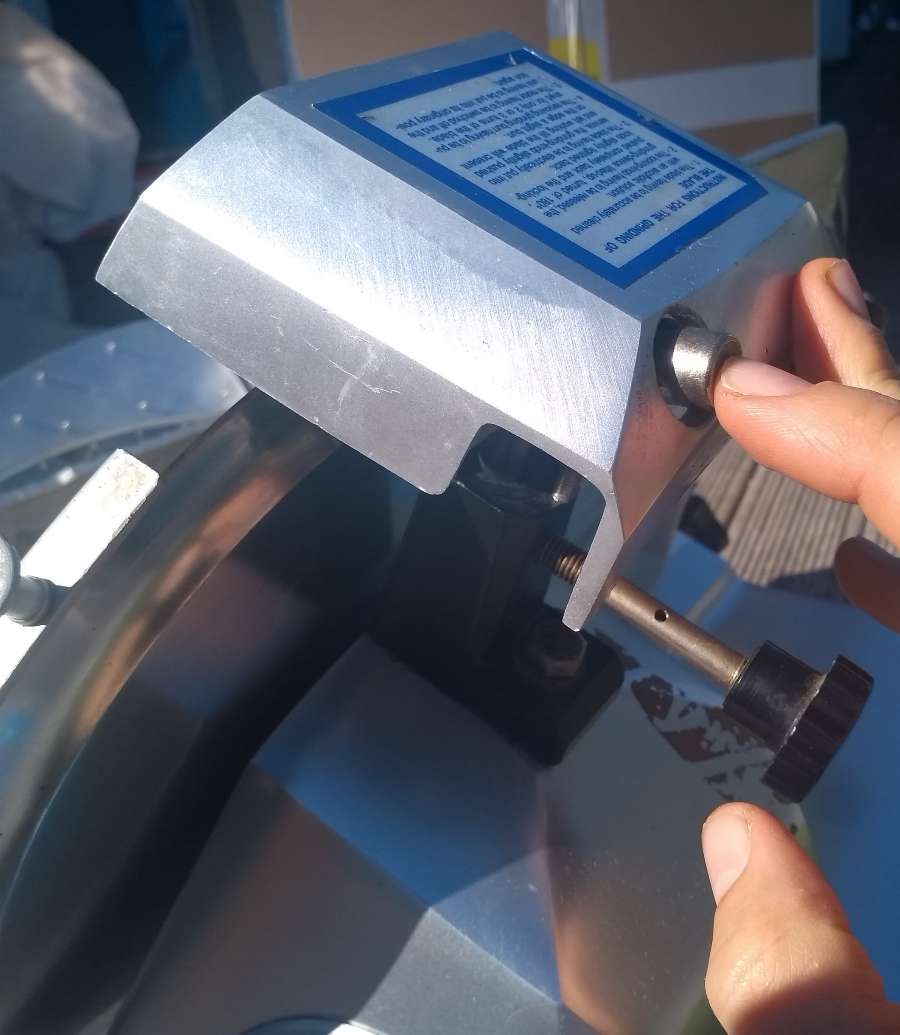
Cleaning your slicer is part of the deal. It takes me about 10–15 minutes per session — I disassemble the carriage, blade guard, and food pusher and clean them with warm soapy water. Drying thoroughly is essential to avoid rust, even on stainless components.
When I’m slicing fatty meats like pancetta or coppa, I do a quick wipe-down between cuts to prevent buildup. This keeps slices consistent and helps avoid flavor contamination between meats.
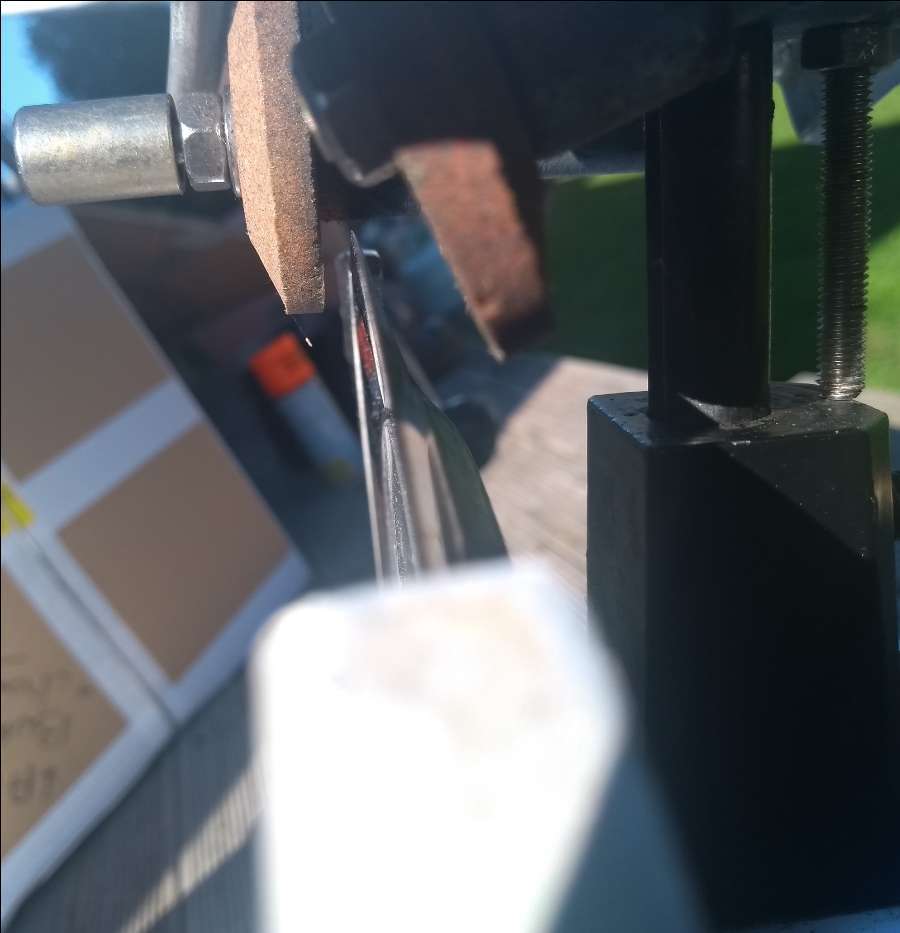
Sharpening is another must for thin slicing. My slicer has a built-in sharpener — I use one side of the stone for about 30 seconds, then switch to the finishing side for just a few seconds. I do this every 8–15 uses to keep it slicing effortlessly. If your slicer doesn’t have one, you can use a dedicated sharpening stone, but make sure it’s compatible with the blade type.
If you’re just not ready for a slicer or want a simpler alternative, a sharp salumi or prosciutto knife is the next best option. I wrote about these in my guide to thin slicing cured meat, especially useful if you’re slicing by hand.
Summary
Whether you’re slicing pancetta, prosciutto, or your own dry-cured meats, a proper deli slicer makes a huge difference. Once I upgraded from knives to a precision slicer, the wafer-thin cuts brought out flavors I didn’t know I was missing. It takes some setup, care, and cleaning — but if you love charcuterie, it’s absolutely worth it.
If you’re serious about cured meats, the right slicer will become your most-used tool. Just remember: sharp blade, solid power, precision control, and safe handling. Get it right once — and you’ll never look back.
Here is the comparative table again:
| Model | Weight | Blade | Cut Thickness | Motor | Best For |
|---|---|---|---|---|---|
| OSTBA SL518-1 | 8.6 lbs | Serrated / 7.5″ | ~3/4″ / ~1mm | 150–200W | Bread, cheese, soft meat, fruit, veg |
| CUSIMAX CMFS-200 | 10.9 lbs | Smooth / 7.5″ | ~3/16″ / ~1mm | 200W | General slicing – not for wafer-thin meat |
| KWS MS-10XT | 38 lbs | Smooth Teflon / 10″ | 1/25″ / <1mm | 320W | Charcuterie, raw or dry-cured meats |
| VEVOR Commercial | 40 lbs | Chromium / 10″ | 1/25″ / <1mm | 240W | Home or light commercial use |
| KWS MS-6RS | 28 lbs | Stainless / 7.67″ | 1/25″ / <1mm | 200W | Cheese, salami, prosciutto |
| Sirman MIRRA 300 | 62 lbs | Smooth / 12″ | 1/25″ / <1mm | 210W | Premium slicing for charcuterie pros |
Alternatives
If you’re not ready to invest in a deli slicer, a prosciutto knife, or a salumi blade, you can still get decent results. Here is a rundown on slicing and knives I wrote.
FAQs About Deli Slicers at Home
Do you really need a deli slicer at home?
If you regularly slice cured meats or charcuterie, yes. A deli slicer provides consistent, ultra-thin slices that knives can’t match. It’s also faster and safer when used correctly.
What size blade is best for home meat slicers?
For most home users, a 10-inch blade is ideal — large enough to handle big cuts but still compact. An 8-inch blade works well for smaller cured meats or tight kitchen spaces.
Can you slice cheese and bread with a meat slicer?
Yes. Most quality meat slicers can handle cheese and bread, though you’ll want to clean thoroughly between uses to avoid flavor transfer or buildup.
How do you clean a deli slicer safely?
Unplug the slicer, disassemble key parts, and wash with warm soapy water. Dry all parts completely to prevent rust, and use a sanitizing solution if slicing raw meats.
Have a question about choosing or using a deli slicer at home? Drop it in the comments — I’m happy to help out!

Tom Mueller
For decades, immersed in studying, working, learning, and teaching the craft of meat curing, sharing the passion and showcasing the world of charcuterie and smoked meat. Read More
