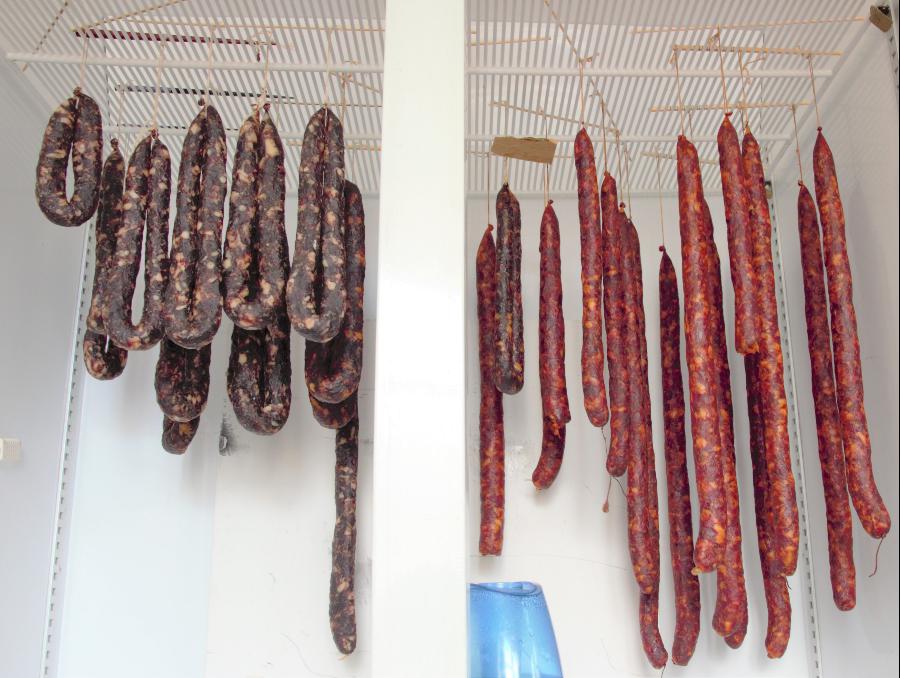
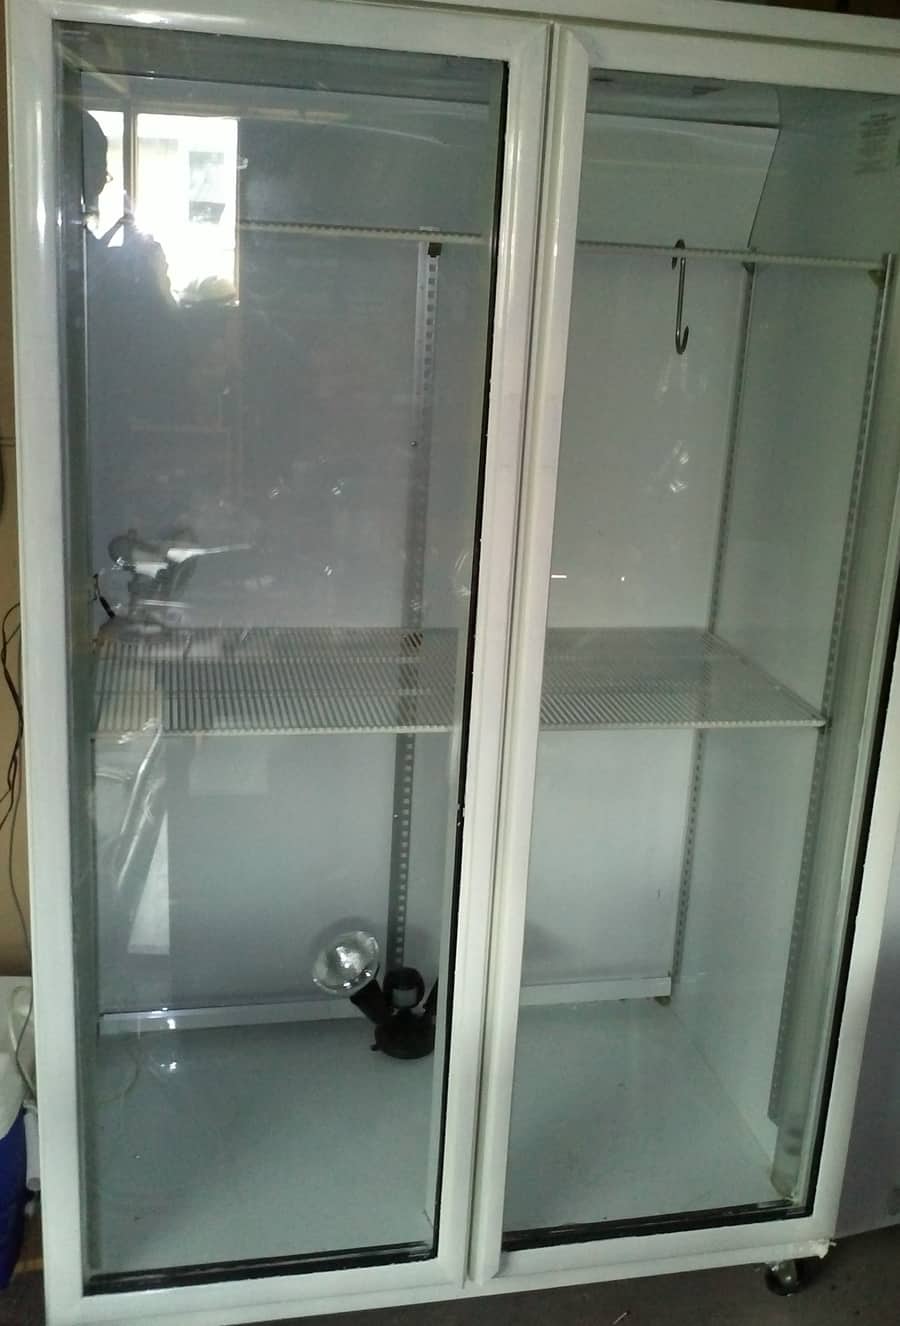
I have seen guys toying around using the controller’s dehumidifier outlet to plug in an entry and extractor fan to lower the moisture. It can work for whole muscle dry-cured salumi, but I have seen too many times if you have decent moisture in the meat or are making salami. The fans may not provide an adequate drying effect, the solution always leads to a dehumidifier.
The ideal setup for the fan aspect is extractor cycling regularly, either combining the dehumidifier output so they turn on simultaneously.
Or having a simple fan either in the wall of the fridge or sitting somewhere inside to circulate air. I have then just put a decent ‘extraction’ hole in the fridge (be really careful of any interest wiring through the insulated walls). I used a HEPA filter over the hole; the slight ‘pressure’ created inside the fridge meant it just pushed out air when it needed to (it might mean playing around with these aspects, but I kept it pretty simple in this scenario).

Fans – Air Flow
Getting some fresh air circulation is key for dry-curing. I made the mistake early on of thinking the compressor on the fridge would be drawing enough fresh air in; it may have been doing something, but there also wasn’t any existing/exhaust fan. Once this was sorted, it made a huge difference. Better outcomes and less funky mold to contend with.
Fans are the way, heating is
Here are a few simple fans that have worked well, you can piggyback plug them on the cooling temperature input, it does kind of depend on what setup you choose and the flow of air.
I ended up putting a 3 by 3″ hole on the side of my 200-gallon chamber, the air is drawn in by the compressor (I created a HEPA filtered area where the fan sucks in air). The hole just works as an exit for the air.
Here are some easy-to-install fans; computer fans do a good job.
Plug-In
Quiet Muffin Fan – Link to Amazon
Make the hole and plug this in with the dehumidifier outlet (either with or without the dehumidifier).
This can easily get the fresh air flow going, providing some dehumidifying in the curing chamber.
If you want a timer option, here is a useful bit of kit; you might have one spare around the home. Here is a link to Amazon for something basic but effective.
Hard Wired
A whole bunch of options for a hard-wired fan.
There are heaps of options, easily under $20 if you want. Here is the category you want to look at…
Check them out here on Amazon.
Heating – for Fermentation & Other Applications
I made the mistake of having the heat controller on an outdoor high-wattage spotlight to start with (cured meat doesn’t like light).
I learned from that mistake!
Ceramic light bulbs are best for a
You can get 100W, but for most application, the curing chamber can easily be heated up with a 60W bulb, here is a link to Amazon for the 60W ceramic bulb.
I wanted to use the curing chamber for other purposes like growing gourmet mushrooms, making organic spice powders, and as a dehydrator for fruit. So I mounted an eco-panel heater to the rear wall, still goes well and can really get to some hot temperatures! But it’s rather large.
Bulb Base – Plug & Play
So, if you get the Inkbird temperature controller, you will have a plug for the heat input, so all you need is this corded plug-in base to go with your ceramic bulb.
These are the ones that re perfect, they are rated and can be mounted quite simply too. So you can make it a permanent fixture or just put it in the chamber when it’s needed.
Check it out on Amazon here.
Floodlight – Hardwired

So to go with the ceramic bulb you will need a mount of some type, I made the mistake of buying a floodlight base that didn’t fit my bulbs initially.
But this type below won’t need any ‘modification’. You will need to hardwire to the controller, though.
Here is a link on Amazon, they can be a bit tricky to find online.
